Unlocking the Secrets of Salacia Multiflora: A Propagation Primer
Salacia multiflora, a climbing shrub native to the vibrant rainforests of South America, boasts not only beautiful foliage but also a rich history in traditional medicine. While its potential health benefits are fascinating, successfully cultivating this tropical treasure at home can seem a tad daunting. Fear not! This propagation primer will equip you with the knowledge and techniques to grow your very own Salacia multiflora.
Understanding Salacia Multiflora
Before we delve into propagation, let’s get acquainted with our star plant. Salacia multiflora thrives in warm, humid environments, showcasing glossy leaves and inconspicuous, yet charming, flowers that later develop into small, berry-like fruits.
While Salacia multiflora can be grown from seeds, this method can be notoriously slow and challenging. Instead, two propagation methods reign supreme:
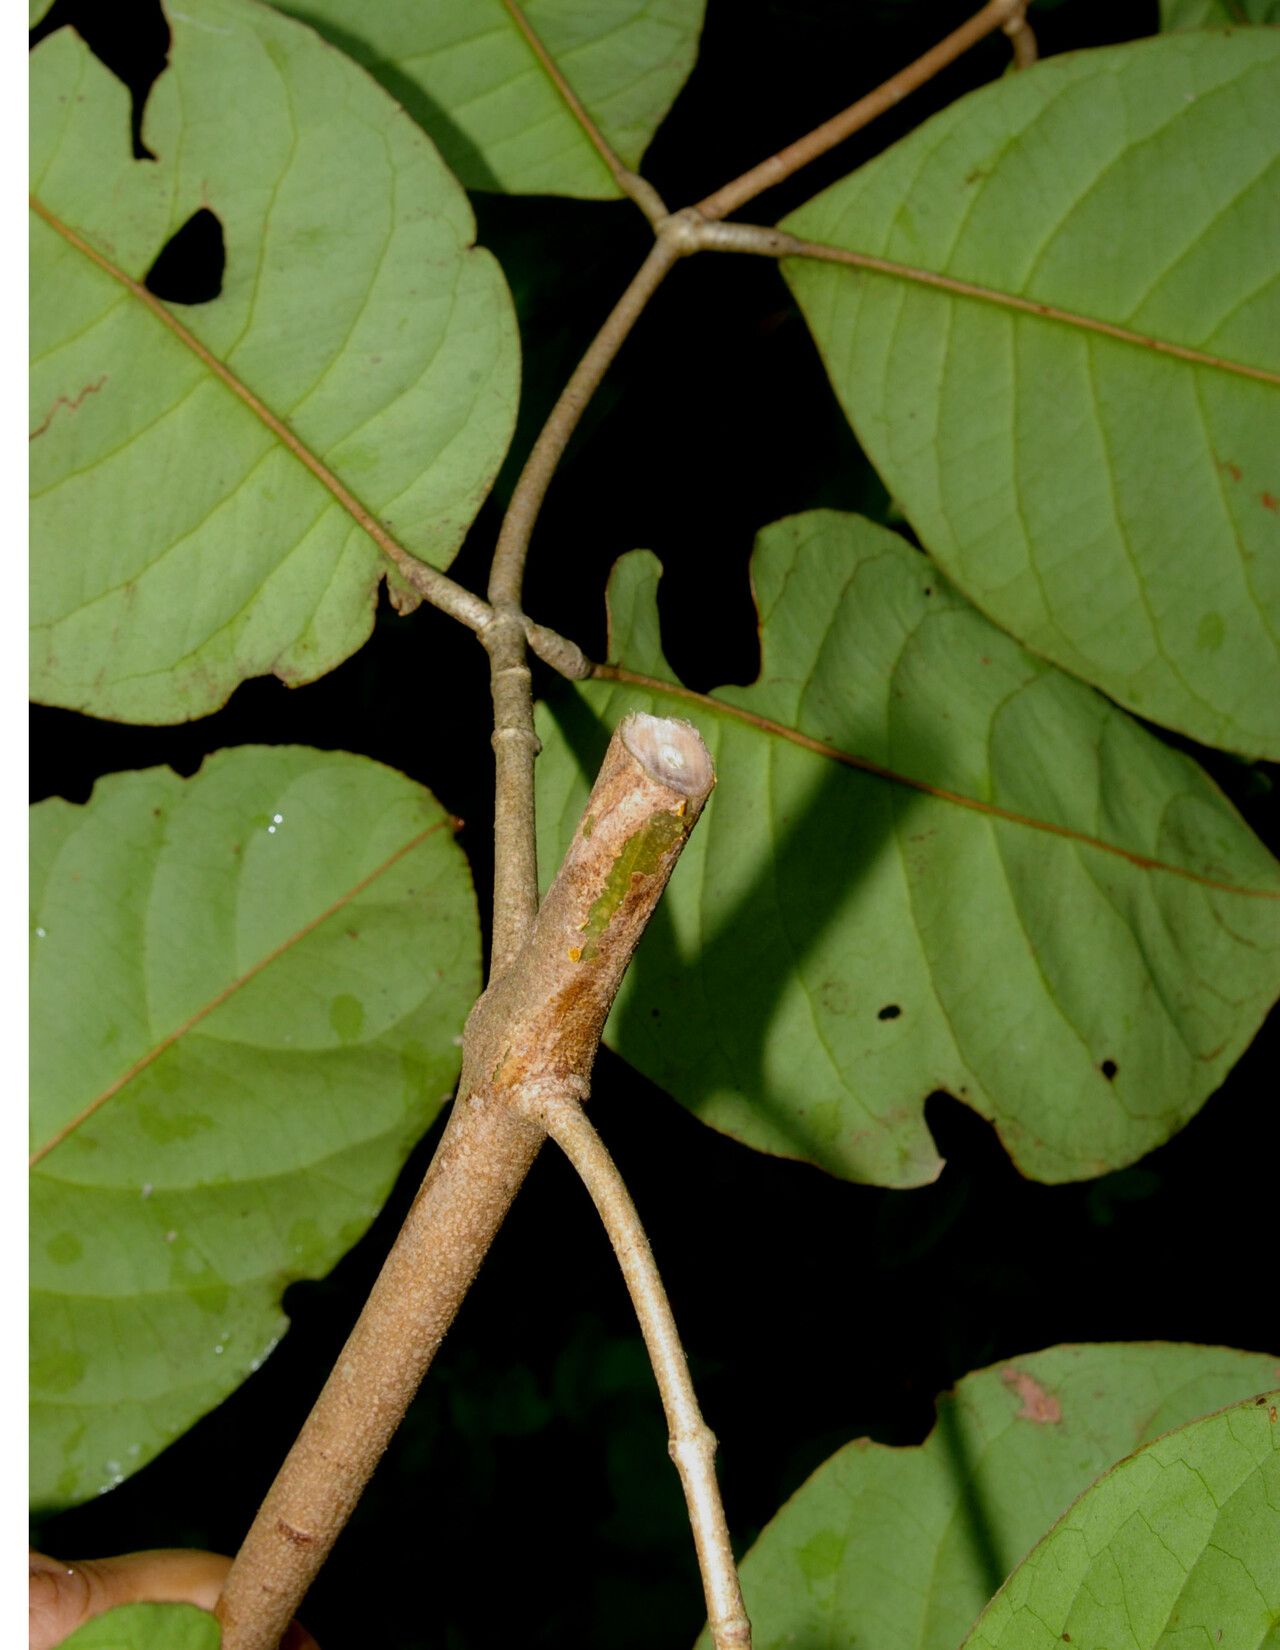
1. Stem Cuttings:
This technique involves taking sections of healthy stems and encouraging them to develop roots. Here’s a step-by-step guide:
- Timing is Key: Spring, with its burst of growth hormones, offers the ideal conditions for successful cuttings.
- Selecting the Stem: Choose a healthy, non-flowering stem, approximately 4-6 inches long.
- Preparing the Cutting: Using a sharp, sterilized knife or pruning shears, make a clean cut just below a leaf node (the point where the leaf attaches to the stem). Remove the leaves from the bottom inch of the cutting.
- Hormone Boost: While optional, dipping the cut end in rooting hormone powder can significantly increase the success rate.
- Planting the Cutting: Plant the cutting in a well-draining potting mix, ensuring the bottom node is buried.
- Creating a Humid Environment: Cover the pot with a clear plastic bag or place it in a propagator to maintain high humidity, crucial for root development.
- Patience is a Virtue: It might take several weeks for roots to develop. Once new growth appears, you’ll know your cutting has successfully rooted.
2. Air Layering:
This method, while slightly more advanced, boasts high success rates and allows you to propagate a larger, more established plant. Here’s how it’s done:
- Choosing a Branch: Select a healthy, flexible branch that is at least 1/2 inch in diameter.
- Wounding the Branch: Carefully make a shallow, upward-angled cut, about 1-1.5 inches long, through the bark and cambium layer (the green layer beneath the bark).
- Applying Rooting Hormone: Apply a generous amount of rooting hormone to the wounded area.
- Creating a Moisture Pocket: Surround the wound with a handful of moist sphagnum moss and wrap it securely with plastic wrap, ensuring the moss remains damp.
- Playing the Waiting Game: This method requires patience, as it might take several months for roots to develop within the moss. Once a substantial root system is visible through the plastic, carefully cut the branch below the roots and pot your new plant.
Nurturing Your Newly Propagated Salacia Multiflora
Once roots are established, whether through cuttings or air layering, gradually acclimate your new Salacia multiflora to its surroundings. Transplant it into a larger pot with well-draining soil, providing sufficient humidity and indirect sunlight. With proper care, your efforts will be rewarded with a thriving Salacia multiflora, bringing a touch of the rainforest into your home.