Multiply Your Willow: Easy Propagation Techniques for Salix denticulata
The Salix denticulata, more commonly known as the Himalayan willow, is a visually charming shrub prized for its delicate beauty and hardiness. If you’re lucky enough to have one gracing your garden, you’ve likely been captivated by its graceful weeping branches and delicate, serrated leaves. But did you know that propagating this lovely willow is surprisingly straightforward? With a little know-how, you can multiply your plant and even share its charm with friends.
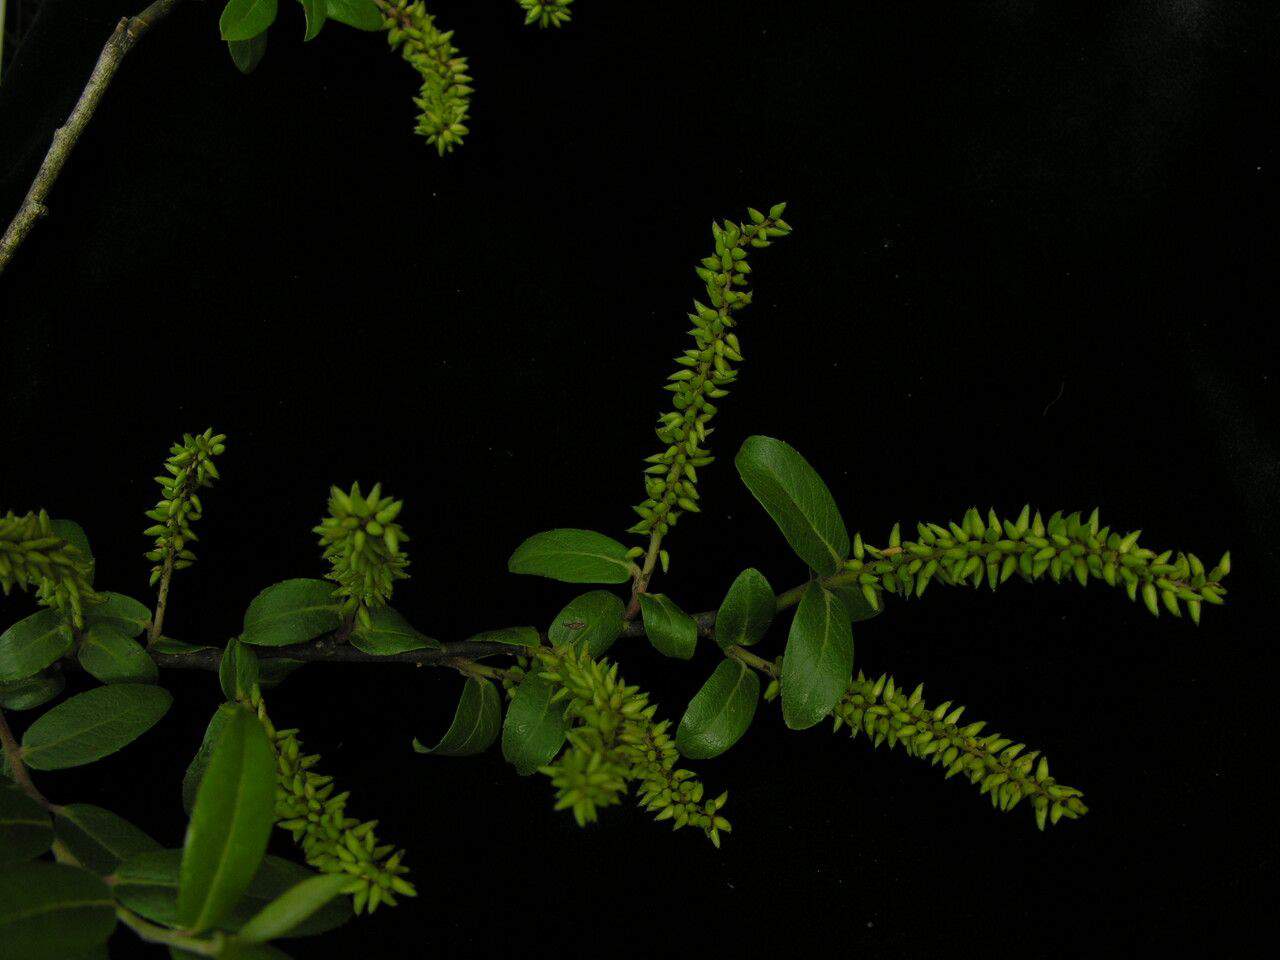
Understanding Salix denticulata
Before we dive into propagation, let’s get to know our star a little better. Native to the Himalayas, the Salix denticulata is a deciduous shrub known for its resilience to colder climates and various soil types. Its ability to thrive in challenging environments, coupled with its rapid growth, makes it a favorite for landscaping and erosion control.
The Power of Propagation: Why Multiply Your Willow?
Propagating your Salix denticulata offers several benefits:
- Free plants! Skip the nursery and expand your garden for the cost of a little time and effort.
- Preserving desirable traits: Propagation allows you to create clones of your existing plant, preserving its unique characteristics.
- Sharing the love: Propagated plants make for wonderful gifts for friends and fellow gardening enthusiasts.
Two Tried and True Methods: Cuttings vs. Seed
While Salix denticulata can be propagated from seed, cuttings offer a significantly higher success rate and a faster growth timeline.
1. Hardwood Cuttings: The Simplest Approach
Hardwood cuttings are the most popular and arguably the easiest method for propagating willows. Here’s how to do it:
Timing: Late fall to early spring, when the plant is dormant.
Materials:
- Sharp pruning shears or a knife
- Rooting hormone (optional but recommended)
- Potting mix
- Small pots or trays
Instructions:
- Choose healthy, mature branches at least pencil-thick.
- Cut sections 6-8 inches long, making a clean cut just below a node (the bump where leaves emerge).
- Remove leaves from the bottom third of the cutting.
- Dip the cut end in rooting hormone (optional).
- Plant cuttings in moist potting mix, burying at least a third of their length.
- Place the pot in a bright location but out of direct sunlight.
- Keep the soil consistently moist but not waterlogged.
- Roots should develop in several weeks. Once you see new growth, you can transplant your cutting into a larger pot or directly into your garden.
2. Seed Propagation: A Bit More Patience Required
While possible, seed propagation is less reliable and takes significantly longer. Willow seeds have a short viability period, so you’ll need fresh seeds for best results. Here’s a quick overview:
- Timing: Collect seeds in late spring or early summer and sow immediately.
- Process: Surface sow the tiny seeds on a moist seed starting mix, and keep them in a warm, bright location.
- Germination: Germination can be erratic and slow.
Final Tips for Success
- Optimal Environment: Provide your cuttings or seedlings with a warm, humid environment to encourage root development.
- Patience is Key: While willows are fast-growing, remember that propagation takes time. Don’t be discouraged if you don’t see results overnight.
- Enjoy the Process: Propagating your own plants is an immensely rewarding experience. So relax, enjoy the journey, and soon you’ll have a whole new generation of Salix denticulata to enhance your garden’s beauty!