Multiplying the Mediterranean Magic: Propagating Your Santolina pectinata
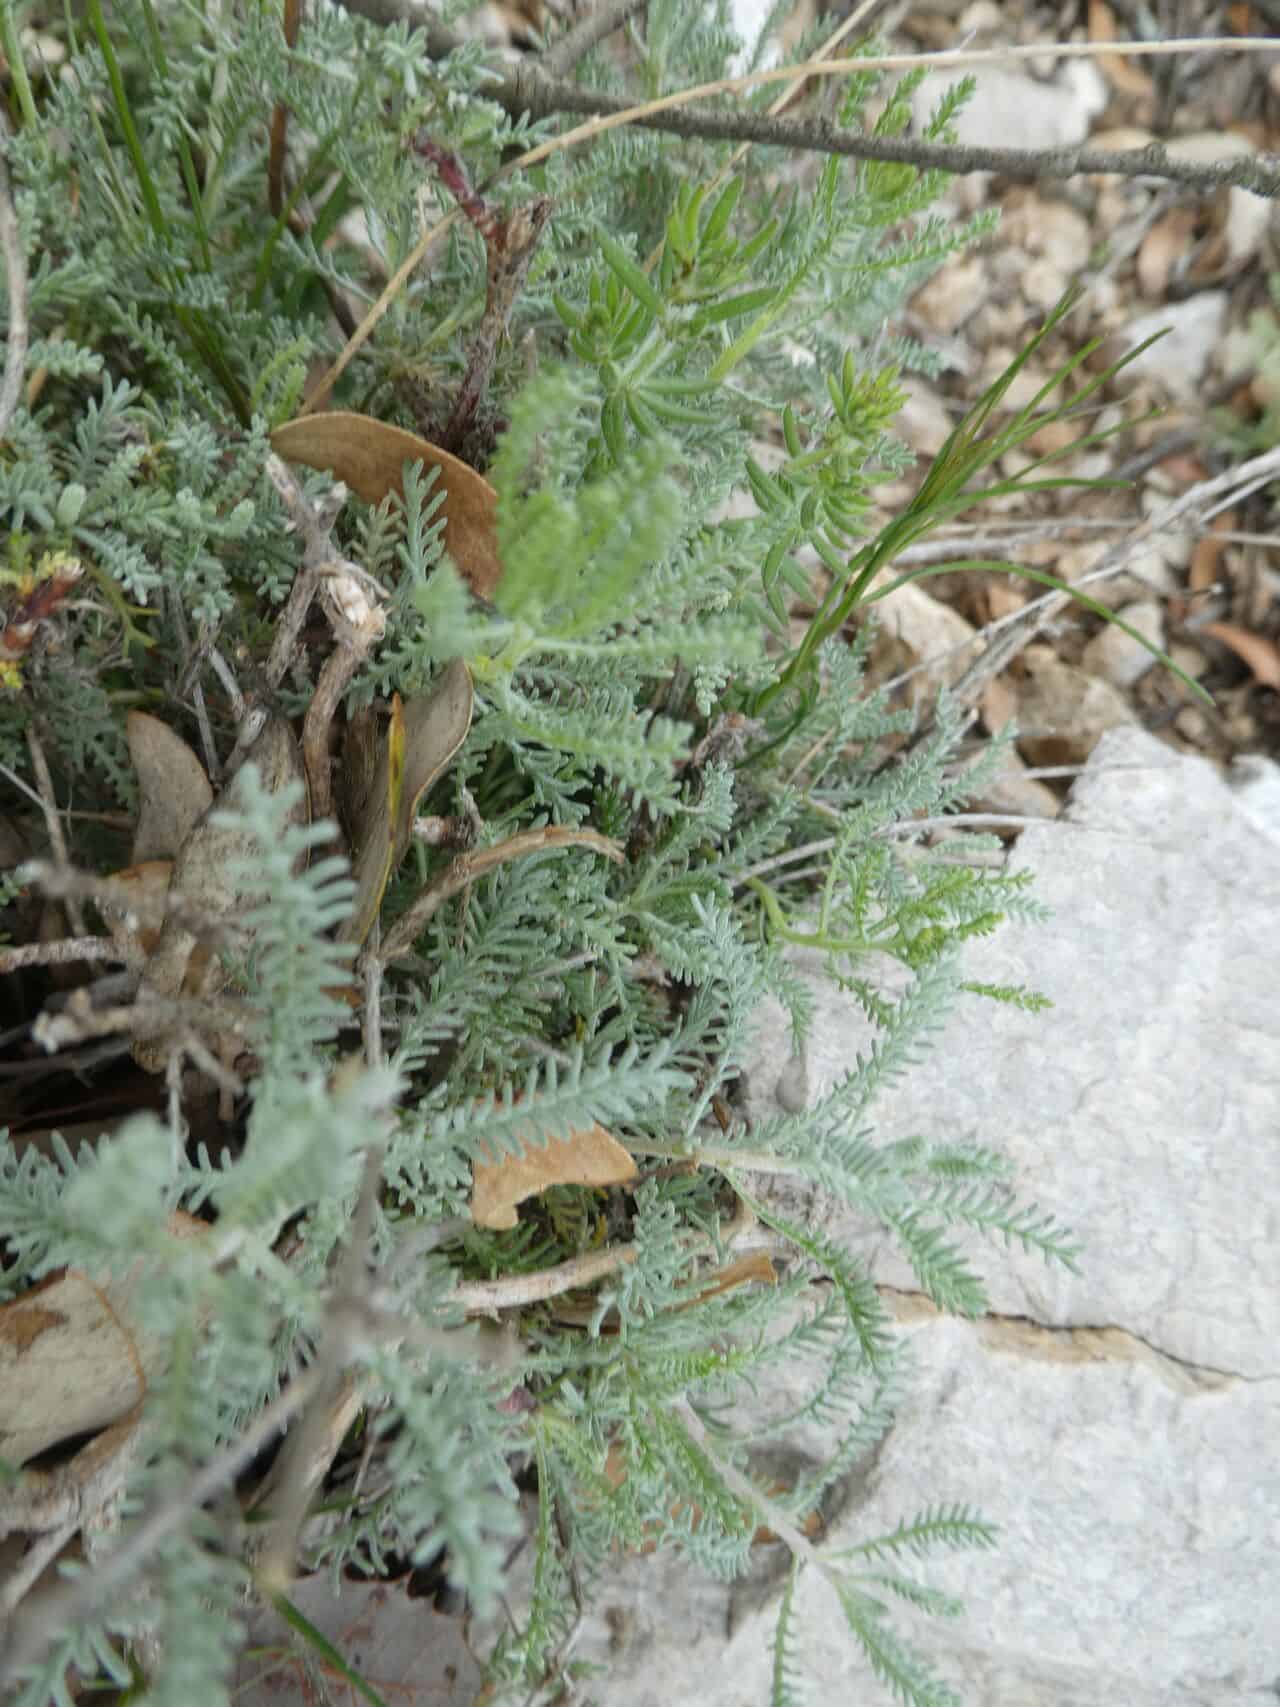
Santolina pectinata, with its beautiful silvery foliage and sunny yellow button flowers, brings a touch of the Mediterranean to any garden. Commonly known as Lavender Cotton (though not related to either!), this hardy evergreen is a low-maintenance delight, perfect for borders, rock gardens, or even containers. And the best part? Propagating Santolina is surprisingly easy, allowing you to expand your silvery landscape without breaking the bank. So, let’s dive into the world of Santolina propagation and learn how to create more of this delightful plant.
Two Roads to Santolina Success: Cuttings and Seed
Santolina pectinata can be propagated through two primary methods: cuttings and seeds. Each approach has its pros and cons, making it important to choose the one that best fits your needs and resources.
1. The Cutting Edge: Propagating Santolina from Cuttings
Taking cuttings is the most popular and arguably the easiest way to propagate Santolina. This method guarantees you’ll get a plant genetically identical to the parent, preserving the characteristics you love. Here’s a step-by-step guide:
- Timing is Key: The optimal time to take cuttings is in late spring or early summer, when the plant is actively growing.
- Selecting the Right Cuttings: Choose healthy, non-flowering shoots that are around 4-6 inches long. Using a sharp, clean knife or pruning shears, make a cut just below a leaf node (the point where the leaf attaches to the stem).
- Preparing the Cuttings: Remove the leaves from the bottom inch or two of the cutting. If desired, dip the cut end in rooting hormone powder to encourage faster root development.
- Planting the Cuttings: Fill small pots with a well-draining potting mix. Create a hole in the center of the mix and gently insert the cutting, ensuring the bottom nodes are buried.
- Caring for the Cuttings: Water the cuttings thoroughly and place them in a bright location, out of direct sunlight. Maintain a humid environment by covering the pots with a plastic bag or using a propagator.
- Transplanting: After about 4-6 weeks, the cuttings should have developed roots. You can test this by giving the cutting a gentle tug – if there’s resistance, roots are forming. Harden off the young plants by gradually exposing them to outdoor conditions before transplanting them to their final location.
2. Seeding a Silver Lining: Propagating Santolina from Seed
While not as common as cuttings, starting Santolina from seed can be rewarding and allows you to grow a larger number of plants. Here’s what you need to do:
- Sowing Time: Sow seeds indoors 6-8 weeks before the last expected frost.
- Sowing the Seeds: Fill seed trays or pots with a seed-starting mix. Sprinkle the seeds on the surface and lightly cover them with soil.
- Providing Optimal Conditions: Keep the soil consistently moist and place the tray in a warm, bright location.
- Transplanting Time: Once the seedlings have developed a couple of sets of true leaves and the danger of frost has passed, harden them off before transplanting outdoors.
A Few Words of Wisdom
No matter which method you choose, success lies in providing your Santolina with well-draining soil and plenty of sunshine. These Mediterranean beauties are quite drought-tolerant once established and don’t appreciate overly wet conditions.
With a little patience and care, you can enjoy a flourishing silver garden filled with the aromatic charm and cheerful flowers of Santolina pectinata. So, roll up your sleeves, grab your gardening gloves, and get ready to propagate!