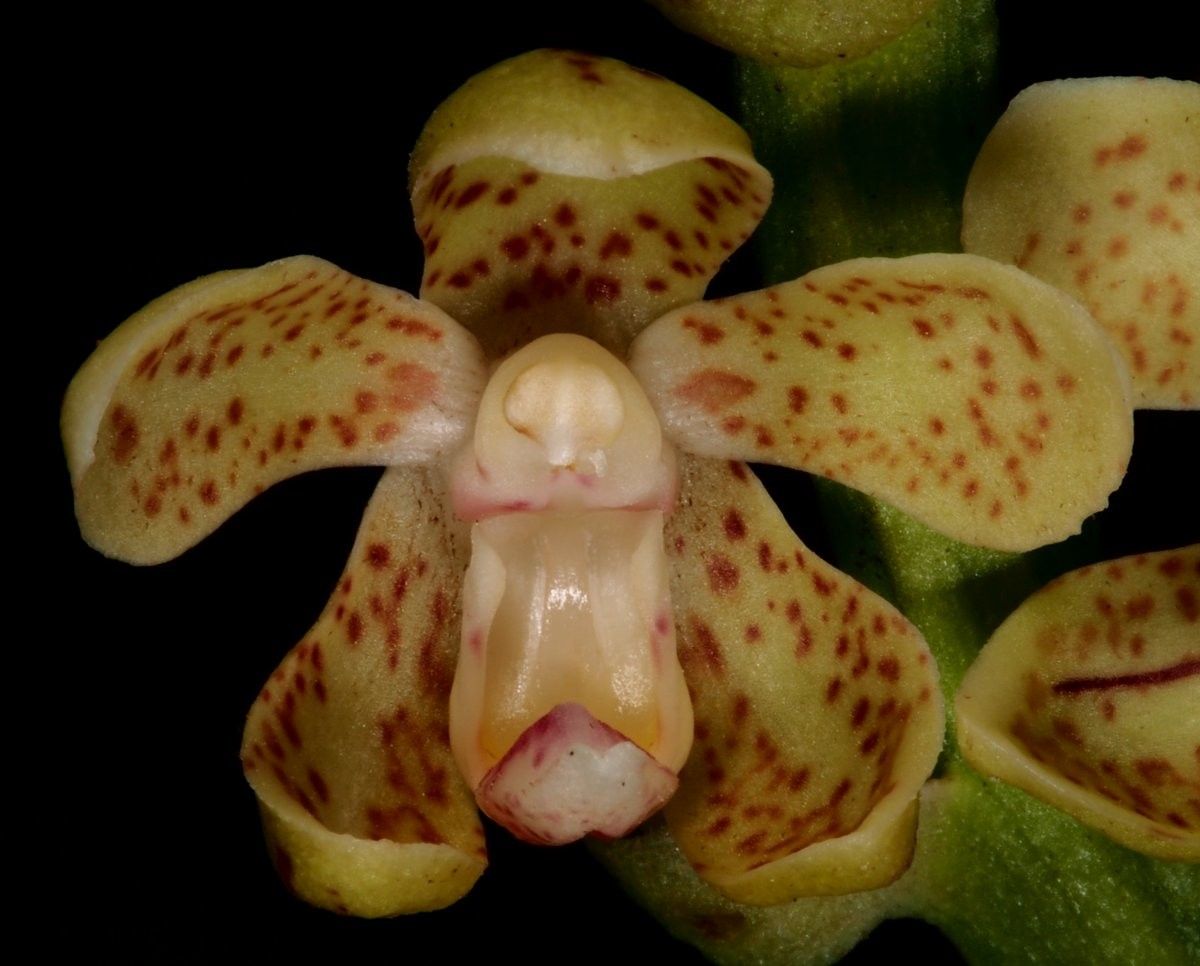
Unlocking the Secrets of Sarcanthopsis nagarensis Propagation: A Guide to Growing This Exquisite Orchid
The Sarcanthopsis nagarensis, with its delicate, cascading strands of vibrant purple flowers, is a true spectacle in the world of orchids. But for many, owning this beautiful plant can seem like a pipe dream. Luckily, with a bit of knowledge and some patience, propagating this orchid can be a rewarding endeavor!
This guide delves into the intricacies of propagating Sarcanthopsis nagarensis, exploring different methods and addressing common questions. Let’s unlock the secrets of this captivating orchid and empower you to cultivate your very own piece of nature’s artistry.
Understanding the Basics
Sarcanthopsis nagarensis, like most orchids, can be propagated through several methods, each with its own set of pros and cons:
- Division: This method involves carefully dividing an established plant into multiple sections, each with its own roots and foliage. This is a relatively straightforward option for seasoned orchid growers, as it allows for quick multiplication of mature plants.
- Keiki: Keikis (miniature versions of the parent plant) often spontaneously develop on the flower stem. These can be carefully removed and potted separately once they have formed their own root system, yielding identical offspring.
- Seed Sowing: While this method is a popular option for many orchid species, it is significantly more challenging and time-consuming for Sarcanthopsis nagarensis. Orchid seeds require a sterile environment, specialized nutrients, and a high degree of humidity to germinate, which can be difficult to achieve at home.
Diving Deeper: The Division Method
The division method, when performed correctly, is the most reliable technique for propagating Sarcanthopsis nagarensis. Here’s a step-by-step guide:
- Timing: The ideal time for division is during the active growing season, typically after blooming.
- Preparation: Gently remove the plant from its pot and carefully inspect the root system. Identify healthy, mature divisions that have their own root mass.
- Division: Using a sharp, sterile knife, carefully separate the plant into sections. Each division should have at least two to three healthy pseudobulbs and a healthy root system.
- Repotting: Plant each division in a well-draining orchid potting mix. Choose a pot that is slightly larger than the root system.
Avoiding Common Mistakes
Overwatering: Sarcanthopsis nagarensis, like many orchids, is susceptible to root rot from overwatering. Ensure your potting mix is well-draining and allow the soil to dry between watering.
Poor Lighting: This orchid thrives in bright, indirect light. Avoid placing it in direct sunlight, as this can scorch the delicate leaves.
Lack of Humidity: Sarcanthopsis nagarensis appreciates humidity levels between 60% to 80%. Consider using a pebble tray or humidifier to create a suitable environment.
Patience and Care
Propagating and growing Sarcanthopsis nagarensis requires patience and consistent care. It takes time for the plant to establish a strong root system and adapt to its new environment. Be sure to provide it with adequate humidity, airflow, and appropriate fertilization to ensure its continued growth and flourishing.
A Final Word
With a little effort and knowledge, propagating Sarcanthopsis nagarensis is achievable. Whether you opt for division, keiki propagation, or seed sowing, remember to be attentive to the plant’s needs and provide it with the proper conditions. With your dedication, you can nurture a new generation of this enchanting orchid, adding a touch of elegance and vibrant beauty to your indoor garden.