From Snipping to Sprouting: The Easy Guide to Propagating Summer Savory
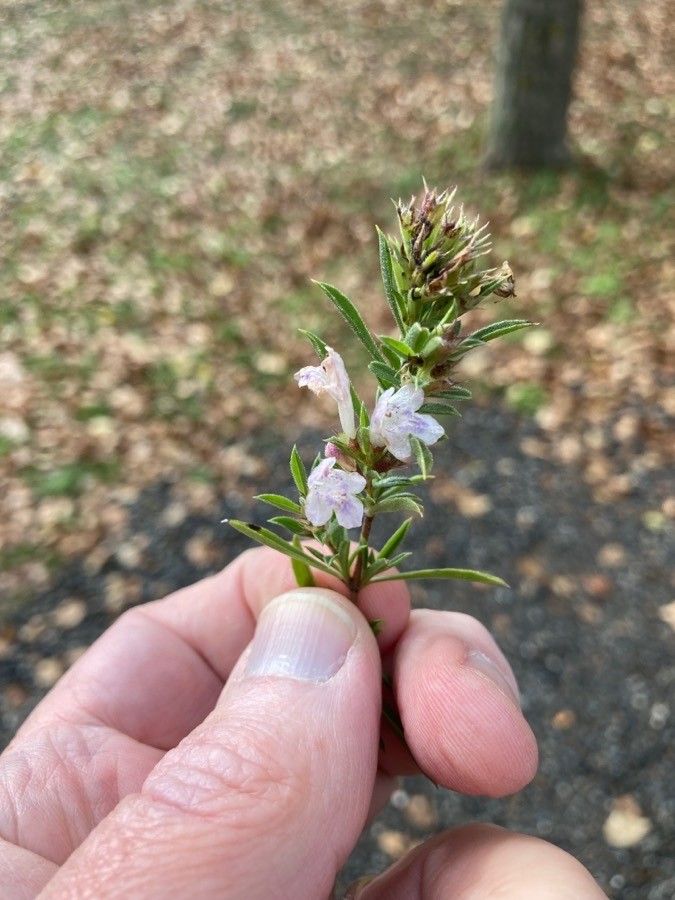
Love the bright, peppery flavour of summer savory in your dishes? Well, get ready to embrace your inner green thumb! Propagating summer savory (Satureja hortensis) is a wonderfully rewarding experience, allowing you to easily expand your herb garden and share the bounty with friends. This aromatic herb, known for its culinary versatility and beautiful blooms, is surprisingly easy to multiply through a few simple methods.
1. The Art of Seed Starting: A Fresh Start
For a pure and fresh batch of summer savory, starting from seed is the way to go. Seeds are readily available online or at your local garden center.
- Timing is Key: The optimal time to sow seeds is usually in the spring, after the last frost has passed.
- Potting Mix Perfection: Utilize a well-draining seed-starting mix. A seed tray or small pots will serve as a great starting point.
- Depth and Distance: Sprinkle the tiny black seeds thinly onto the soil surface, pressing them gently into the mix. A light dusting of soil is all they need.
- Moisture and Light: Keep the soil consistently moist (but not soggy!) and provide bright, indirect light. A sunny window sill or a grow lamp will do the trick.
Within a week or two, those tiny seeds will sprout into adorable miniature seedlings. Once they have a few true leaves, you can transfer them outdoors or into larger pots to continue their growth.
2. Cutting Edge Propagation: A Speedy Solution
Want to get your hands on fresh savory plants in a hurry? Cuttings are your best friend!
- Prime Time for Snipping: The ideal time to take cuttings is during the growing season (spring/summer), when the plant is actively growing.
- The Perfect Snip: Choose healthy, non-flowering stems that are about 4-6 inches long. Make a clean cut just below a node (where a leaf emerges from the stem).
- Prepare for Growth: Remove the lower set of leaves and dip the cut end into rooting hormone for a little extra boost.
- Potting Power: Plant your cuttings in a well-draining potting mix, ensuring the base of the cutting is covered. Keep the soil consistently moist.
- Shelter and Shade: Cover your cuttings with a clear plastic dome or bag to create humidity. Place them in a bright, but indirectly lit location, avoiding direct sunlight.
Within a few weeks, you’ll see the roots forming, signaling that your cuttings are establishing themselves. Once the roots are well-developed, you can transplant them into larger pots or directly into your garden.
3. Division for Doubling the Delight
A bit of division is all it takes to expand your summer savory into a multi-plant army!
- Timely Action: The best time to divide mature summer savory plants is in the spring or autumn.
- The Gentle Divide: Carefully dig up the existing plant and gently use your hands to divide the root ball into sections with multiple stems.
- New Home: Replant the divided portions into separate pots or directly into the garden, ensuring they have adequate spacing.
- Watering for Success: Water deeply and consistently until the plants are established in their new homes.
A Touch of TLC
- Sunlight is Key: Summer savory thrives in a sunny location, receiving at least 6 hours of direct sunlight daily.
- Water Wisely: Allow the soil to dry slightly between waterings, as overwatering can lead to root rot.
- Nutrient Boost: Feed your plants with a balanced liquid fertilizer every few weeks during the growing season.
- Harvest Time: Pinch off sprigs regularly to encourage bushier growth and maintain the plant’s flavor.
By mastering these propagation methods, you’ll become a ‘savory’ expert! Not only will you enjoy the flavorful bounty of this versatile herb, but you’ll also be rewarded with the satisfaction of creating new life and sharing your green joy with your friends and family. So, grab your pruning shears, your gardening gloves, and get ready to cultivate a world of savory culinary delights!