Unlocking the Secrets of Savia dictyocarpa: A Guide to Propagation
If you’re captivated by the unique charm and captivating beauty of the Savia dictyocarpa, you’re not alone. This stunning plant, known for its intricate leaf patterns and vibrant colors, often sparks a desire to share its magic with others. But how do you bring new life to this enchanting species? Let’s delve into the world of Savia dictyocarpa propagation and unlock its secrets!
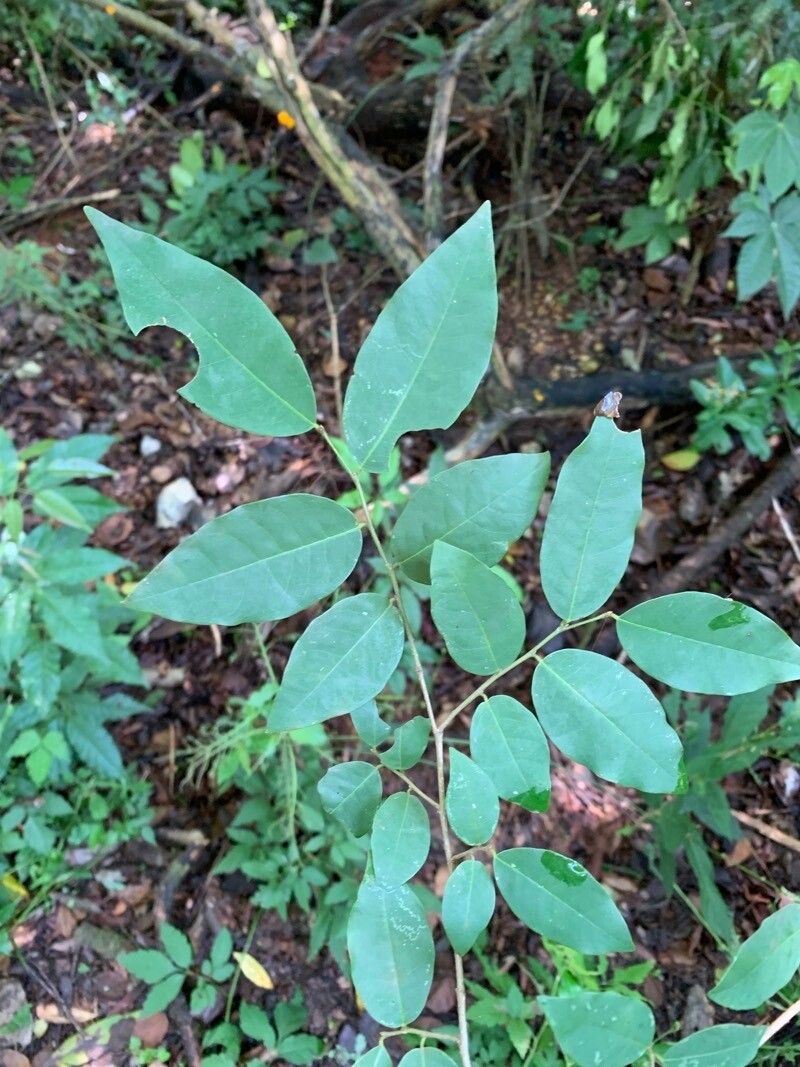
Understanding Savia dictyocarpa
Before diving into the techniques for propagation, let’s understand this fascinating plant better. Native to tropical regions, Savia dictyocarpa belongs to the Euphorbiaceae family. It’s appreciated for its striking foliage, where the leaves exhibit an intricate network of veins, resembling a delicate mesh. These leaves can range in color from deep green to vibrant reds and purples, making them a captivating statement piece in any home or garden.
Methods of Propagation
There are two primary methods for propagating Savia dictyocarpa:
1. Stem Cuttings:
This method is a popular choice due to its simplicity and effectiveness.
- Timing: The best time for taking stem cuttings is during the spring or summer months when the plant is actively growing.
- Procedure: Choose a healthy, non-flowering stem and use a sharp, sterilized knife or scissors to make a clean cut just below a node (a point on the stem where leaves grow). Remove any leaves below the cut to promote rooting.
- Rooting Medium: Prepare a pot filled with a well-draining rooting medium like perlite, vermiculite, or a mixture of potting soil and sand. Insert the cut end of the stem into the medium, ensuring that the node is buried.
- Care: Keep the rooting medium consistently moist but avoid overwatering. Maintain high humidity around the cuttings using a plastic dome or humidity tent. Place the pot in a bright location, avoiding direct sunlight. Roots should develop within 4-6 weeks.
2. Air Layering:
Air layering is a more advanced technique but can be successful with Savia dictyocarpa.
- Timing: The best timing for air layering is during the active growing season, typically spring.
- Procedure: Choose a healthy stem and make a shallow cut on the underside, about halfway through the stem. Apply rooting hormone, if desired, to the cut. Wrap moist sphagnum moss around the cut area and seal it with plastic wrap, securing it with string or tape.
- Care: Keep the moss consistently moist. New roots will begin to develop within a few weeks. Once roots are established, you can sever the stem below the air layer and plant it in a pot.
Essential Tips for Success
- Sterilization: Always sterilize your tools before making cuts to prevent infections.
- Humidity: Maintaining high humidity is crucial for successful root development.
- Patience: Be patient; propagation takes time, especially in the case of Savia dictyocarpa.
- Sun Exposure: Avoid exposing your newly rooted cuttings to direct sunlight, which can cause stress and inhibit growth.
Enjoy the Beauty of Savia dictyocarpa
Propagating your own Savia dictyocarpa is an enriching experience that allows you to witness the magic of life unfolding. Whether you choose stem cuttings or air layering, the process is rewarding and offers a deeper connection to this stunning plant. With a little patience and the right care, you’ll soon have a thriving collection of Savia dictyocarpa, spreading its unique beauty and charm throughout your home or garden.