Unlocking the Secrets of Saxifraga Callosa: A Beginner’s Guide to Propagation
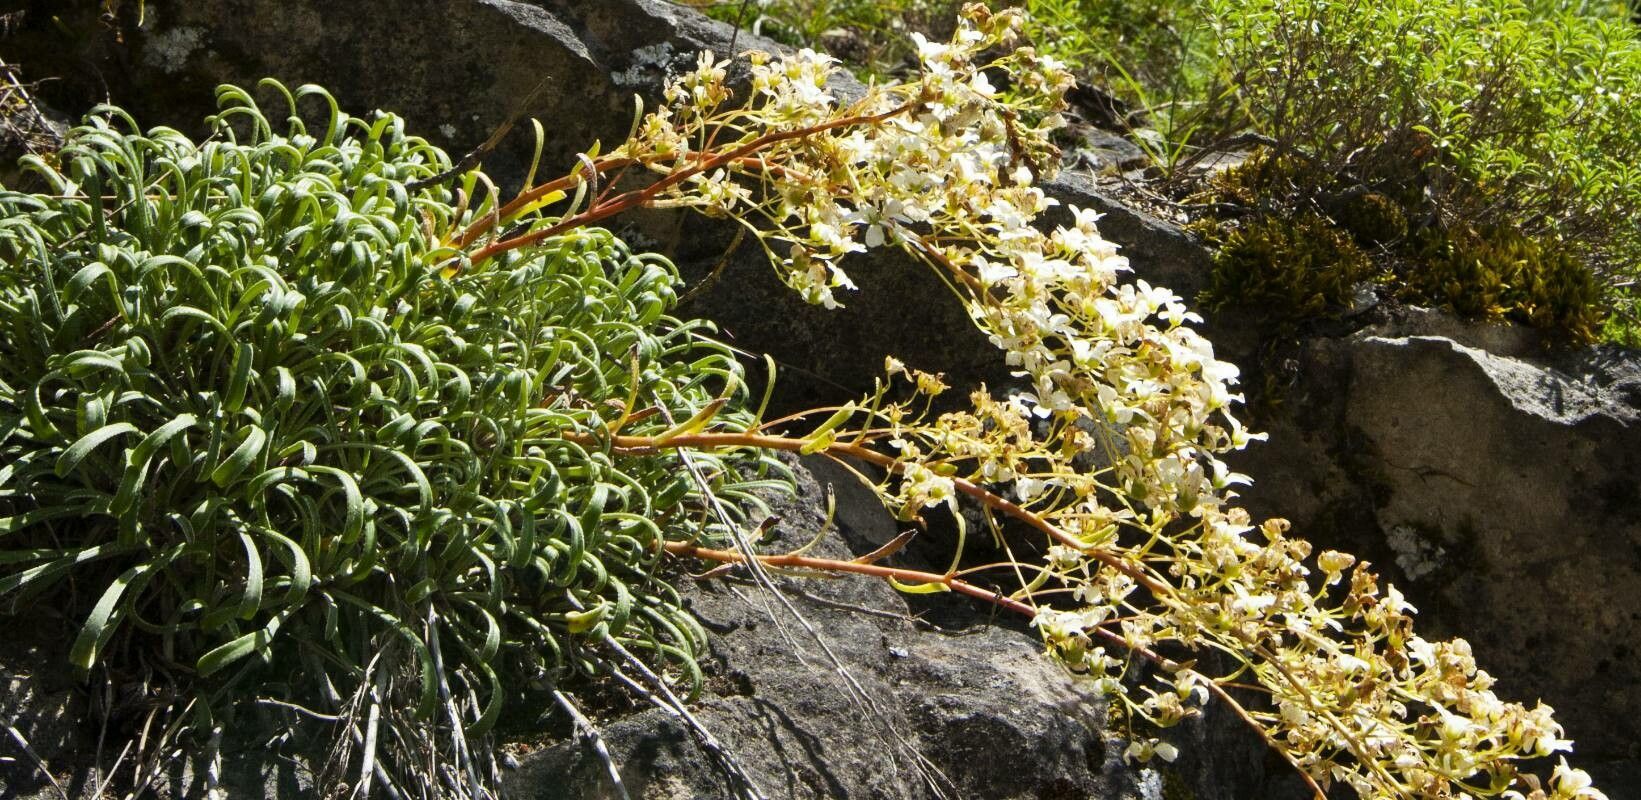
Saxifraga callosa, also known as the “Saxifrage”, is a beautiful and adaptable plant that graces rock gardens and alpine landscapes with its captivating blooms. But how can you share this beauty with others, or add more of it to your own garden? The answer lies in propagation – the art of creating new plants from existing ones.
This guide provides an easy-to-follow breakdown of two common methods for propagating Saxifraga callosa, suitable for both experienced gardeners and excited beginners:
1. Leaf Cuttings: A Simple and Effective Technique
The leaf cutting method is remarkably simple and often produces strong, new Saxifraga plants. This method works because many Saxifraga species, including callosa, have the ability to develop roots from their leaves. Here’s a step-by-step guide:
- Choose healthy leaves: Select mature, healthy leaves from your existing Saxifraga callosa plant. Ensure they are free from pests and diseases.
- Prepare the cuttings: Using a sharp, sterilized knife or scissors, cut the leaf just below the base. Leave a small section of stem attached.
- Prepare the growing medium: A mixture of equal parts perlite and peat moss works well for leaf cuttings. Simply fill a tray with the mixture.
- Place the cuttings: Lay the leaf cuttings horizontally on the surface of the growing medium. Ensure the cut end of the leaf is in contact with the medium.
- Maintain humidity: Cover the tray with a plastic dome or wrap to maintain high humidity.
- Light and temperature: Place the tray in a bright, indirect light location. Maintain a temperature around 65-70°F (18-21°C).
- Root formation and transplanting: New plantlets will begin to form on the leaves and develop roots within a few weeks. Once the plantlets are about an inch tall, you can gently separate them and pot them in individual containers, using a well-draining potting mix.
2. Division: For Larger, Established Plants
Division is another effective technique, particularly suitable for established Saxifraga callosa plants that have grown into clumps. This method essentially involves separating the plant into smaller, independent units, each with its own root system.
- Timing is crucial: The best time to divide Saxifraga callosa is in spring or early autumn. This allows the new plants ample time to adjust to their new habitats.
- Prepare the plant: Carefully lift the Saxifraga callosa plant from its container or the ground, loosening the surrounding soil. Gently work roots free from the soil to allow for proper division.
- Divide carefully: Using a sharp knife or a pair of shears sterilize the blade before using. Gently separate the plant, ensuring each new plantlet has its own root system.
- Repotting: Pot each of the new plantlets individually in a well-draining potting mix. Choose pots that are slightly larger than the root ball of the plantlet. Water thoroughly, ensuring the soil is evenly moistened.
Tips for Success:
- Sterilize tools: Cleanliness is paramount. Ensure all tools are sterile to prevent the spread of disease.
- Patience is key: Propagation takes time. Do not despair if you do not see immediate results.
- Providing the right environment: A well-draining soil, proper humidity, and bright indirect light are crucial for successful propagation.
Enjoying the Fruits of Your Labor
With a little patience and care, you’ll have beautiful, new Saxifraga callosa plants to add to your garden or share with friends and family. Enjoy the process of nurturing life and witness the transformative power of propagation!