Sharing the Scabiosa Love: How to Propagate Japanese Pincushion Flower
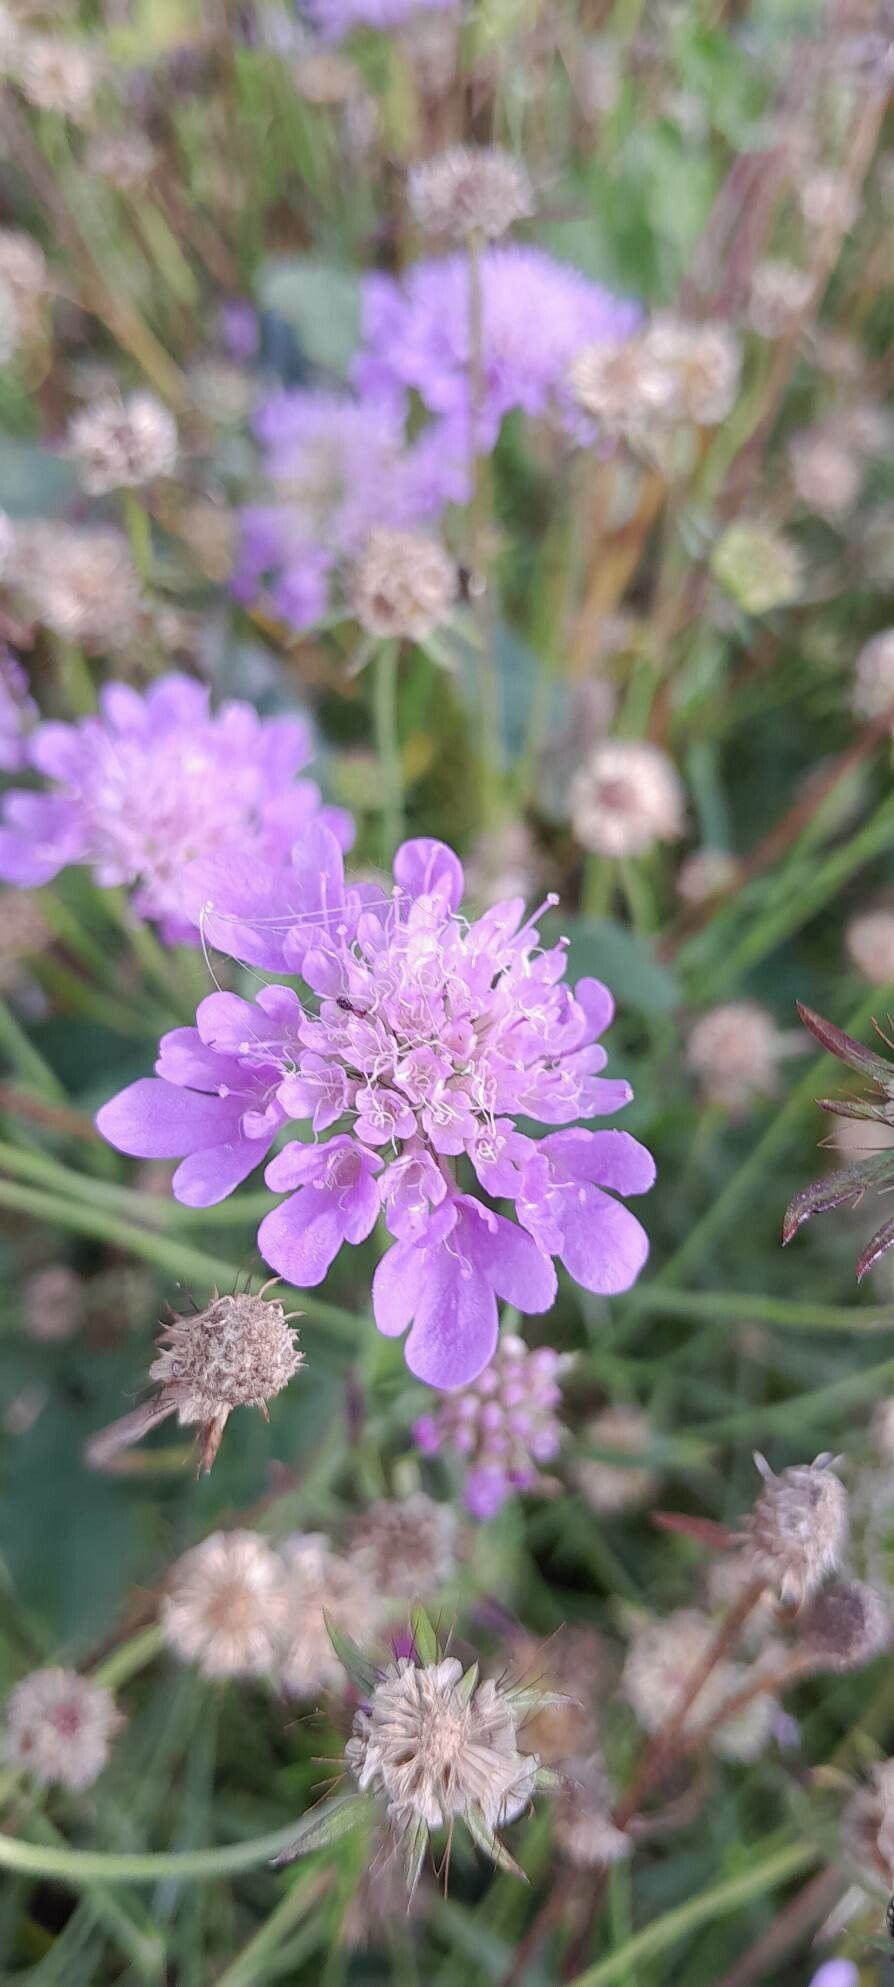
Scabiosa japonica, known by the charming moniker “Japanese pincushion flower,” is a delightful addition to any garden. With its delicate, pincushion-like blooms in shades of pink, blue, and white, it’s a pollinator magnet and adds a touch of whimsy to borders, rock gardens, and even containers. Luckily for plant enthusiasts, spreading the Scabiosa japonica joy is surprisingly straightforward. Let’s delve into the world of propagating these beauties and get you ready to grow your own colony of pincushion flowers.
Two Paths to Propagation: Seeds vs. Cuttings
Scabiosa japonica offers two main methods of propagation:
Seeds: Starting from seed is an exciting journey and often a more budget-friendly option.
- Cuttings: This method provides quicker results and ensures you’re replicating the exact characteristics of the parent plant.
Seed Starting: Nurturing Blooms from Tiny Beginnings
- Timing is Key: Sow seeds indoors 6-8 weeks before the last expected frost in your area.
- Sowing the Seeds: Use a seed-starting mix and sprinkle the seeds on the surface, pressing them down lightly. Scabiosa japonica seeds need light to germinate, so avoid burying them.
- Moisture and Warmth: Keep the soil consistently moist but not waterlogged. A heat mat set to around 70°F (21°C) can significantly improve germination rates.
- Light and Air: Once the seedlings emerge (usually within 1-3 weeks), provide them with ample light. A sunny windowsill or grow lights will do the trick. Thin out weaker seedlings to give the stronger ones room to thrive.
- Transplant Time: When the danger of frost has passed and the seedlings are a few inches tall, harden them off gradually by introducing them to outdoor conditions for increasingly longer periods each day. Once acclimated, transplant them to their final location in the garden.
Cuttings: Cloning Your Favorite Blooms
- The Right Timing: Take cuttings in the spring or early summer from healthy, non-flowering stems.
- Making the Cut: Using a clean, sharp knife or pruning shears, take 4-6 inch long cuttings just below a leaf node. Remove the lower leaves, leaving 2-3 pairs at the top.
- Root Hormone (Optional): Dipping the cut end in rooting hormone can increase the success rate, but it’s not essential.
- Planting the Cuttings: Insert the cuttings into a well-draining potting mix, burying at least one leaf node.
- Humidity is Key: Create a humid environment for the cuttings to encourage rooting. You can do this by placing a plastic bag over the pot or using a humidity dome.
- Patience is a Virtue: Keep the soil consistently moist and wait patiently for roots to develop, which usually takes around 4-6 weeks. Once the cuttings show signs of new growth, you can gradually acclimate them to outdoor conditions before transplanting them to their permanent spot in the garden.
Reaping the Rewards: Tips for Success
No matter which propagation method you choose, following these tips will increase your chances of success:
- Well-Draining Soil: Scabiosa japonica prefers well-drained soil to prevent root rot. Amend heavy clay soil with compost or other organic matter.
- Sun-Kissed Location: Choose a sunny location for your Scabiosa japonica. It can tolerate some shade, especially in hotter climates.
- Regular Watering: While drought-tolerant once established, regular watering, especially during dry spells, will keep your plants happy and blooming profusely.
- Deadheading Delight: Regularly deadhead spent blooms to encourage more flowers and prevent self-seeding, which can be prolific.
With a little effort and these helpful tips, you’ll be surrounded by the captivating charm of Scabiosa japonica in no time. Happy propagating!