Unlocking the Beauty of Schismatoglottis neoguineensis: Easy Propagation Techniques for Every Plant Parent
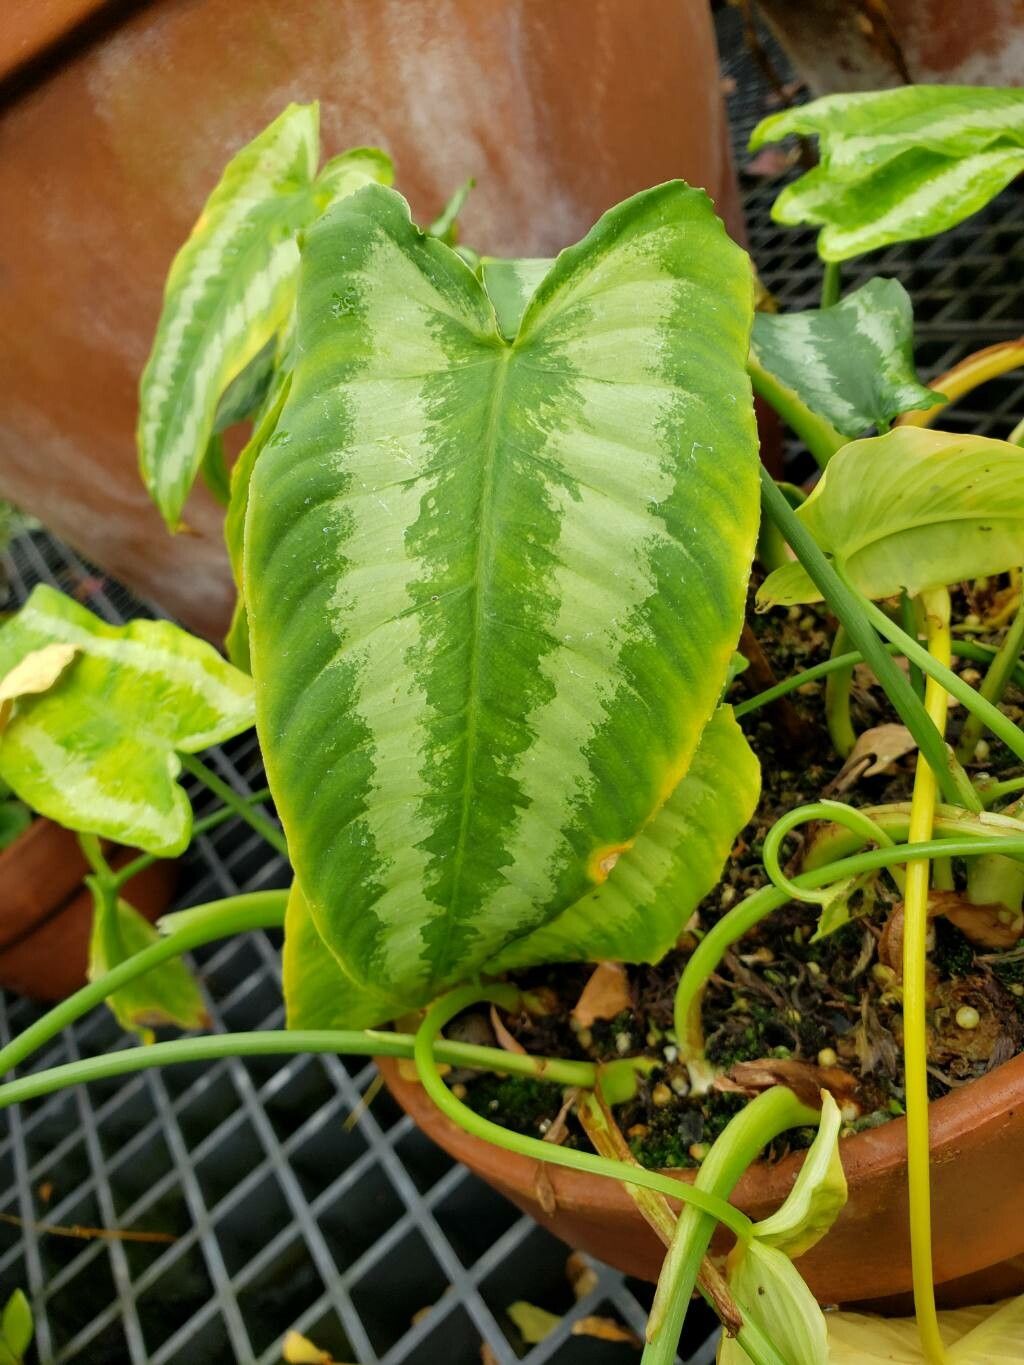
The Schismatoglottis neoguineensis, often called the “Painted Tongue” for its striking, colorful leaves, is a captivating addition to any home. But beyond its visual appeal, this plant holds a rewarding secret: it’s incredibly easy to propagate! This allows you to expand your collection, share with friends, or simply enjoy the joy of watching new life emerge from a single leaf.
Understanding Propagation: The Art of Creating New Plants
Propagation is essentially the process of creating new plants from existing ones. With the Schismatoglottis neoguineensis, we’re focusing on two popular techniques: leaf cuttings and tissue culture.
Leaf Cutting Propagation: A Simple and Fun Method
This is a classic propagation technique that requires minimal effort and delivers maximum satisfaction.
Here’s what you need:
- Sharp, clean knife or scissors
- Healthy, mature Schismatoglottis neoguineensis leaf
- Propagation mix: A blend of peat moss, perlite, and vermiculite is ideal
- Small pot or seedling tray
- Water
- Clear plastic bag or dome (optional)
Steps:
- Select a healthy leaf: Choose a leaf that is mature but not overly old.
- Cut the leaf: Use your sharp knife or scissors to make a clean cut through the petiole (the stalk that holds the leaf to the stem). It’s best to cut just below a node, where new roots can develop.
- Prepare the propagation mix: Moisten the propagation mix thoroughly and fill your container.
- Insert the leaf: Gently push the cut end of the leaf into the mix, ensuring that it’s buried deep enough to stay upright.
- Water it in: Mist the leaf and surrounding mix to maintain humidity.
- Optional: Cover the pot: If you’re using a plastic bag or dome, create a miniature greenhouse for the leaf by covering the pot. This helps retain moisture and encourages root development.
- Place in indirect light: Position the pot in bright, indirect light, away from harsh sun rays.
- Maintain humidity: Keep the propagation mix slightly moist but not soggy.
- Observe your leaf: Within a few weeks, you should start to see tiny roots forming at the base of the leaf.
- Re-potting: Once the roots are established, re-pot your new plant into a suitable container with a well-draining potting mix.
Tissue Culture: A More Advanced Approach
Tissue culture, while a bit more complicated, offers the advantage of propagating a large number of plants from a single healthy plant. This method involves taking small pieces of plant tissue and placing them in a sterile nutrient-rich medium. The cells then grow and divide, eventually forming new whole plants.
Tissue culture is generally done in labs or specialized facilities and requires specialized equipment and protocols. However, for passionate plant lovers who want to explore more advanced propagation methods, tissue culture offers the potential to quickly expand your collection.
Enjoy the Journey of Propagation
No matter which propagation method you choose, witnessing the transformation of a simple leaf into a vibrant new plant is an incredibly rewarding experience. With patience and the right care, you can easily unlock the beauty and potential of your beloved Schismatoglottis neoguineensis. So, grab your tools, get your hands dirty, and witness the magic of plant propagation!