Unlocking the Secrets of Scutellaria pontica Propagation: A Guide to Growing Skullcap from Seed & Cuttings
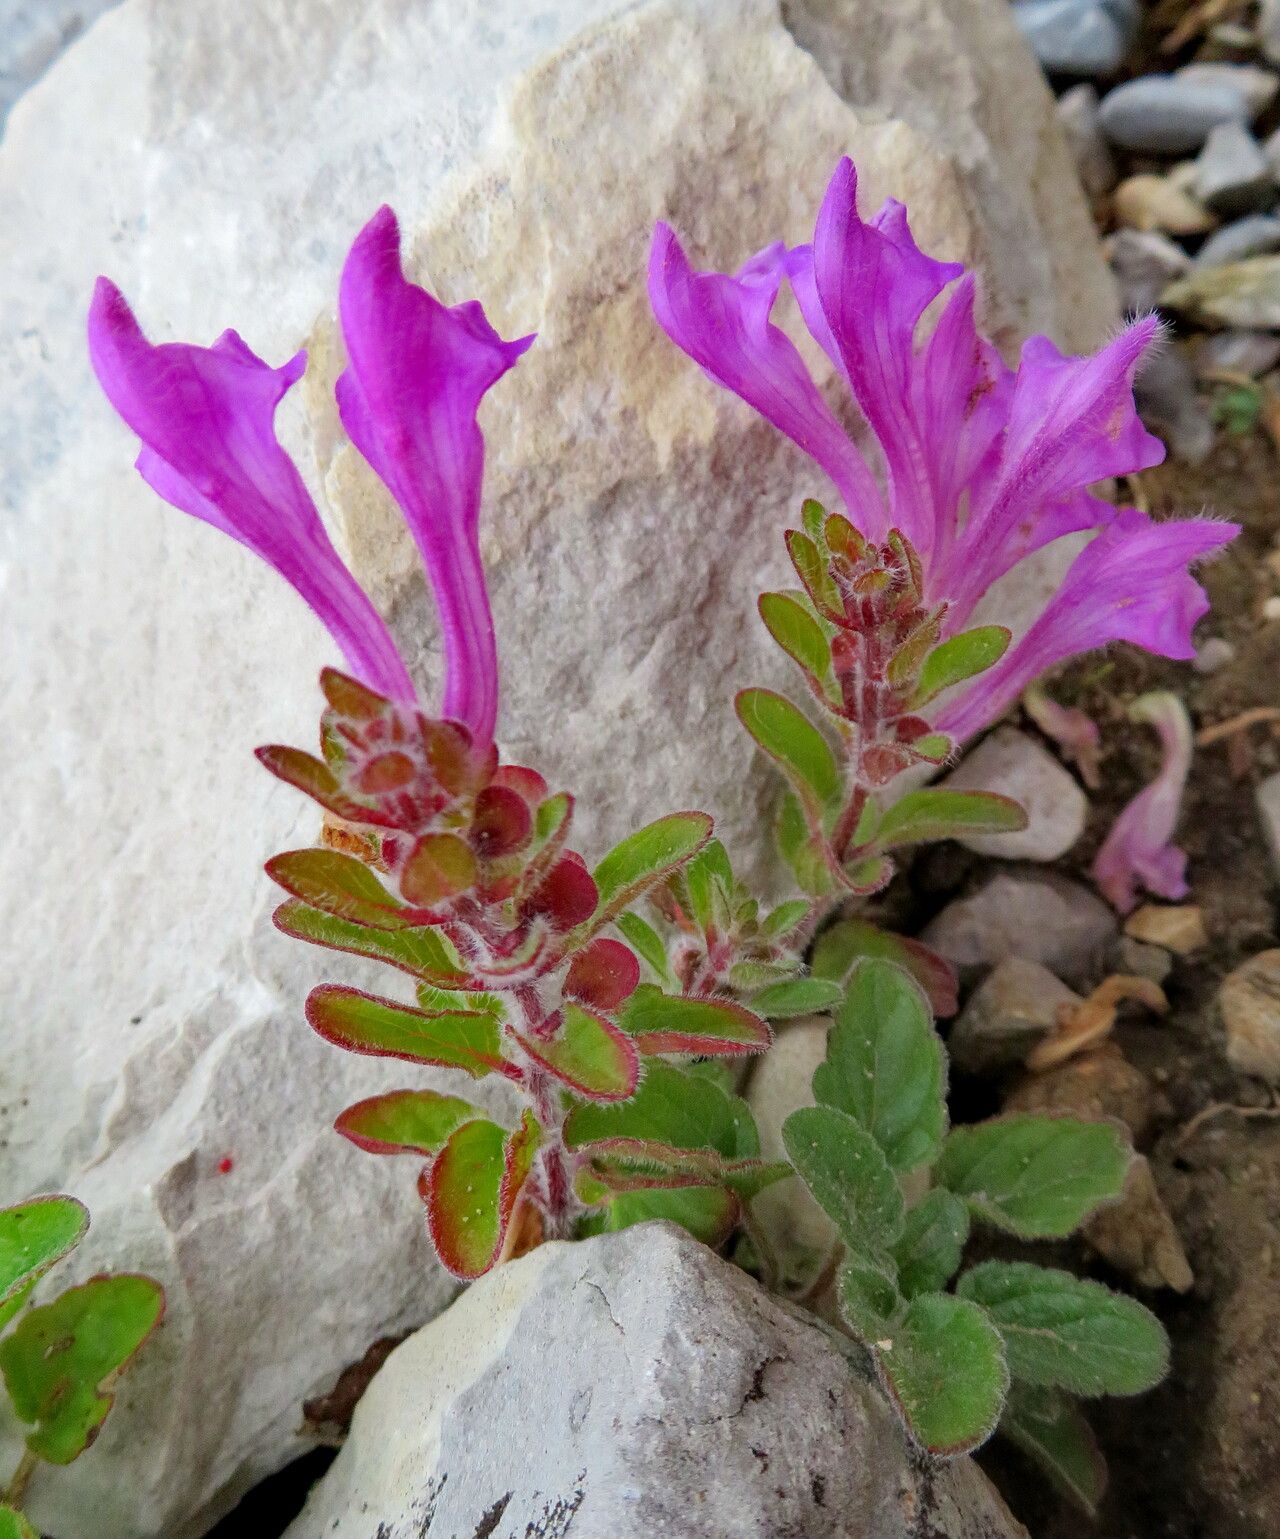
Scutellaria pontica, more affectionately known as the Pontic Skullcap, is a charming semi-evergreen perennial prized for its delicate beauty and ability to thrive in shady spots. Those new to the world of Skullcaps will be delighted by the unique, helmet-shaped flowers that grace the plant in spring, attracting a symphony of pollinators to the garden. But did you know that propagating this captivating plant can be as rewarding as growing it? Whether you’re inspired to expand your collection or share this botanical treasure with friends, this guide will equip you with the know-how to propagate Scutellaria pontica successfully.
Seed Starting: A Journey from Tiny Seeds to Thriving Plants
Propagating Scutellaria pontica from seed offers a deeply satisfying journey, allowing you to witness the miracle of life unfold from tiny seeds. Follow these steps to maximize your success:
Timing is Key: Sow your seeds in early spring. While the seeds don’t require stratification (exposure to cold temperatures), starting them indoors allows for a longer growing season.
Sowing the Seeds: Use a well-draining seed starting mix and sprinkle the seeds on the surface, pressing them gently without completely burying them. Mist lightly to moisten the soil.
Light & Warmth: Place your seed tray in a bright location, but out of direct sunlight. A consistent temperature of 65-70°F (18-21°C) is optimal for germination.
Patience is a Virtue: Germination can take anywhere from 2 to 4 weeks. Keep the soil consistently moist but not waterlogged.
- Transplanting Time: Once the seedlings develop 2-3 sets of true leaves, they are ready to be transplanted into individual pots or your garden bed. Remember to harden them off gradually, introducing them to outdoor conditions incrementally.
Cuttings: A Shortcut to Propagation Success
For faster results and to preserve specific plant characteristics, propagating from cuttings is an excellent method. Here’s a step-by-step guide:
Choose Wisely: Take cuttings from healthy, non-flowering stems in late spring or early summer. The cuttings should be around 4-6 inches (10-15 cm) long.
Prepare the Cuttings: Remove the lower leaves, leaving 2-3 pairs at the top. Dip the cut end in rooting hormone (optional but beneficial) to encourage root development.
Planting the Cuttings: Use a well-draining potting mix, making a hole with your finger or a pencil. Gently insert the cutting into the hole and firm the soil around it.
Creating a Humid Environment: To promote rooting, cover the pot with a plastic bag or use a propagator to create a humid environment.
- Rooting & Beyond: Keep the cuttings in a bright location out of direct sunlight. Roots should develop within 4-6 weeks. Once new growth emerges, you can gradually acclimate your new plants to outdoor conditions before transplanting them.
Nurturing Your New Scutellaria Pontica Plants
Whether you’ve chosen the path of seed starting or propagation from cuttings, providing the right growing conditions will ensure your new Scutellaria pontica plants thrive. Choose a location with partial shade and well-drained soil. They are relatively low-maintenance plants, but regular watering and a layer of mulch will contribute to their overall health.
Propagating your own Scutellaria pontica opens a door to a deeper connection with this enchanting plant. With a bit of patience and care, you can create a flourishing haven of these charming perennials in your very own garden, and maybe even share the joy with friends and fellow plant enthusiasts!