Unveiling the Secrets of Selaginella helvetica Propagation: A Step-by-Step Guide
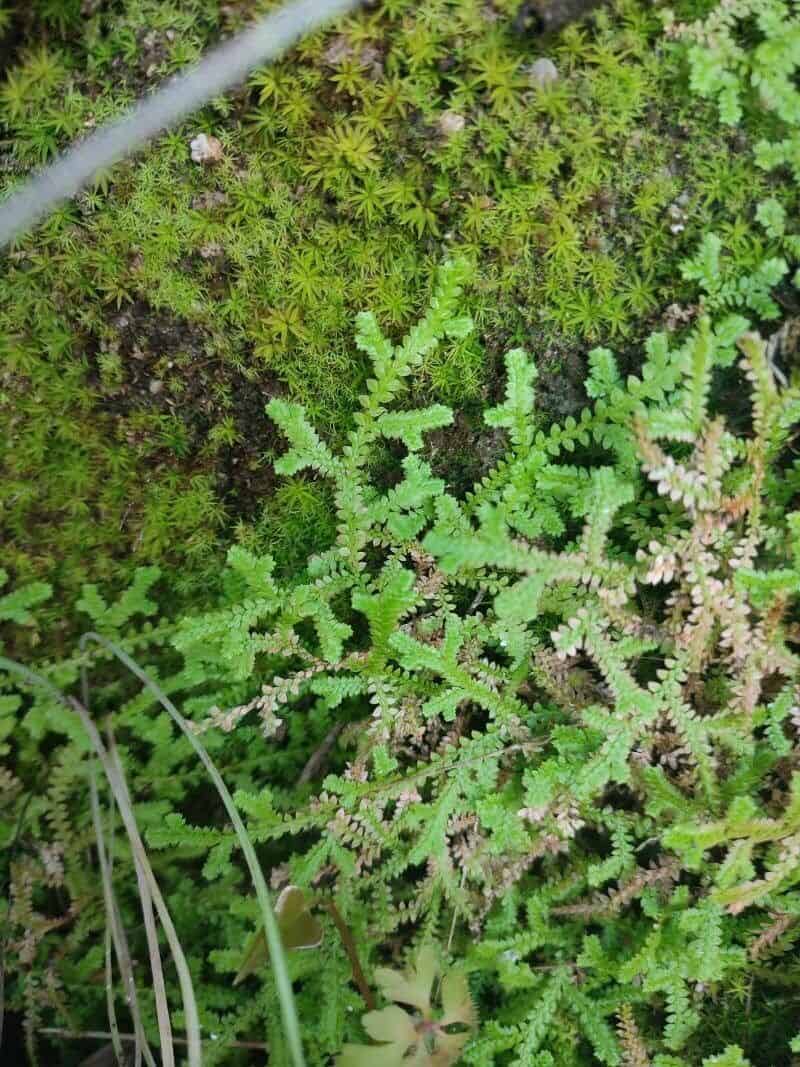
Have you encountered the enchanting world of Selaginella helvetica? Also known as the Swiss spikemoss, this delicate, fern-like plant captivates with its intricate foliage and vibrant green hues. Unlike true ferns, Selaginella helvetica reproduces through spores rather than seeds, adding a touch of mystery and intrigue to its propagation.
Though seemingly complex, propagating Selaginella helvetica at home can be surprisingly straightforward with a bit of patience and these simple techniques.
Understanding the Basics
Before we delve into the methods, let’s understand the two primary methods of propagation for this unique plant:
Spore Propagation: This technique, mirroring nature’s way, involves collecting mature spores and providing them with the ideal conditions to germinate and develop into new plants.
- Division: A simpler and quicker method, division involves separating established clumps of Selaginella helvetica into smaller sections, each capable of growing independently.
Method 1: Spore Propagation
Spore Collection: Spores are housed in tiny, cone-like structures called strobili, found along the stems of mature Selaginella helvetica. Once the strobili turn brownish-yellow, gently pinch them off and place them in a paper bag to dry for a few days. The dry strobili will release the spores readily.
Sowing the Spores: Prepare a shallow tray or pot with a well-draining seed starting mix, moistening it evenly. Scatter the spores lightly over the surface, being careful not to bury them.
Creating the Ideal Environment: Cover the tray with a clear plastic wrap or humidity dome to maintain high humidity levels crucial for spore germination. Place the tray in a brightly lit area, out of direct sunlight.
- Germination and Growth: Spore germination can take several weeks or even months. Ensure the soil remains consistently moist but not waterlogged. Once the tiny sporophytes (young plants) emerge and grow large enough to handle, you can carefully transplant them into individual pots.
Method 2: Division
Dividing the Plant: When your Selaginella helvetica has formed a dense clump, you can easily divide it during spring or early summer. Using a sharp, clean knife or pruners, carefully separate the plant into smaller sections, ensuring each division has a good amount of roots and foliage.
Potting the Divisions: Prepare small pots with a well-draining potting mix suitable for ferns or spikemosses. Plant each division at the same depth it was originally growing, firming the soil gently around the base.
- Post-Division Care: Water the newly potted divisions thoroughly and provide them with bright, indirect light. Maintain consistent moisture but avoid overwatering, as this can lead to root rot.
Tips for Success
Selaginella helvetica thrives in high humidity, so consider placing your plants on a humidity tray or misting them regularly.
Use filtered water or allow tap water to sit out overnight to evaporate chlorine before watering your plants.
- These plants prefer cooler temperatures, ideally between 60-75°F (15-24°C). Avoid placing them near heat sources.
With a little effort and these techniques, you can propagate stunning new Selaginella helvetica plants and enjoy their unique beauty for years to come. So why not embrace the challenge and watch as these fascinating plants grace your home with their delicate charm?