Unlocking the Secrets of Selaginella novae-hollandiae Propagation: A Step-by-Step Guide
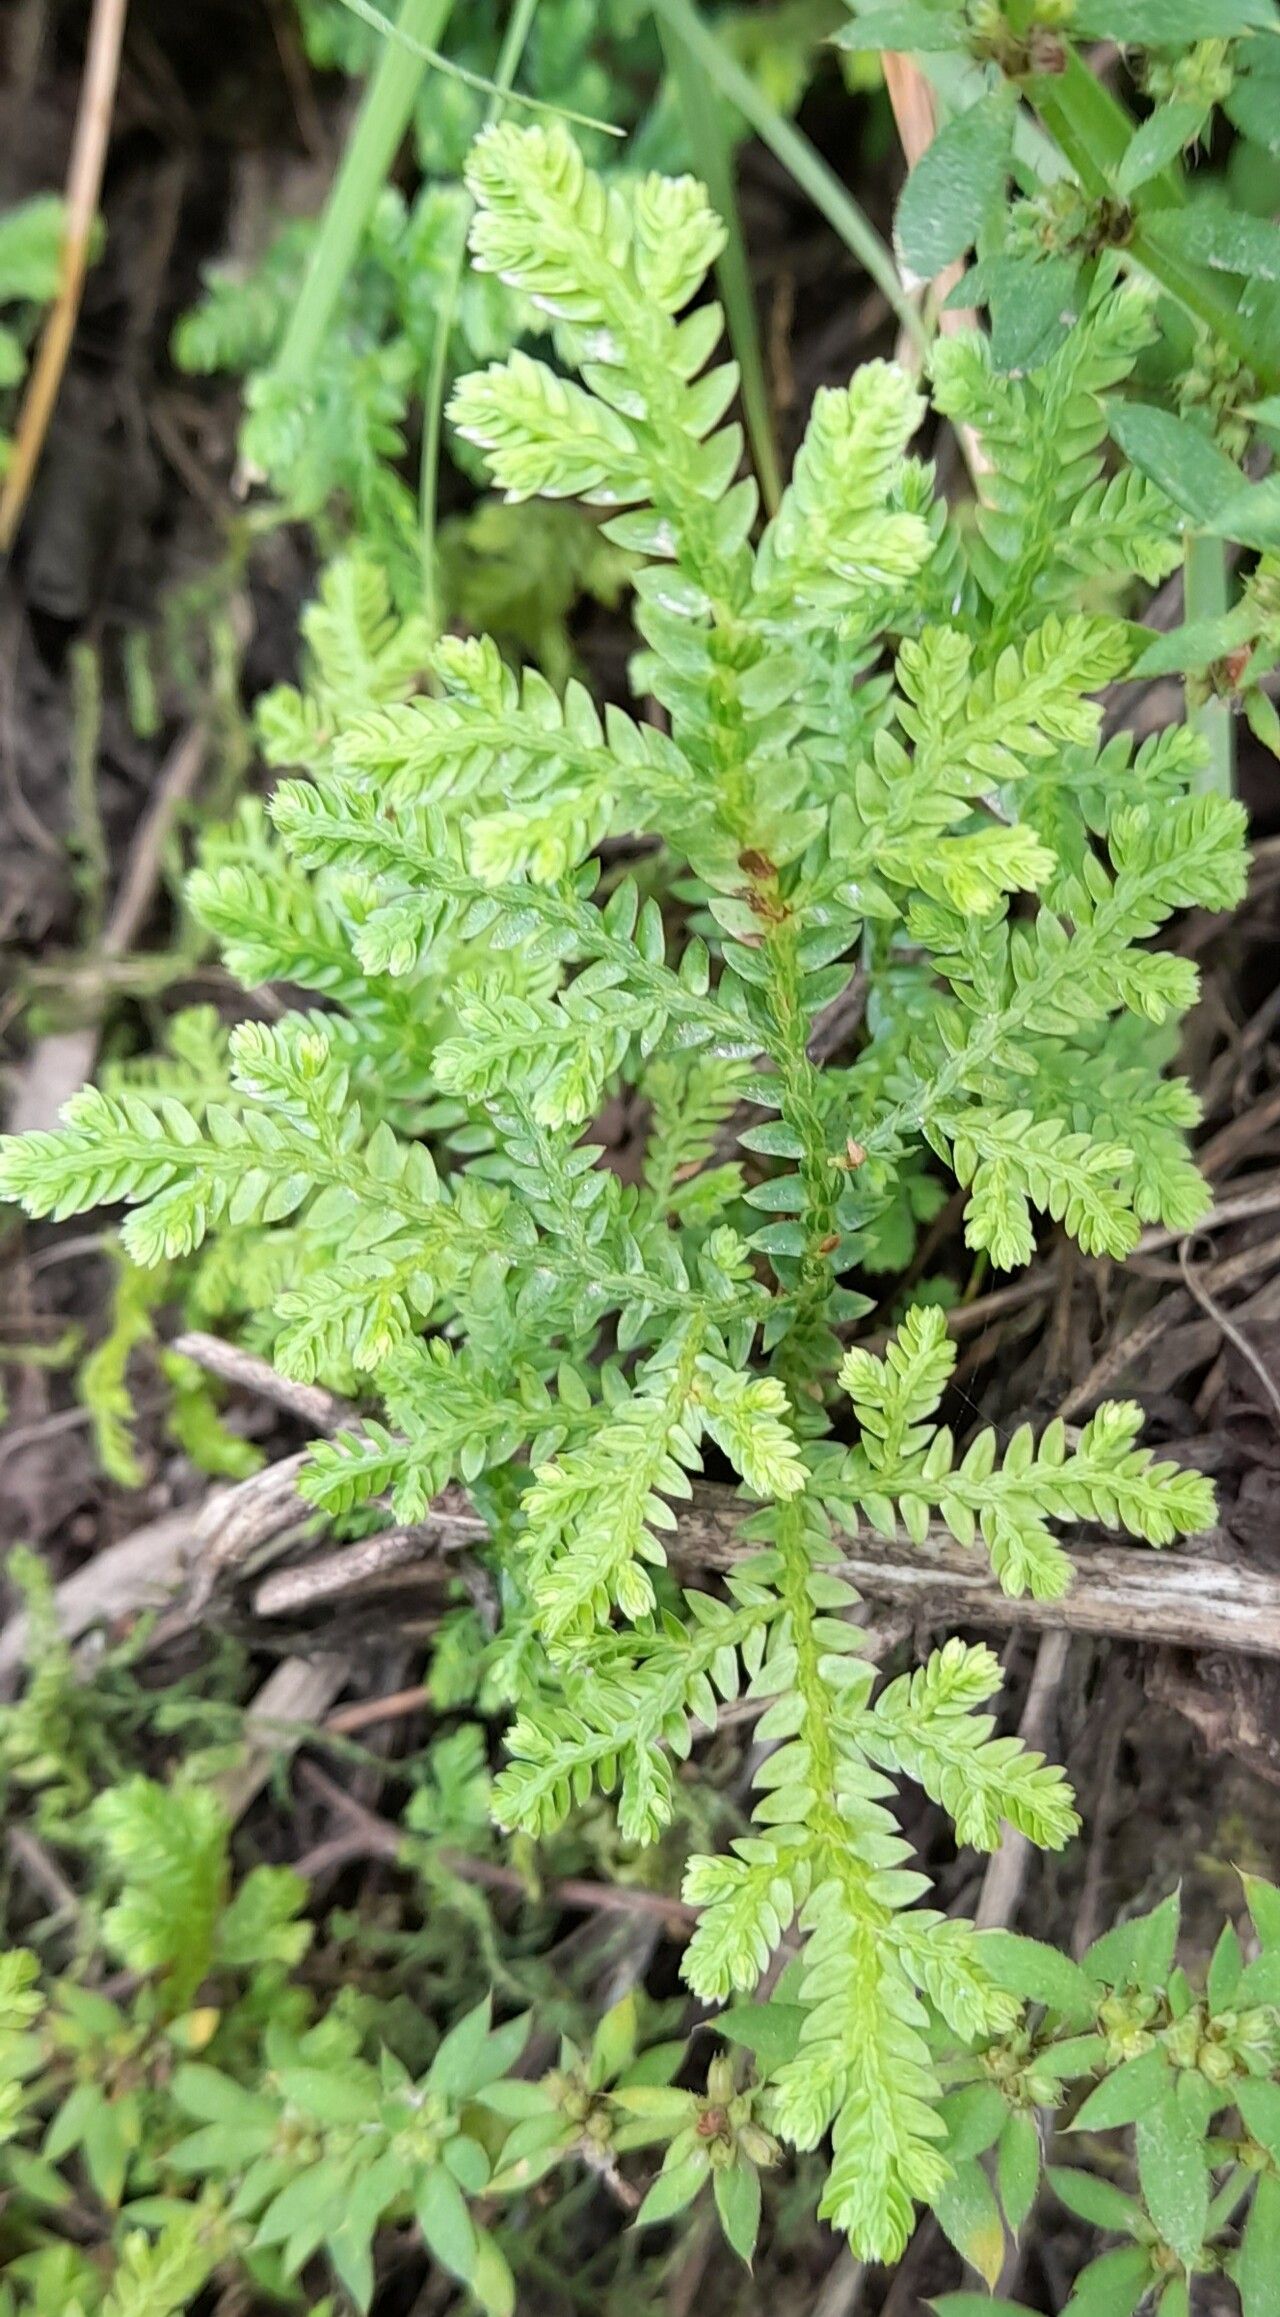
Selaginella novae-hollandiae, also known as Peacock’s Tail or Blue Spikemoss, is a fascinating plant with mesmerizing iridescent blue-green foliage. Native to Australia, this creeping groundcover adds a touch of magic to any garden or terrarium. Interested in multiplying your collection of this captivating species? Propagating Selaginella novae-hollandiae is easier than you might think! Let’s delve into the secrets of cultivating new plants from your existing beauty.
Understanding the Basics
Before we dive into the methods, it’s crucial to understand that Selaginella novae-hollandiae reproduces through spores and division, unlike many plants that rely on seeds or cuttings.
Method 1: Division – The Simplest Approach
Division is the easiest and most successful way to propagate Selaginella novae-hollandiae, especially for beginners. Here’s how:
- Timing is Key: The optimal time for division is during the plant’s growing season – spring or early summer.
- Gentle Separation: Carefully lift your mature plant from its pot or the ground. Look for natural divisions in the root ball where new growth points are visible.
- Divide and Conquer: Gently separate the root ball into smaller sections, ensuring each section has a healthy portion of roots and foliage.
- Potting the Divisions: Prepare small pots with well-draining, slightly acidic soil. Plant the divisions at the same depth they were originally growing.
- Creating a Humid Haven: Mist the newly potted divisions generously and place them in a warm, humid environment. A humidity dome or a clear plastic bag placed over the pot can help retain moisture.
Method 2: Spore Propagation – Embracing the Challenge
Propagating Selaginella novae-hollandiae from spores is a bit more advanced but immensely rewarding. Here’s a breakdown of the process:
- Spore Collection: As your plant matures, it will develop cone-like structures called strobili that contain the spores. When the strobili turn brown and dry, gently collect them.
- Spore Preparation: Carefully open the strobili and sprinkle the tiny brown spores onto a piece of white paper. This will help you see them better.
- Sowing the Spores: Prepare a tray or pot with a sterile seed-starting mix. Moisten the mix and evenly scatter the spores on the surface. Do not bury them.
- Creating a Microclimate: Cover the tray with a humidity dome or clear plastic to maintain high humidity levels. Place it in a bright location, out of direct sunlight.
- Patience is Key: Germination can take several weeks to a few months. You’ll first notice tiny, moss-like growths, which will eventually develop into mature plants.
Essential Care Tips for Success
Regardless of your chosen propagation method, these care tips will increase your chances of success:
- Maintain high humidity: Selaginella novae-hollandiae thrives in humid environments. Mist frequently or use a humidifier.
- Ensure proper drainage: Use a well-draining potting mix to prevent root rot.
- Provide bright, indirect light: Avoid placing your plants in direct sunlight which can scorch their delicate foliage.
- Water consistently but avoid overwatering: Keep the soil evenly moist but not waterlogged.
Conclusion
Propagating Selaginella novae-hollandiae is a fulfilling endeavor that allows you to expand your collection and share the beauty of this captivating plant. Whether you choose the simplicity of division or the rewarding challenge of spore propagation, these methods offer pathways to cultivating new life and adding splashes of shimmering greenery to your surroundings.