Unveiling the Secrets of Selliguea veitchii Propagation: A Guide to Multiplying Your Bird’s Nest Fern
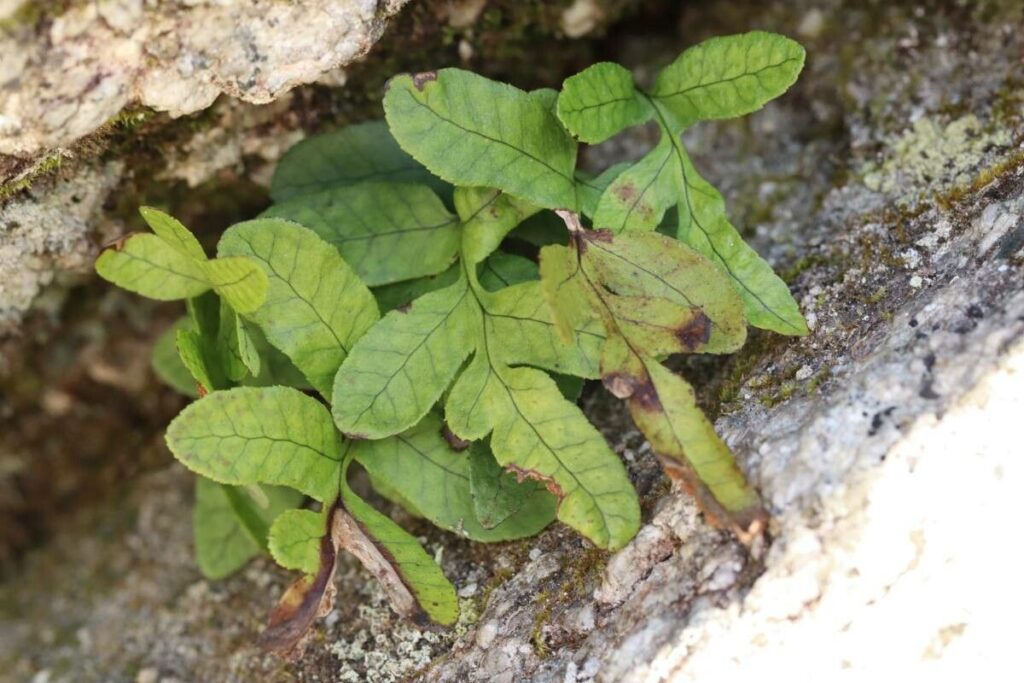
Selliguea veitchii, more affectionately known as the Bird’s Nest Fern, is a captivating epiphyte with fronds resembling a bird’s nest, adding a touch of the wild to any home. Unlike typical ferns that reproduce through spores, this unique species offers a more accessible route to propagation: rhizome division.
This comprehensive guide will delve into the intricacies of propagating Selliguea veitchii, providing you with the knowledge and confidence to expand your fern family.
Understanding Rhizome Division
Before embarking on this horticultural adventure, it’s crucial to understand rhizomes. These horizontal stems, often mistaken for roots, grow beneath the soil surface and play a vital role in the plant’s survival and propagation. Rhizomes store nutrients and give rise to new shoots and roots, making them ideal for dividing and creating new plants.
When is the Best Time to Propagate?
Timing is crucial for successful propagation. Spring, with its burst of new growth, is the optimal time to divide your Selliguea veitchii. This allows the divisions ample time to establish themselves before winter dormancy.
Essential Tools & Materials:
- Sharp, sterilized knife or pruning shears
- Clean, well-draining potting mix specifically formulated for epiphytes
- Pots with drainage holes, slightly larger than the divisions
- Spray bottle filled with water
- Optional: Rooting hormone (powdered or liquid)
Step-by-Step Guide to Rhizome Division:
-
Prepare the Parent Plant: Water your Selliguea veitchii thoroughly a day or two before division to ensure the rhizomes are well-hydrated.
-
Carefully Remove the Plant: Gently remove the fern from its pot, carefully loosening the soil around the roots.
-
Identify the Rhizome Sections: Look for healthy sections of rhizome with at least two to three fronds attached.
-
Divide the Rhizomes: Using your sterilized knife or shears, carefully cut the rhizome, ensuring each division has a good portion of roots and fronds.
-
Potting the Divisions: Fill your chosen pots with the well-draining potting mix. Plant each division at the same depth it was originally growing, ensuring the fronds are above the soil line.
-
Water and Care: After potting, mist the fronds and surrounding soil with water. Place the newly potted divisions in a warm, humid environment with indirect sunlight. Avoid overwatering, allowing the soil to slightly dry out between waterings.
- Observe and Enjoy: Be patient! It may take a few weeks for the divisions to show signs of new growth. Once established, resume a regular watering schedule and enjoy watching your new Selliguea veitchii flourish.
Tips for Success:
- Using a rooting hormone on the cut ends of the rhizome can encourage faster root development.
- Avoid exposing the newly divided plants to direct sunlight, as this can scorch the delicate fronds.
- Maintain a humid environment by placing a humidity tray nearby or misting regularly.
Propagating your Selliguea veitchii through rhizome division is a rewarding experience, allowing you to enjoy the beauty of these unique ferns in multiple locations. With the right knowledge and a little TLC, you’ll be well on your way to expanding your green haven.