Unlocking the Secrets to Propagating the Charming Sibthorpia africana
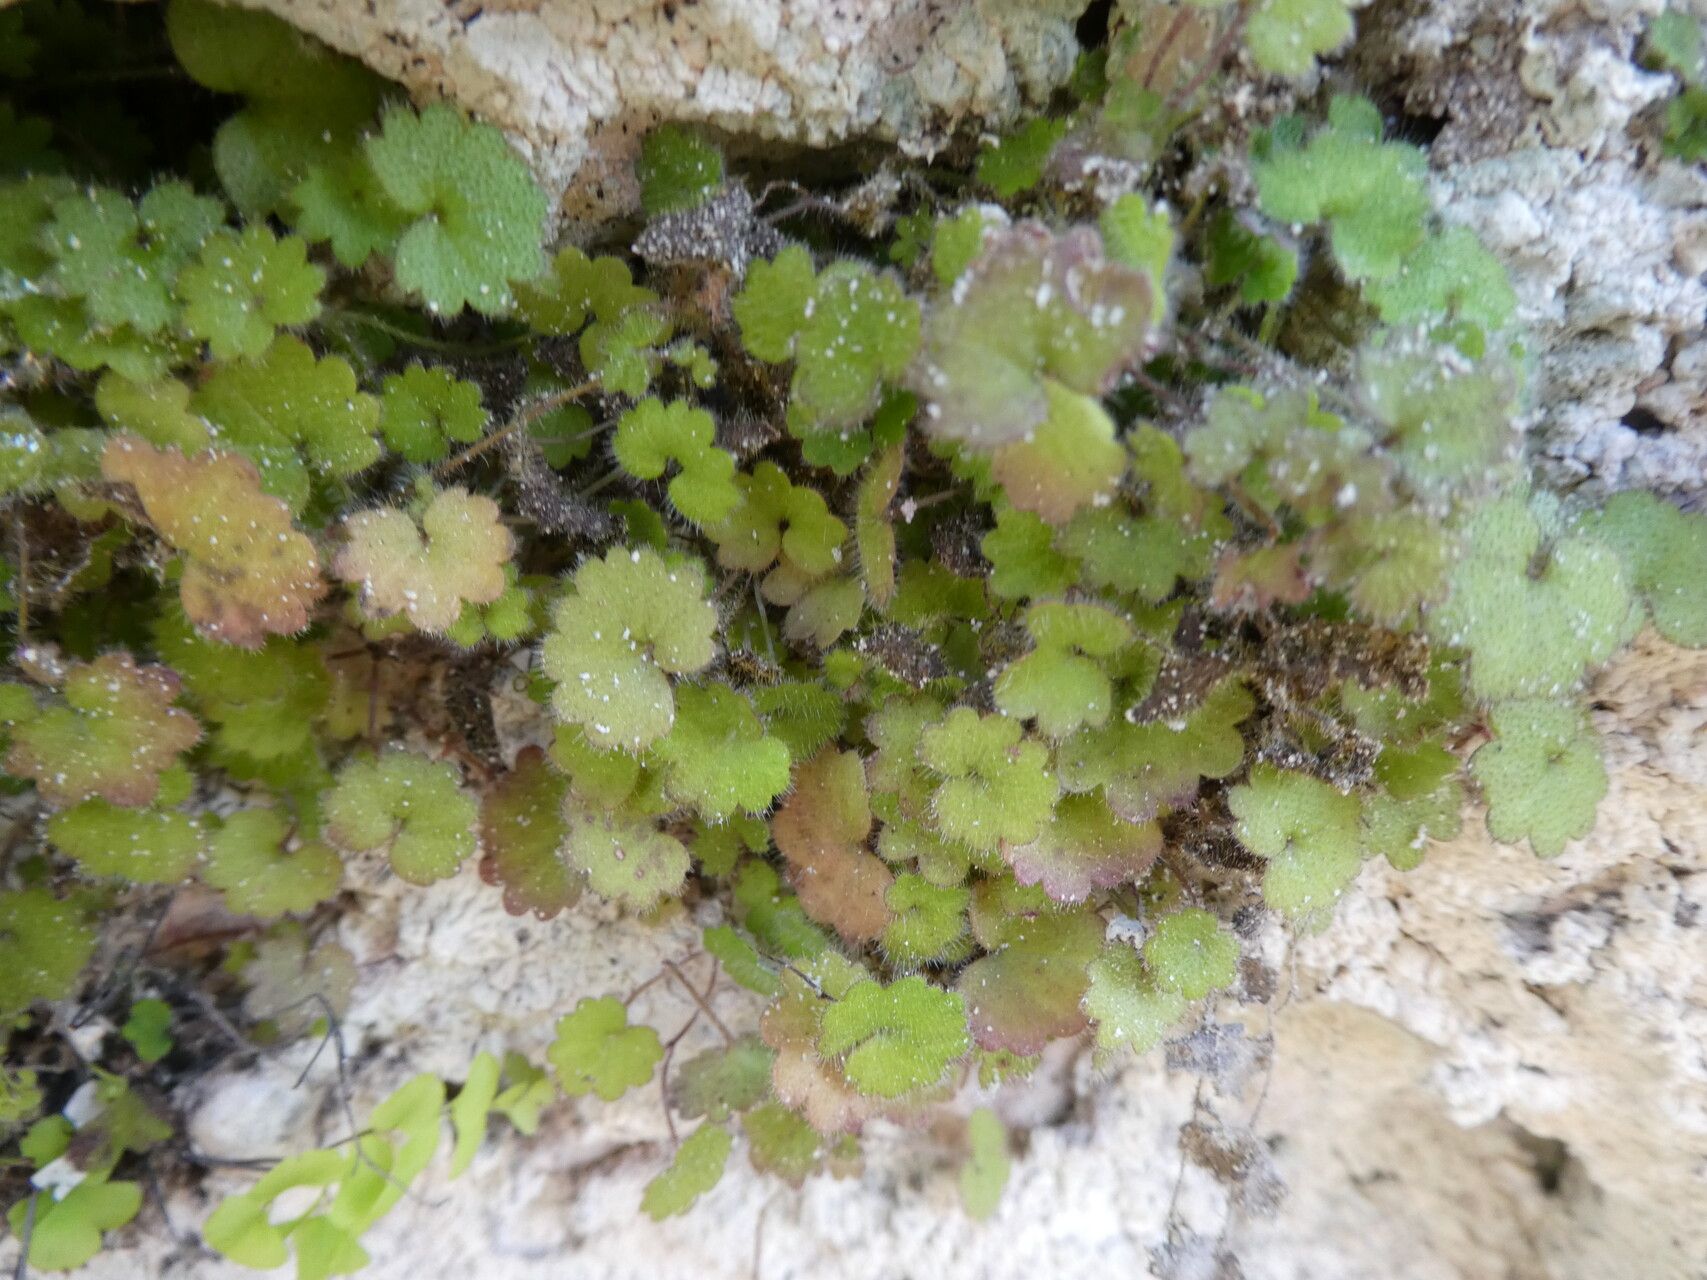
The Sibthorpia africana, also known as the African pennywort, is a captivating creeping groundcover prized for its lush, verdant foliage and delicate, whimsical flowers. This charming plant, native to the Southern Hemisphere, is a wonderful addition to gardens seeking an enchanting touch of greenery. While relatively easy to care for, successfully propagating Sibthorpia africana can seem a bit mysterious. But fear not, green thumbs and aspiring gardeners! This guide will unlock the secrets to multiplying your Sibthorpia, allowing you to spread its magic throughout your garden.
Two Routes to Propagation: Seeds vs. Cuttings
Propagating Sibthorpia africana can be accomplished through two primary methods: seeds and cuttings. Each approach comes with its own set of advantages and considerations.
1. Starting from Seed: A Test of Patience
Using seeds allows you to witness the entire lifecycle of your Sibthorpia africana, from tiny seedlings to mature plants. However, this method requires a touch more patience and a bit of luck.
- Source your seeds: Reputable online vendors and specialized nurseries dedicated to unusual plants often offer Sibthorpia africana seeds.
- Sowing the seeds: Sow seeds in a well-draining seed-starting mix during spring or early summer. Lightly press them onto the surface without fully burying them, as they need light to germinate.
- Warmth and moisture are key: Maintain a consistent temperature of around 70°F (21°C) and keep the soil consistently moist but not waterlogged.
- Germination expectations: Be prepared to wait; germination can take anywhere from a few weeks to a couple of months.
- Transplanting seedlings: Once seedlings develop a couple of true leaves, carefully transplant them into individual pots or your desired outdoor location.
2. Propagating with Cuttings: A Quicker Path
Taking cuttings from an established Sibthorpia africana plant offers a quicker and generally more reliable route for propagation. This method takes advantage of the plant’s natural ability to regenerate.
- Selecting the perfect cutting: Choose healthy, non-flowering stems that are around 3-4 inches (7-10 cm) long.
- Preparing the cutting: Carefully remove the lower leaves from the stem, leaving a couple of leaves at the top. You can dip the cut end in rooting hormone (optional but helpful) to encourage faster root development.
- Planting the cutting: Place the prepared cutting in a pot filled with a well-draining potting mix, ensuring the bottom node (where the leaves were removed) is buried.
- Creating a humid environment: To improve your chances of success, cover the pot with a clear plastic bag or use a humidity dome to maintain moisture around the cutting.
- New growth signals success: After about 4-6 weeks, you should start seeing new growth, indicating that roots have formed. You can then gradually acclimatize your new plant to its permanent location.
Nurturing Your New Sibthorpia Plants
Whether you’ve chosen the path of seed or cuttings, caring for your new Sibthorpia africana remains the same. Provide them with:
- Bright, indirect light: Avoid direct sunlight which can scorch their delicate leaves.
- Well-draining soil: Sibthorpia africana thrives in moist but well-drained soil. Soggy conditions can lead to root rot.
- Regular watering: Keep the soil consistently moist, but avoid overwatering.
- Cool temperatures: These plants prefer cooler conditions, ideally between 50-70°F (10-21°C).
With a touch of patience and care, you can successfully propagate your own colony of these captivating plants. Soon, you’ll have an abundance of Sibthorpia africana cascading through your garden, transforming it into a verdant oasis.