The Easy Way to Multiply Your Sida elliottii: A Guide to Propagation
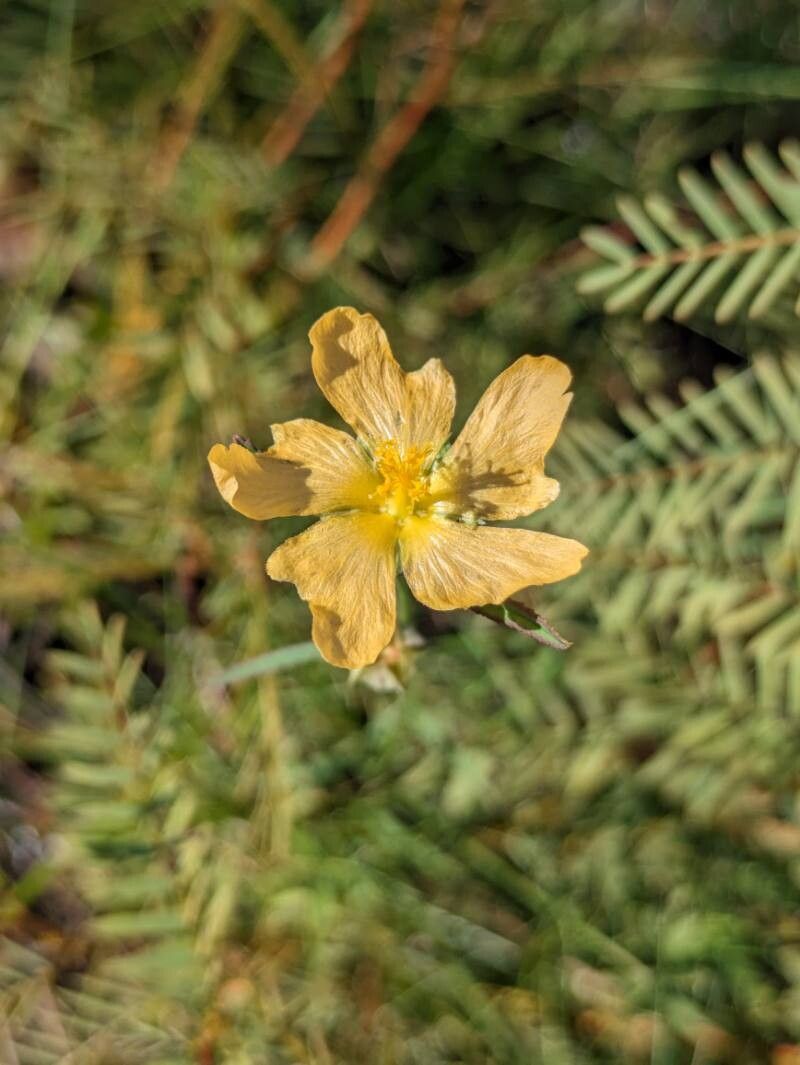
Sida elliottii, also known as the “Trailing Abutilon” or “Fairy Bells”, is a stunning flowering plant that adds a touch of vibrant color and graceful charm to any garden. If you’re a plant enthusiast with a Sida elliottii in your collection, you might be wondering how to create more of these beauties. Luckily, propagation is surprisingly simple for this plant, and you can easily grow new plants from cuttings.
The Power of Propagation: Why You Should Give It a Try
Propagating your Sida elliottii offers several benefits:
- Cost-effective: Instead of buying new plants, you can create more for free.
- Clones of your favorites: Propagated plants are genetically identical, ensuring you maintain the specific traits you love, like flower color and growth habit.
- Sharing the joy: You can share your beautiful Sida elliottii with friends and family, spreading the joy of gardening.
Time to Cut! A Step-by-Step Guide to Sida elliottii Propagation
1. Choose the Right Cuttings:
- Timing is key: The best time for propagation is during the growing season, typically spring or summer.
- Select healthy stems: Look for strong, non-flowering stems with several nodes (the bumps along the stem where leaves emerge).
- Cut it right: Use clean, sharp shears or scissors to make a cut just below a node. Aim for a cutting that is 4-6 inches long.
2. Prepare the Cuttings:
- Remove lower leaves: Strip off the leaves from the bottom inch or two of the cutting to create space for root development.
- Dip in rooting hormone (optional): A rooting hormone can boost your chances of success, but it’s not strictly necessary.
- Let the cutting dry: Allow the cut end to dry and callous for a few hours to prevent rotting.
3. Choose Your Rooting Method:
a. Water Propagation:
- Fill a container: Use a clean jar or glass filled with water.
- Submerge the cuttings: Place the cut end of the cutting in the water, making sure the leaves stay above the waterline.
- Change the water: Replace the water every few days to prevent algae growth.
- Wait patiently: Roots will start appearing in a few weeks, depending on the temperature and humidity.
b. Soil Propagation:
- Prepare the pot: Use a pot with drainage holes filled with a well-draining potting mix.
- Make a hole: Use a pencil or your finger to make a small hole in the soil.
- Insert the cutting: Gently insert the cut end of the cutting into the hole, making sure the node is covered in soil.
- Keep it moist: Water the soil thoroughly, making sure to keep it consistently moist but not soggy.
- Cover it up (optional): You can cover the pot with a plastic bag or dome to create a humid environment. This can speed up the rooting process.
- Patience is a virtue: Roots will start to develop in a few weeks, but it can take up to a couple of months for the cuttings to establish.
4. Transplanting Time:
- Once the roots are well established: Gently pull the cutting out of the water or soil to inspect for a good root system.
- Potting up: Transplant the rooted cuttings into individual pots filled with fresh potting mix.
- Give them TLC: Water them regularly, provide plenty of sunlight, and be patient as they adjust to their new homes.
Tips for Success:
- Humidity is your friend: Keep your cuttings in a humid environment, especially during the rooting process.
- Light is important: Provide bright, indirect light for your cuttings.
- Patience is key: Rooting can take time, so don’t get discouraged if you don’t see results immediately.
With a little care, patience, and the simple steps outlined above, you can easily propagate your Sida elliottii and enjoy its vibrant flowers for years to come. Happy propagating!