Taming the Velvet Leaf: A Guide to Propagating Sida Setosa
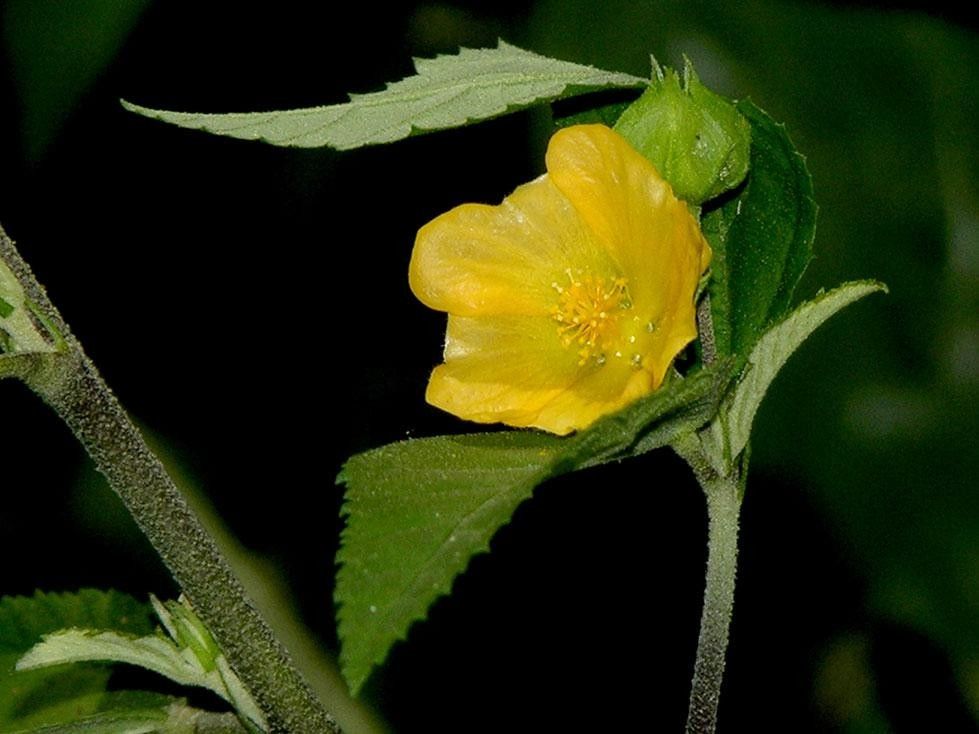
Sida setosa, known by its charming alias “velvet leaf,” is a plant that commands attention. Its soft, velvety leaves and vibrant yellow flowers are a welcome addition to any garden, attracting pollinators and providing a touch of exotic beauty. But don’t let its delicate appearance fool you, this plant is surprisingly easy to propagate. Whether you’re a seasoned gardener or just starting your green journey, mastering the art of multiplying your Sida setosa is an achievable feat.
Two Routes to Velvet Success: Seeds vs. Cuttings
Sida setosa generously offers two main paths for propagation: seeds and cuttings. Each method has its own advantages, allowing you to choose the best fit for your skills and resources:
1. The Seed Route: A Journey of Patience and Reward
- Sourcing Your Seeds: Harvest mature seed pods directly from your existing Sida setosa plant. These pods turn brown and brittle when ready, usually around late summer or early fall. Alternatively, you can find reputable online vendors offering Sida setosa seeds.
- Sowing the Seeds: Patience is key with Sida setosa seeds. They have a naturally hard outer shell that needs a little nudge to kickstart germination. Gently scarify the seeds by rubbing them between two pieces of sandpaper. Then, sow them in a seed-starting mix, barely covering them with soil.
- The Waiting Game and Beyond: Keep the soil consistently moist and warm. Germination can take a few weeks to a couple of months, so don’t despair if you don’t see sprouts immediately. Once your seedlings have a few sets of true leaves, you can transplant them outdoors after the last frost.
2. The Cutting Edge: A Faster Path to New Growth
- Choosing the Right Cuttings: In spring or early summer, select healthy, non-flowering stems from your Sida setosa plant. Look for stems that are at least 4-6 inches long.
- Making the Cut: Using a sharp, clean knife or pruning shears, cut just below a leaf node (where the leaf attaches to the stem) at a 45-degree angle. Remove the lower leaves, leaving only a few at the top.
- Encouraging Root Development: Dip the cut end of the stem in rooting hormone (optional but helpful). Plant the cutting in a pot filled with a well-draining potting mix, burying at least two nodes below the surface.
- Creating a Humid Haven: Keep the soil moist and cover the pot with a clear plastic bag or a humidity dome to create a greenhouse-like environment. Place the cutting in a warm, bright location, but out of direct sunlight.
- Transplanting Triumph: After a few weeks, your cutting should have developed roots. Gently tug on the stem – if you feel resistance, congrats! It’s ready to be transplanted into a larger pot or outdoors.
Nurturing Your Velvet Creations
Whether you choose the seed or cutting route, providing the right care is essential for healthy Sida setosa plants:
- Sunlight Appetite: Sida setosa thrives in full sun, meaning at least 6 hours of direct sunlight per day.
- Water Wisely: While drought-tolerant, this plant appreciates regular watering, especially during hot and dry periods. Allow the soil to dry slightly between waterings.
- Soil Preference: Well-draining soil is crucial to prevent root rot.
- Pruning Power: Regular pruning can help maintain its shape and encourage bushier growth.
Propagating Sida setosa may seem daunting at first, but with a bit of patience and the right techniques, you can easily expand your garden with this velvety delight. Enjoy watching your efforts blossom into a vibrant tapestry of soft leaves and cheerful yellow blooms!