From Seed to Blooms: Propagating the Charming Sidalcea hirtipes
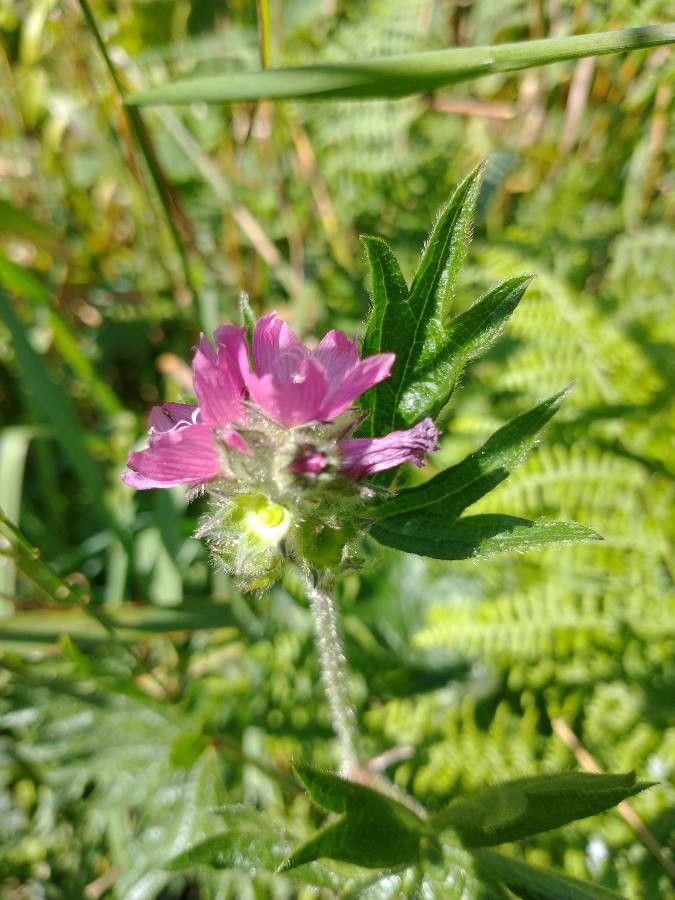
The Sidalcea hirtipes, also known as the Checkerbloom, is a delightful addition to any garden, boasting beautiful pink or white blooms and a charming, low-growing habit. But what if you want to share this beauty with friends or fill your garden with even more of these charming flowers? That’s where propagation comes in!
The Power of Seeds:
Sidalcea hirtipes easily multiplies from seed, making it an accessible plant for even beginner gardeners. Here’s how to get started:
- Collect Seeds: After your Checkerbloom has finished flowering, you’ll find seed pods resembling miniature lanterns. Allow these to fully mature and dry out on the plant before carefully harvesting them.
- Prepare the Seeds: Once the pods are dry, gently shake the seeds out. You can sow them directly into the garden in early spring or start them indoors about 6-8 weeks before the last frost.
- Starting Indoors: Fill small seed trays with seed-starting mix and lightly press the seeds into the surface. Lightly water and cover the tray with a clear plastic dome or wrap to maintain humidity. Place the tray in a bright location with temperatures around 70°F.
- Direct Sowing: When the soil has warmed up in spring (around 6-8 weeks before the last frost), you can directly sow the seeds into your garden. Choose a sunny location with well-drained soil. Sprinkle the seeds thinly and lightly cover with soil. Water gently and keep the soil moist.
- Thinning and Transplanting: Once the seedlings have a few true leaves, thin them to give each plant enough space to develop. You can transplant them to their permanent location later in the spring.
Beyond Seeds: Exploring Other Propagation Methods
While seeds offer a straightforward way to multiply Checkerbloom, you can also explore other methods:
- Division: This method works best for established plants. In early spring or late fall, carefully dig up the plant and gently separate it into individual clumps. Make sure each clump has roots and a healthy stem. Plant the divisions in prepared spots with well-drained soil.
- Stem Cuttings: Take softwood cuttings from new growth during the spring or summer. Cut below a leaf node and remove any leaves below the cut. Dip the cut end in rooting hormone and plant in a pot filled with moist rooting mix. Place the pot in a bright, indirect location and keep the soil consistently moist.
Tips for Success:
- Light: Sidalcea hirtipes thrives in full sun to partial shade. Aim for at least 6 hours of sunlight per day.
- Soil: Well-drained soil is crucial, as the plant doesn’t tolerate waterlogged conditions. If your soil is heavy, amend it with compost or sand for better drainage.
- Watering: Keep the soil consistently moist, especially during the first few weeks after planting. However, avoid overwatering, as this can lead to root rot.
- Deadheading: Removing spent flowers encourages new blooms and promotes overall plant health.
Sharing the Charm:
Once your Sidalcea hirtipes is flourishing, consider sharing your success! Gift a few seedlings to friends and neighbors, or invite them over to admire your vibrant checkerboard of blooms. The joy of propagation isn’t just about growing plants; it’s about sharing beauty and fostering a passion for gardening in others.
So, whether you’re starting from seed or exploring other propagation methods, embrace the journey of multiplying the lovely Sidalcea hirtipes and enjoy its charming presence in your garden for years to come.