Unlocking the Secrets of Silene aegyptiaca: A Guide to Propagation
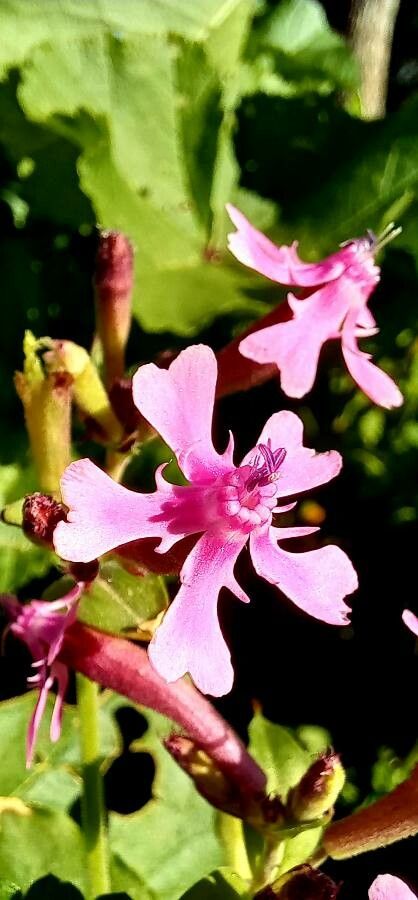
Silene aegyptiaca, with its delicate pink blooms and intriguing bladder-like calyx, is a captivating addition to any garden. This charming perennial, native to the eastern Mediterranean, thrives in rocky and sandy soils, adding a touch of wild beauty to rockeries and borders. But successfully cultivating this alluring plant requires a bit of know-how, particularly when it comes to propagation. So, let’s delve into the world of Silene aegyptiaca propagation and discover the secrets to multiplying your floral treasures.
Seeds: Sowing Success for Silene aegyptiaca
Propagation from seed is the most common and rewarding method for Silene aegyptiaca. The key to success lies in understanding its lifecycle and providing the optimal conditions for germination.
Timing is Everything: For best results, sow seeds in late winter or early spring, about 6-8 weeks before the last expected frost. This allows the seedlings to establish themselves before the summer heat arrives.
Creating the Perfect Nursery: Fill seed trays with a well-draining seed starting mix. Moisten the mix evenly and sprinkle the tiny seeds on the surface. You don’t need to bury them deeply; a light covering of vermiculite or fine soil will suffice.
Light and Warmth: Silene aegyptiaca seeds thrive in warmth and light. Position your seed trays in a bright location, but avoid direct sunlight which can scorch the delicate seedlings. Maintain a consistent temperature of around 70-75°F (21-24°C).
- Patience is Key: Germination can take anywhere between 2-4 weeks, so don’t lose heart! Keep the soil consistently moist but not waterlogged. Once the seedlings have developed a few sets of true leaves, they can be carefully transplanted into individual pots or directly into the garden.
Cuttings: Cloning Your Captivating Catchfly
While less common than seed propagation, taking cuttings from established Silene aegyptiaca plants can be another successful method, especially if you want to replicate a specific plant’s characteristics.
The Right Time and Cut: The best time to take cuttings is in late spring or early summer when the plant is actively growing. Choose healthy, non-flowering stems and make a clean cut below a leaf node using a sharp, sterilized knife or pair of scissors.
Encouraging Root Development: Remove the lower leaves from the cutting, leaving only 2-3 pairs at the top. Dip the cut end in rooting hormone powder to encourage root development.
Planting Your Cuttings: Plant the cuttings in pots filled with a well-draining potting mix. Keep the soil consistently moist and place the pots in a bright location, out of direct sunlight.
- Rooting and Growth: Within a few weeks, your cuttings should develop roots and show signs of new growth. Once they are well-rooted and begin to flourish, you can transplant them to their permanent location in the garden.
Caring for Your New Silene aegyptiaca Progeny
Regardless of your chosen propagation method, providing proper care for your new Silene aegyptiaca plants is crucial for their success. They thrive in well-draining soil with full sun to partial shade. Water regularly during the growing season, allowing the soil to dry slightly between waterings. Deadhead spent blooms to encourage continuous flowering and prevent self-seeding if desired.
With a little patience and care, you can propagate Silene aegyptiaca and enjoy its unique beauty year after year. So, why not embark on this rewarding gardening journey and introduce this enchanting plant to your own outdoor haven?