From Climber to Clump: Mastering the Art of Smilax fluminensis Propagation
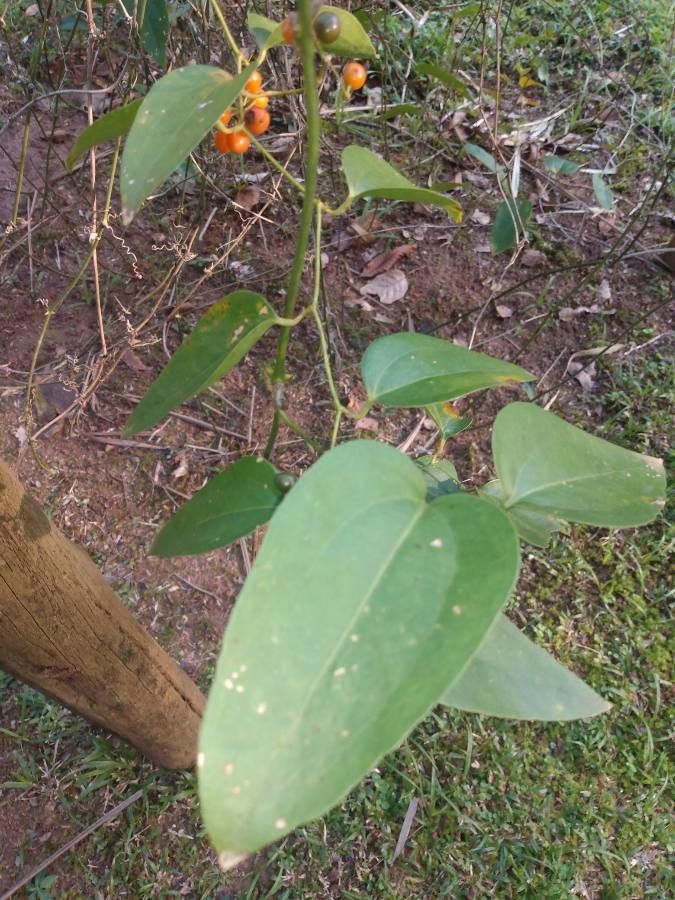
Smilax fluminensis, also known as “Smilax,” is a popular houseplant that boasts lush, vibrant foliage and a charmingly cascading growth habit. These qualities make it a favorite for hanging baskets and potted displays. But if you’re looking to expand your Smilax collection or share its beauty with friends, knowing how to propagate it is key. Fortunately, this vine is surprisingly easy to multiply, and with the right techniques, you can create more of these stunning plants in no time.
Methods for Smilax Propagation:
1. Stem Cuttings:
This is perhaps the most common and accessible method for propagating Smilax.
- When to Cut: Choose a healthy, non-flowering stem with at least a few nodes (the points where leaves emerge). The best time to take cuttings is during the growing season (spring and summer).
- The Cut: Make a clean, angled cut just below a node using sharp scissors or a knife.
- Rooting Medium: Fill a small pot or tray with a well-draining mix – good options include a peat moss and perlite blend, or a mix of coco coir and vermiculite.
- Planting the Cutting: Dip the cut end of the stem in rooting hormone for a boost. Then, insert the cutting into the prepared medium, making sure that at least one node is buried below the surface.
- Care: Place the cuttings in a bright, indirect light location, and keep the medium consistently moist (not soggy).
- Waiting Game: New roots should emerge in a few weeks. Once you see signs of growth, you can transplant the rooted cuttings into individual pots with a good potting mix.
2. Layering:
This method promotes root development while the cutting is still attached to the parent plant.
- Air Layering: In this technique, a small section of stem is scored, wrapped in damp sphagnum moss, and sealed with plastic wrap. Roots will develop within the moss, and the newly rooted section can be carefully removed and planted.
- Simple Layering: This method involves bending a stem and pinning it into the soil. Once roots develop at the buried node, the stem can be severed from the parent plant.
3. Division:
If you have an established Smilax plant, you can divide it to create several new plants.
- Timing: The best time to divide a Smilax is during the growing season, when the plant is actively growing.
- Process: Gently remove the plant from its pot and break or cut the root ball into smaller sections, ensuring each division has healthy roots and foliage. Repot these divisions in fresh potting mix.
Important Tips for Success:
- Hygiene: Use clean tools to prevent the spread of diseases.
- Moisture: Maintain a consistently moist, but not soggy, rooting medium for the cuttings. Overwatering will lead to root rot.
- Light: Provide cuttings with bright, indirect light, but avoid direct sunlight.
- Humidity: Keeping a humidity dome or covering the cuttings with a plastic bag will help retain moisture and promote root growth.
Conclusion:
Propagating your Smilax is a rewarding experience, allowing you to expand your collection, share your passion for this plant, or simply replace older or leggy plants. With the right knowledge and care, you can successfully create new Smilax plants using stem cuttings, layering, or division. So, grab your clippers, potting mix, and a little patience, and you’ll soon be surrounded by even more of this enchanting and easy-to-grow vine.