Taming the Thorns: A Guide to Propagating Smilax Spinosa
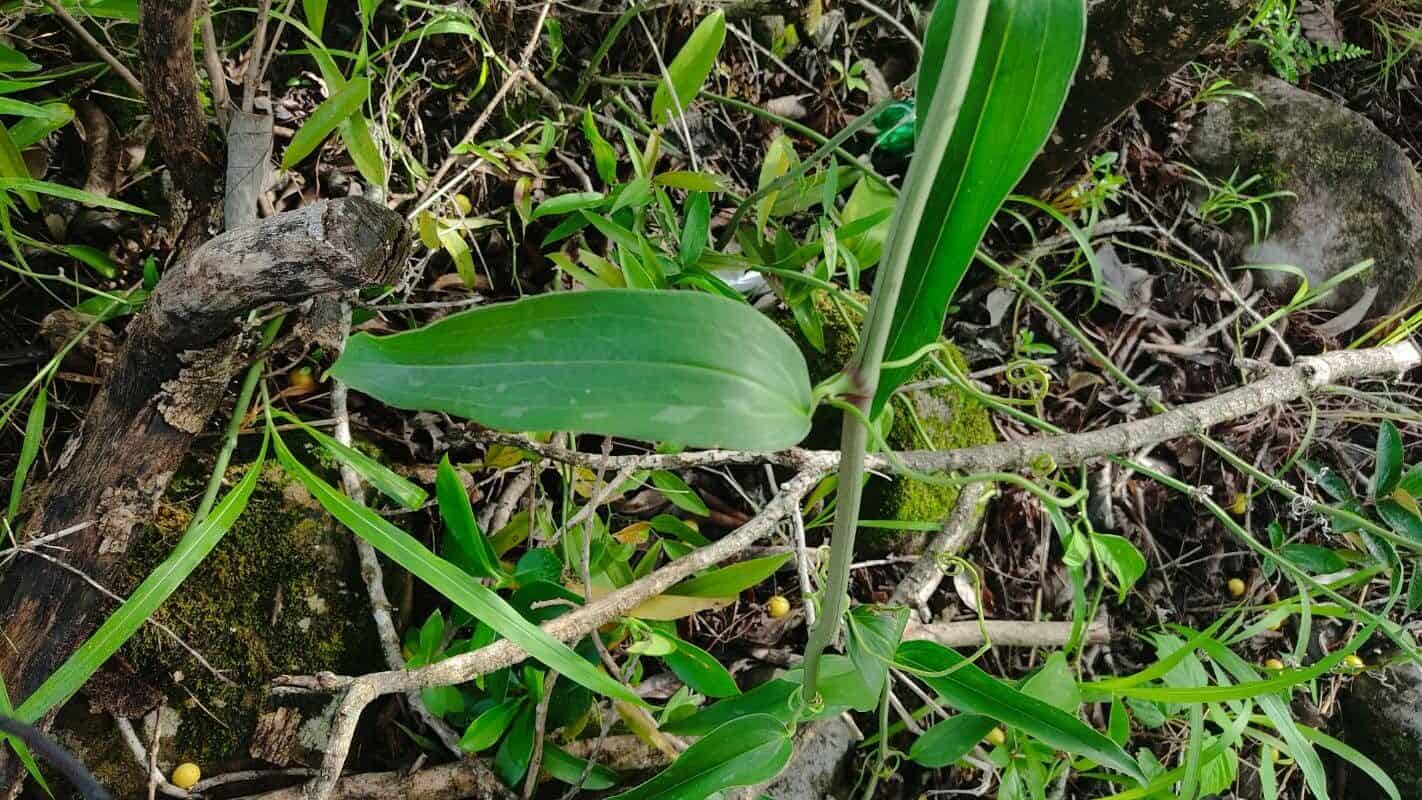
Smilax spinosa, also known as Greenbrier or Catbrier, might conjure images of prickly thickets rather than a gardener’s delight. But don’t let the thorns fool you! This vigorous climber, with its glossy leaves and vibrant berries, possesses a wild beauty that can add texture and interest to your landscape. And while it spreads readily in the wild, propagating Smilax spinosa at home can be a rewarding endeavor.
This guide will walk you through the two most common propagation methods for this tenacious vine:
1. Seed Propagation: A Lesson in Patience
Smilax spinosa produces small, dark berries that contain seeds. While this might seem like the most straightforward propagation method, it requires a bit more time and patience.
- Harvesting the Berries: Collect fully ripe berries in the late summer or fall. You’ll know they’re ready when they’re dark blue or black and slightly soft to the touch.
- Seed Extraction and Cleaning: Extract the seeds from the berries and clean off any remaining pulp. Soaking the berries in water for a few hours can make this task easier.
- Stratification for Success: Smilax spinosa seeds require a period of cold stratification to germinate reliably. Mix the cleaned seeds with damp vermiculite or sand, place them in a sealed plastic bag, and store them in the refrigerator for 60-90 days.
- Sowing Time: Once stratified, sow the seeds in seed trays filled with a well-draining seed starting mix. Cover them lightly with soil and keep the mix consistently moist.
- Patience is Key: Germination can be slow and erratic, taking anywhere from a few weeks to several months.
2. Cuttings: Faster Results for the Impatient Gardener
Propagating Smilax spinosa from cuttings is a faster method, yielding quicker results for eager gardeners.
- Timing is Everything: Take semi-hardwood cuttings in late spring or early summer when the plant is actively growing. Look for healthy stems that are flexible but not too soft.
- Making the Cut: Using a sharp, clean knife or pruning shears, take cuttings that are about 4-6 inches long. Each cutting should have at least 3-4 leaf nodes. Make the cut just below a leaf node.
- Preparing the Cuttings: Remove the leaves from the bottom third of each cutting. Dip the cut end in rooting hormone to encourage faster root development.
- Potting and Caring: Plant the cuttings in pots filled with a well-draining potting mix. Keep the soil moist and provide indirect sunlight.
- Root Development: It typically takes 4-6 weeks for cuttings to develop roots.
A Few Tips for Success:
- Well-Draining Soil: Smilax spinosa prefers well-drained soils. When planting in the garden, amend heavy clay soils with compost or other organic matter.
- Sun or Shade: This adaptable vine can tolerate partial shade but thrives in full sun.
- Managing Growth: Smilax spinosa can become aggressive if not managed. Regular pruning will help control its spread.
Propagating Smilax spinosa may require some effort, but the reward of a lush and thriving vine is well worth the patience. By following these tips, you can tame this thorny beauty and enjoy its unique charm in your own garden.