From Seed to Thriving Beauty: A Guide to Propagating Spergula morisonii
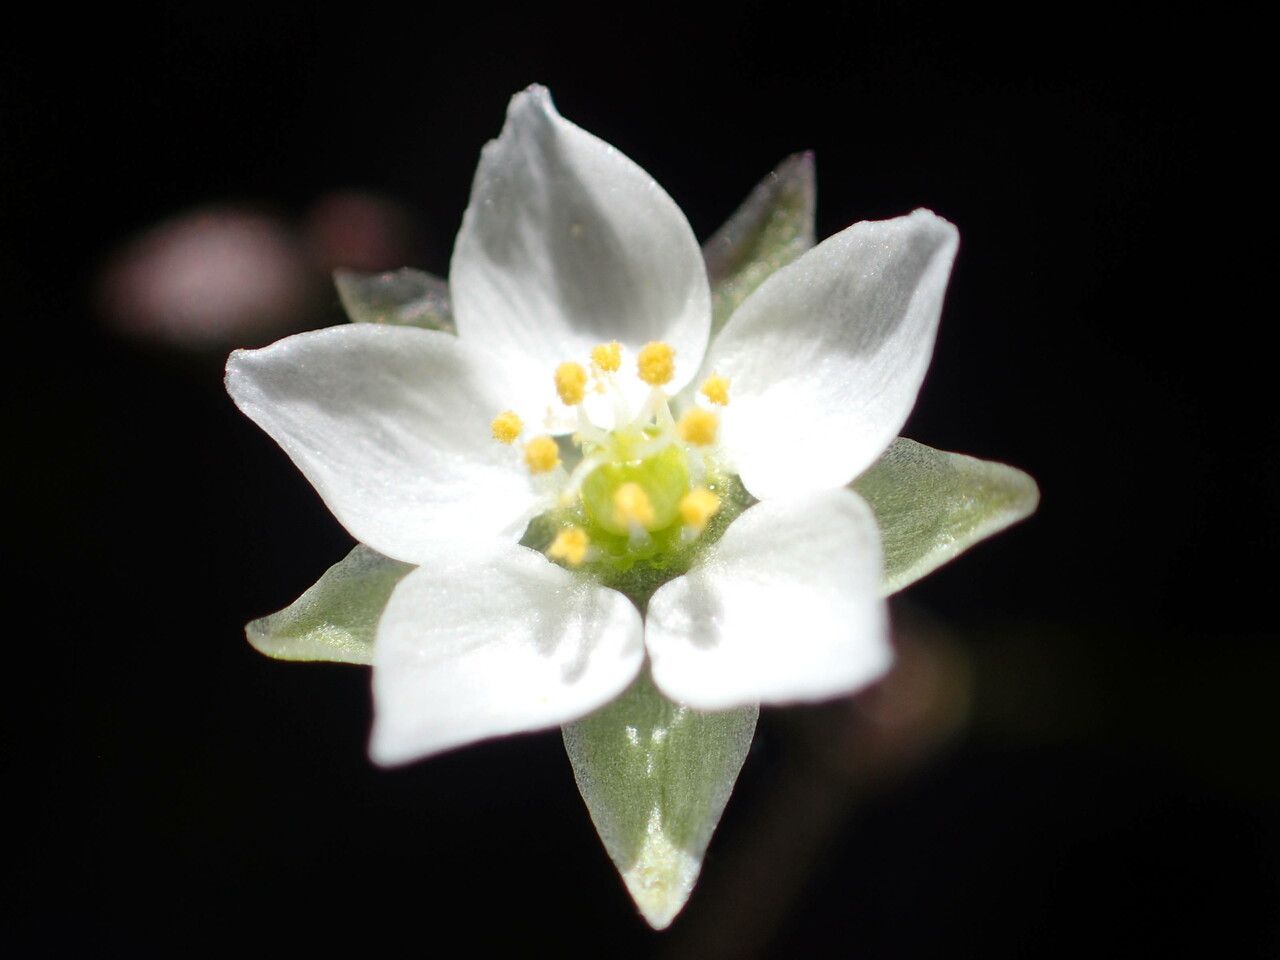
Spergula morisonii, with its delicate, star-shaped flowers and vibrant green foliage, is a captivating addition to any garden. But what if you want to share this beauty with others or expand your own collection? Enter the world of propagation – the magical art of creating new plants from existing ones.
While Spergula morisonii can be a bit finicky, propagation from seed is the most common and reliable method. Here’s a step-by-step guide to help you grow this delightful plant from scratch:
1. Gathering Seeds:
The first step is collecting seeds. This can be done in a couple of ways:
- Harvesting Mature Seeds: Once your Spergula morisonii blooms, wait for the seed pods to dry and turn brown. Carefully snip off these pods and let them dry further in a paper bag. Once fully dry, gently rub the pods between your fingers to release the seeds.
- Purchasing Seeds: Many online nurseries and seed companies offer Spergula morisonii seeds. This is a convenient option if you don’t have access to mature plants.
2. Sowing Seeds:
Now, it’s time to sow your seeds:
- Timing is Key: Sow Spergula morisonii seeds directly outdoors after the last frost in spring or in late summer for a fall blooming display.
- Preparation: Choose a sunny spot with well-drained soil. Loosen the soil and rake it smooth.
- Sowing Depth: Gently press the seeds into the soil, barely covering them. Spergula morisonii prefers light to germinate.
- Spacing: Leave about 6-8 inches between seeds to allow for healthy growth.
- Watering: Water gently to maintain moisture. Don’t overwater, as this can hinder germination.
3. Germination and Care:
- Time: Spergula morisonii seeds typically germinate within 10-20 days.
- Initial Care: Keep the soil consistently moist but not soggy. Thin out seedlings as needed to give them space.
- Light: Provide ample sunlight for optimal growth.
- Fertilizing: You can fertilize sparingly with a balanced liquid fertilizer throughout the growing season.
4. Successful Propagation:
- Patience is Key: Propagation takes time, so be patient and observe your seedlings closely.
- Embrace the Journey: Enjoy the process of watching your Spergula morisonii grow from tiny seeds into beautiful, flourishing plants.
Beyond Seeds:
While seed propagation is the most common method, you can also try rooting cuttings from existing plants. However, this method has a lower success rate. Take stem cuttings in spring or early summer, remove the lower leaves, dip the base in rooting hormone, and plant them in moist potting mix. Keep the cuttings in a humid and warm environment until roots develop.
With a bit of care and patience, you can successfully propagate Spergula morisonii and share its beauty with others. Whether you’re a seasoned gardener or a plant enthusiast just starting out, propagating this lovely plant is a rewarding experience that connects you to the natural world.