From Tiny Seeds to Lush Growth: Propagating Spermacoce tenuior, the “Tiny Star” Plant
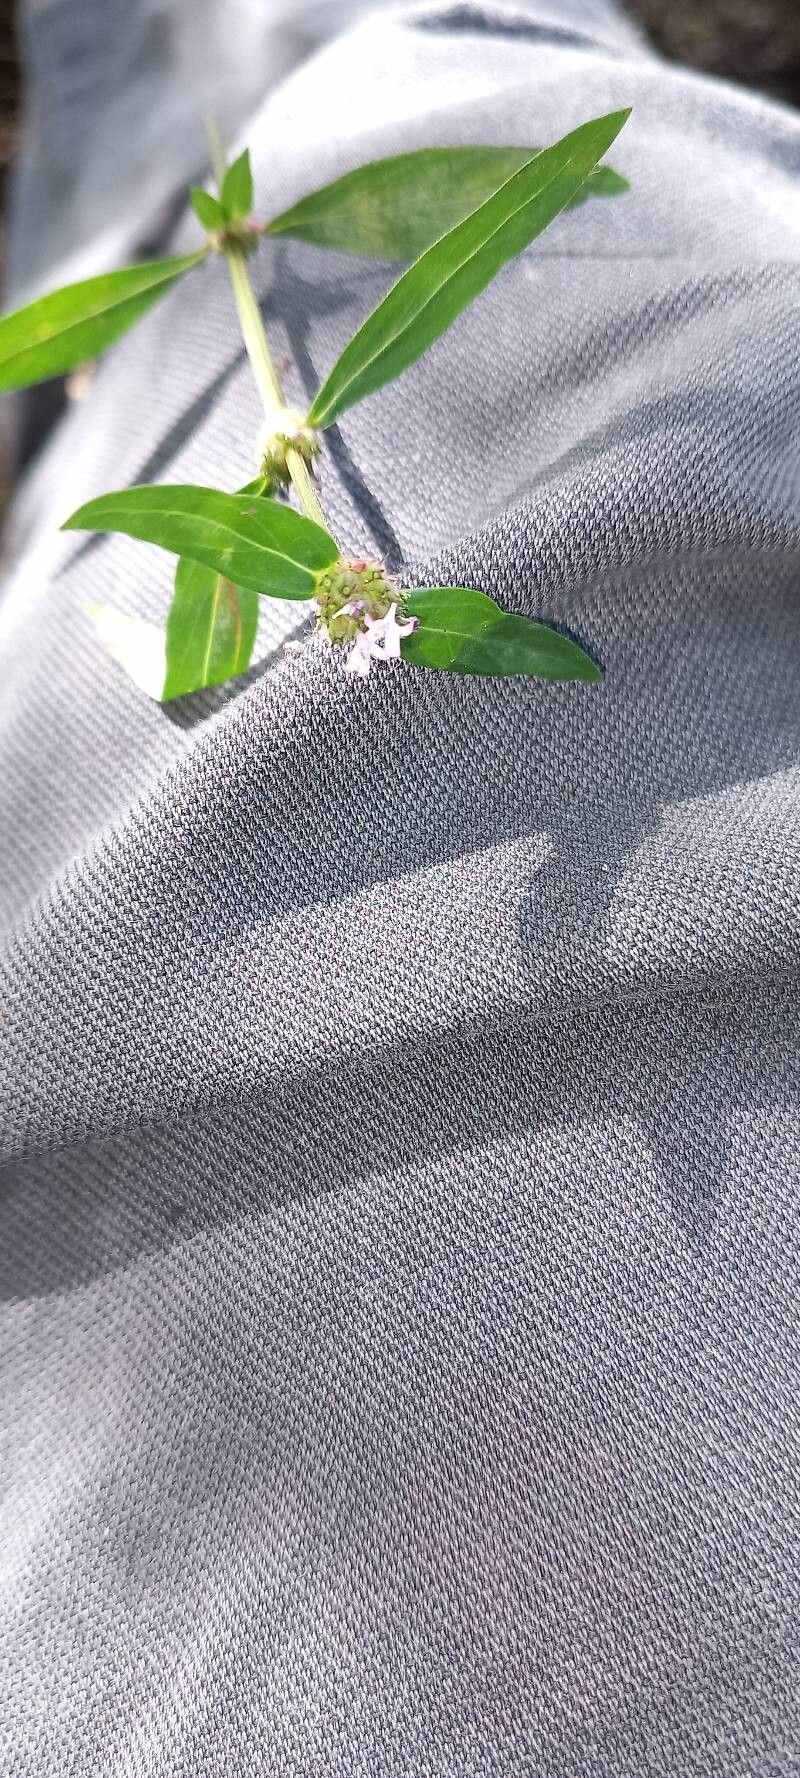
Spermacoce tenuior, often called the “Tiny Star” plant for its delicate white flowers, is a charming and easy-to-care-for groundcover. If you’re looking to fill a sunny spot in your garden with a carpet of vibrant green foliage and dainty blossoms, propagating Spermacoce tenuior is an excellent way to expand your collection.
This article dives deep into the world of propagation, breaking down the two primary methods for growing new “Tiny Star” plants: from seed and from cuttings.
Starting from Seed: A Journey of Patience
If you’re keen on witnessing the entire life cycle of Spermacoce tenuior, propagating from seed is a rewarding experience. Here’s a step-by-step guide:
- Collecting Seeds: The small, brown seeds are found within the dried flower capsules. Once the flowers wither, carefully collect the capsules and let them dry completely. Gently break them open to release the seeds.
- Prepping the Soil: Choose a seed-starting mix or a well-draining potting soil. Fill seed trays or small pots with the soil, lightly firming it down.
- Sowing the Seeds: Sprinkle the seeds evenly over the surface, avoiding overcrowding. Lightly cover them with a thin layer of soil or vermiculite.
- Watering and Light: Mist the soil gently from a watering can or spray bottle to ensure even moisture. Place the trays in a warm, bright location, but avoid direct sunlight.
- Patience is Key: Germination can take anywhere from 2 to 4 weeks. Keep the soil consistently moist, but not soggy. Once seedlings emerge, you can gradually introduce them to more sunlight.
- Thinning and Transplanting: When seedlings have a few true leaves, thin them out to give each plant adequate space to grow. Once they’re about 2-3 inches tall, you can transplant them into larger containers or into your garden bed.
Taking Cuttings: Faster and Easier Propagation
For a quicker and easier propagation method, taking cuttings from mature Spermacoce tenuior plants is highly effective. Follow these steps:
- Choosing Cuttings: Select healthy, non-flowering stems from your existing plants. Cuttings should be about 4-6 inches long.
- Preparing the Cuttings: Remove any leaves from the bottom inch of the stem. You can also use a rooting hormone to encourage root growth.
- Planting the Cuttings: Prepare small pots with a well-draining potting mix. Stick each cutting into the soil, ensuring the bottom inch is covered. Lightly firm the soil around the cutting.
- Watering and Light: Keep the soil consistently moist, but not waterlogged. Place the pots in a bright spot with indirect light. Cover the cuttings with a plastic dome or a clear plastic bag to aid in humidity.
- Patience Again: Cuttings typically root within 2-4 weeks. Check for new growth to indicate successful rooting.
- Transplanting: Once cuttings have developed roots, you can transplant them into larger containers or into your garden.
Caring for Your Newly Propagated Spermacoce tenuior
Whether you propagated from seed or cuttings, care for your new plants is crucial for survival. Here are some key tips:
- Sunlight: Spermacoce tenuior thrives in full sun to partial shade.
- Watering: Water regularly, allowing the soil to dry slightly between waterings.
- Soil: Well-draining soil is crucial to prevent root rot.
- Fertilizing: Feed your plants with a balanced liquid fertilizer every few weeks during the growing season.
Conclusion: Tiny Stars, Big Rewards
Propagating Spermacoce tenuior is a satisfying journey that allows you to enjoy this cheerful plant in various parts of your garden. Whether you choose to start from seed or take cuttings, the process is rewarding and opens up endless possibilities for expanding your green space.
With a little patience and care, your new Spermacoce tenuior plants will soon be thriving, blanketing your garden with their dainty beauty.