Stanhopea pulla Propagation: A Journey into the Orchids’ Mystique
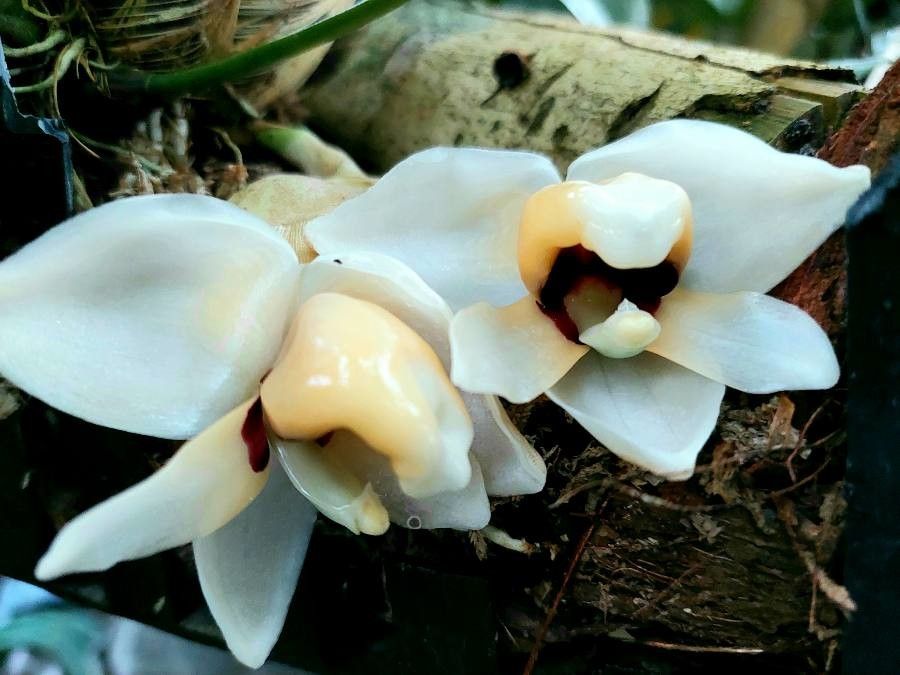
Stanhopea pulla, a captivating orchid species with fragrant, amber-colored flowers, has a reputation for being a bit of a diva. But for dedicated enthusiasts, the challenge of cultivating this beauty is half the fun. One of the most intriguing aspects of growing Stanhopea pulla is learning about its propagation techniques. This article takes you on a journey into the fascinating world of Stanhopea pulla, shedding light on how to successfully cultivate new plants from existing ones.
Understanding the Challenge: Why Propagation Isn’t a Picnic
Stanhopea pulla, unlike many other orchids, is epiphytic – meaning it grows on other plants instead of in soil. This unique characteristic makes propagation slightly more complex than simply taking a cutting. Instead, we turn to the natural methods employed by orchids in the wild – seed propagation and division.
Method 1: The Art of Seed Propagation
Seed propagation is a rewarding but patience-testing process. Stanhopea pulla seeds are extremely fine and lack the typical food reserves found in other plant seeds. This means they need a symbiotic relationship with a specific fungus to germinate.
Here’s how you can attempt seed propagation:
- Collecting Seeds: Collect freshly-ripened seed pods and carefully extract the seeds.
- Sterile Environment: Prepare a sterile Petri dish and fill it with an appropriate orchid seed germination medium – usually a mix of agar and nutrients.
- Introducing the Fungus: In a controlled environment, carefully introduce a compatible mycorrhizal fungus to the dish.
- Patience is Key: Keep the dish at a suitable temperature and humidity, ensuring adequate light. Germination can take weeks or months.
- Carefully Transferring: Once seedlings are established, carefully transfer them to individual containers filled with a well-draining orchid potting mix.
Method 2: The Simpler Approach of Division
Division is a method best suited for established Stanhopea pulla plants that have produced multiple pseudobulbs.
Here’s how you can divide your plant:
- Time for Separation: The ideal time for division is during the plant’s growth period, usually after flowering.
- Gentle Extraction: Remove the plant from its container and gently separate the pseudobulbs into smaller clusters, ensuring each division has at least 2-3 pseudobulbs.
- Fresh Cuts: Cut the roots and pseudobulbs with a sharp, sterilized tool to prevent infections.
- New Homes: Pot the divisions in individual pots with a loose, well-draining orchid potting mix.
- Watering and Light: Water your new plants thoroughly and place them in a shaded location. Gradually introduce them to brighter light conditions over a few weeks.
Important Considerations
- Sterilization: Always sterilize your tools (scissors, knives) to prevent fungal and bacterial infections.
- Humidity: Stanhopea pulla thrive in humid environments, so misting the leaves regularly is essential.
- Fungicide: Keep an eye out for fungal diseases and apply a suitable fungicide if necessary.
- Patience: Patience is your most valuable tool when propagating Stanhopea pulla. Be consistent with care and observe your plants closely – they will eventually reward you with their captivating blooms.
Conclusion
Propagating Stanhopea pulla is a rewarding but challenging experience. Whether you choose seed propagation or division, remember to maintain patience and diligence. These techniques will allow you to enjoy the beauty of Stanhopea pulla’s fragrant flowers while witnessing the wonder of its growth cycle. So, embrace the challenge, and let the orchid’s mystique inspire your horticultural journey.