Unlocking the Secret to Growing More Stauntonia Hexaphylla: A Propagation Guide
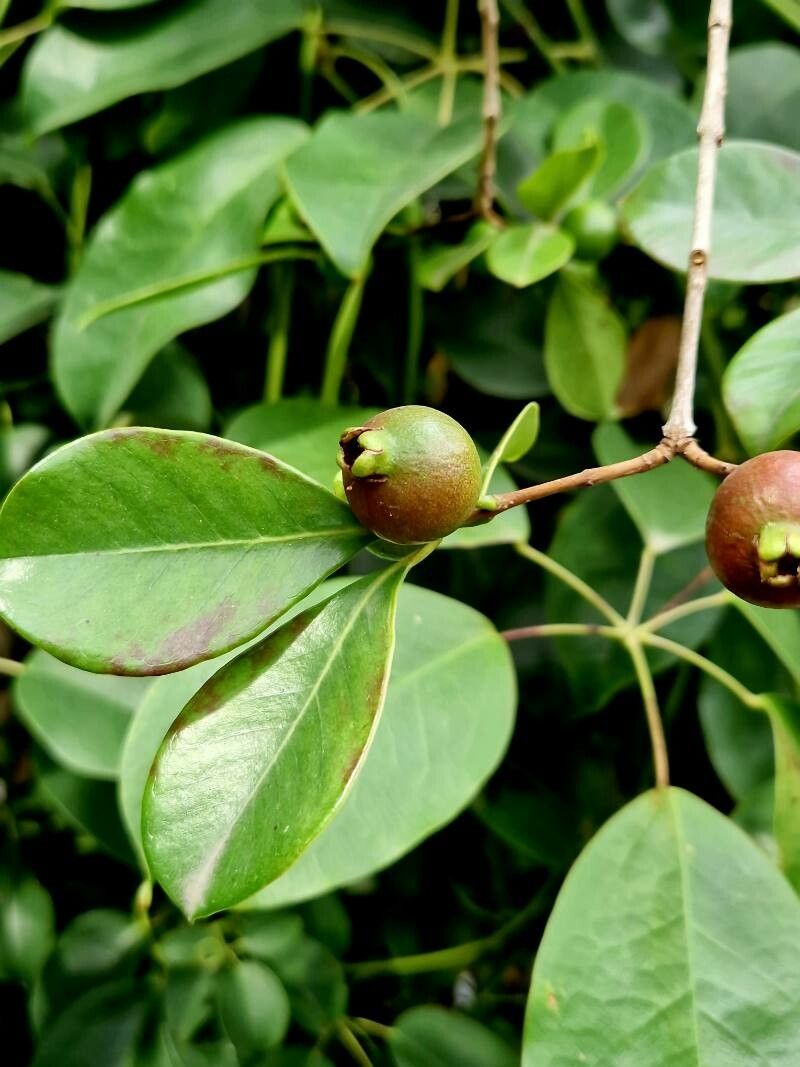
Stauntonia hexaphylla, with its glossy green leaves and fragrant, edible purple fruits, is a captivating climber that can bring a touch of the exotic to any garden. But finding this unique plant can be a challenge. Luckily, propagation allows you to create your own healthy plants from cuttings, offering you a rewarding journey and the chance to share this beauty with others.
Why Propagate Stauntonia Hexaphylla?
Propagating Stauntonia hexaphylla from cuttings offers several advantages:
- Cost-effective: Compared to purchasing established plants, propagation saves you money.
- Genetic continuity: Cuttings preserve the specific traits of your parent plant, ensuring you get the exact type you desire.
- Rewarding experience: Observing a cutting transform into a thriving plant is an immensely satisfying process.
- Sharing the joy: Share your newly propagated plants with friends and family, spreading the love for this beautiful climber.
The Art of Propagation: A Step-by-Step Guide
1. Timing is Key: The best time for Stauntonia hexaphylla propagation is during the growing season, from late spring to early summer, when the plant is actively producing new growth.
2. Gather Your Supplies:
- Sharp knife or pruning shears: Ensure clean, sharp tools to minimize damage to the plant.
- Rooting hormone: This helps promote root development, although it’s not strictly necessary.
- Potting mix: An airy, well-draining mix formulated for cuttings is ideal.
- Containers: Small pots or propagation trays with drainage holes are perfect.
- Clear plastic wrap or dome: This creates a mini-greenhouse effect, maintaining humidity.
3. Selecting the Perfect Cutting:
- Choose healthy, semi-hardwood stems from the current year’s growth.
- Look for stems that are about 6-8 inches long, with at least two to four sets of leaves.
- Make a clean cut just below a leaf node (the point where a leaf emerges).
4. Prepare the Cuttings:
- Remove the bottom two sets of leaves.
- Dip the cut end in rooting hormone if desired.
- Fill your chosen containers with potting mix.
5. Planting the Cuttings:
- Make a small hole in the potting mix and insert the prepared cutting.
- Gently firm the soil around the base of the cutting.
- Water thoroughly to settle the soil and ensure the cutting is well-hydrated.
6. Creating the Right Environment:
- Cover the container with plastic wrap or a dome to promote humidity.
- Place the container in a bright location, but avoid direct sunlight.
- Maintain consistent moisture by misting the cuttings and checking the potting mix for dryness.
7. Patience is Virtue:
- Root development takes time. Be patient and don’t disturb the cuttings excessively.
- You’ll start to see new growth emerging from the cuttings in a few weeks.
- After several months, gently pull on the cutting to check for resistance – this indicates successful rooting.
8. Repotting and Care:
- Once the cuttings have established strong roots, you can repot them individually into slightly larger containers.
- Continue providing bright, indirect light and consistent moisture.
- As the plants grow, you can gradually acclimate them to outdoor conditions.
9. Enjoy the Results:
- Your successfully propagated Stauntonia hexaphylla plants will eventually take off, rewarding you with their attractive foliage and beautiful flowers.
- Remember to provide support for their climbing habits using trellises or fences.
From Cutting to Climber: A Journey of Growth
Propagating your own Stauntonia hexaphylla is an enriching and rewarding experience. It allows you to nurture a plant from its humble beginnings, witnessing its growth and transformation into a vibrant climber. With a little patience and the right care, you can enjoy the beauty and unique characteristics of this fascinating plant for years to come.