From Tiny Seed to Lush Beauty: Propagating Stellaria longifolia
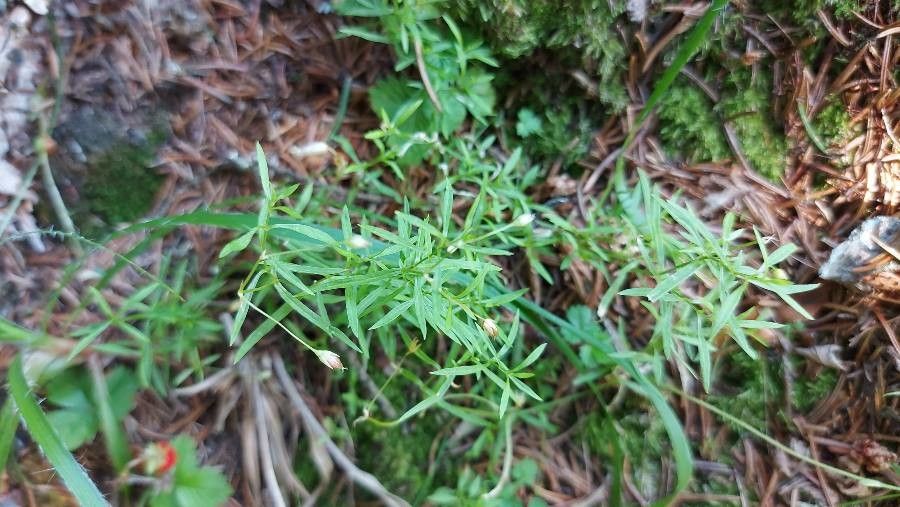
Stellaria longifolia, also known as Long-leaved Stitchwort, is a charming, low-growing plant that adds delicate beauty to any garden. Its starry white flowers and soft, grassy foliage create a stunning groundcover that can fill gaps between larger plants or trail gracefully over rock gardens. But did you know you can easily create more of this delightful plant through propagation?
Whether you’re an experienced green thumb or a gardening newbie, propagating Stellaria longifolia is a rewarding experience. This guide will walk you through two tried-and-true methods: seed propagation and cuttings.
Growing Stellaria longifolia from Seed
This method might feel more natural, as it mimics the plant’s natural propagation cycle.
- Gather Seeds: Collect mature seedpods from your existing Stellaria longifolia plant. You can wait until they turn brown and dry, then gently shake them over a paper or container to release the seeds.
- Prepare the Soil: Choose a well-draining potting mix and fill seed trays or small pots. Lightly moisten the soil, but avoid overwatering.
- Sowing the Seeds: Sow the seeds thinly and evenly across the surface of the soil. You don’t need to bury them deeply, just lightly press them in.
- Keep it Moist: Cover the seed trays with plastic film or a dome to create a humid environment. This will help maintain moisture and promote germination.
- Patience Pays Off: Keep the soil consistently moist but not soggy and place your trays in a bright area. Germination can take a few weeks, so be patient!
- Thinning and Transplanting: Once the seedlings develop true leaves, thin them out to give each plant enough space. When the seedlings are a few inches tall, you can carefully transplant them into your garden, choosing a location with partial shade and well-drained soil.
Taking Cuttings for a Quicker Result
If you’re looking for a faster way to increase your Stellaria longifolia population, try propagating it by cuttings.
- Choose Healthy Stems: Select non-flowering stems that are about 4-6 inches long. Look for stems that are firm and healthy, without any signs of disease or damage.
- Prep the Cuttings: Use a sharp, clean knife or scissors to make a clean cut about half an inch below a node (the point where a leaf grows). Remove any leaves that will be submerged in the soil.
- Rooting Medium: Fill a small pot or tray with a mixture of potting soil and perlite or vermiculite. This mixture helps improve drainage and aeration.
- Planting the Cuttings: Dip the cut end of the stem in rooting hormone (optional) and insert it into the rooting medium. Water thoroughly after planting.
- Keep it Humid: Cover the pot with a clear plastic bag or dome to create a humid environment. Placing the pot in a warm, bright area with indirect light is ideal.
- Root Development: It can take several weeks for the cuttings to develop roots. Check the cuttings regularly for signs of new growth, which indicates they are rooting successfully.
- Transplanting Outdoors: Once the cuttings have established a strong root system, you can carefully remove them from the pot and plant them in your garden.
Tips for Success
Regardless of which method you choose, keep these tips in mind for best results:
- Water Wisely: Maintain a consistent moisture level in the soil, avoiding overwatering which can lead to root rot. Let the soil dry slightly between waterings.
- Provide Shade: Stellaria longifolia thrives in partial shade, making it an ideal plant for shady corners of your garden.
- Enjoy Your Abundance: With proper care, you’ll soon have a lush and captivating patch of Stellaria longifolia, adding a touch of wildflower charm to your outdoor space.
Whether you’re a seasoned gardener or just starting out, propagating Stellaria longifolia is a rewarding experience. So, grab some seeds or snippings and enjoy watching this delicate plant flourish!