Unveiling the Secrets: How to Propagate the Enchanting Sterculia alexandri
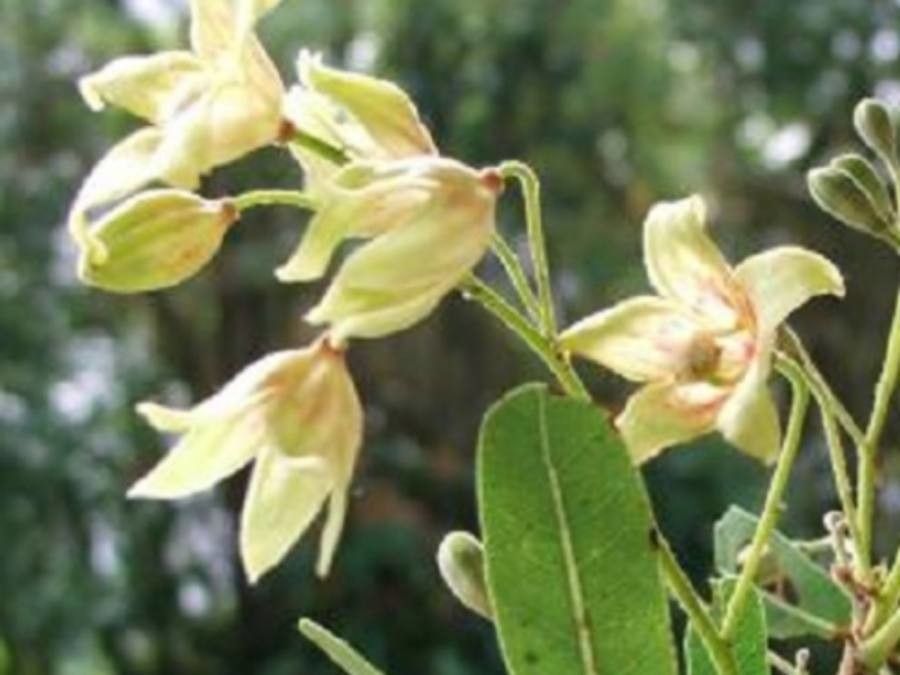
The Sterculia alexandri, also known as the Cape chestnut or the Natal chestnut, is a South African native with an allure that captivates gardeners and plant enthusiasts alike. Its glossy, evergreen leaves, showy flowers, and unique fruit capsules make it a stunning addition to any landscape. But what if you could multiply this botanical gem and share its beauty? Let’s delve into the world of Sterculia alexandri propagation and unlock the secrets to cultivating new life from this extraordinary tree.
Two Roads to Success: Seed vs Cutting Propagation
Sterculia alexandri offers two primary pathways to propagation: seeds and cuttings. Each method comes with its nuances and success rates.
1. The Art of Seed Propagation
- Source Your Treasure: Begin your propagation journey by sourcing fresh, viable seeds. You can collect them directly from mature seed pods or purchase them from reputable suppliers specializing in South African native plants.
- Break the Dormancy: The seeds of Sterculia alexandri possess a natural dormancy that needs to be overcome for successful germination. You have two options:
- Scarification: Gently nick or rub the seed coat with sandpaper or a file, being careful not to damage the embryo inside. This breaks the physical dormancy barrier.
- Hot Water Treatment: Soak the seeds in hot (not boiling) water for 12-24 hours.
- The Sowing Ceremony: After treating your seeds, sow them in a well-draining seed-raising mix. Plant them approximately 1-2cm deep, water lightly, and keep them in a warm, bright location.
- Patience is Key: Germination can be slow and erratic, potentially taking several weeks or even months. Be patient and maintain consistent moisture.
2. Exploring the World of Cuttings
- Timing is Everything: The optimal time to take cuttings is during the active growing season, typically spring or early summer.
- Selecting the Perfect Candidate: Choose healthy, semi-hardwood stems that are still flexible but have started to mature.
- Cut with Precision: Using sharp, sterilized pruning shears, cut a 10-15cm section of stem just below a leaf node.
- Prepare for Success: Remove the lower leaves of the cutting, leaving only a few at the top. Dip the cut end in rooting hormone to encourage root development.
- Plant and Enclose: Plant your prepared cutting in a pot filled with a well-draining rooting mix. Ensure the bottom leaf nodes are below the soil surface. Cover the pot with a plastic bag or use a propagation dome to create a humid environment.
- Root Development: Place the cuttings in a warm, bright spot out of direct sunlight. Rooting can take several weeks, during which maintaining consistent moisture is crucial.
Nurturing Your Propagated Treasures
Once your seeds have germinated or your cuttings have rooted, it’s time to transition them to larger pots or directly into the ground. Ensure you provide them with the following:
- Well-draining soil: Sterculia alexandri thrives in well-drained soil.
- Ample Sunlight: A location with plenty of sunlight, but with some protection from scorching afternoon sun, is ideal.
- Regular Watering: While drought-tolerant once established, these plants appreciate regular watering during their initial growing phase.
- Fertilization: A balanced, slow-release fertilizer can be beneficial during the growing season.
A Rewarding Journey
Propagating Sterculia alexandri can be a deeply rewarding experience. Though it requires patience and a touch of green-thumb finesse, the joy of nurturing new life from seeds or cuttings is unparalleled. By following these tips, you can unlock the secrets of propagating this captivating tree and welcome its unique charm into your garden for generations to come.