From Seed to Success: Growing Your Own Sterculia Balanghas
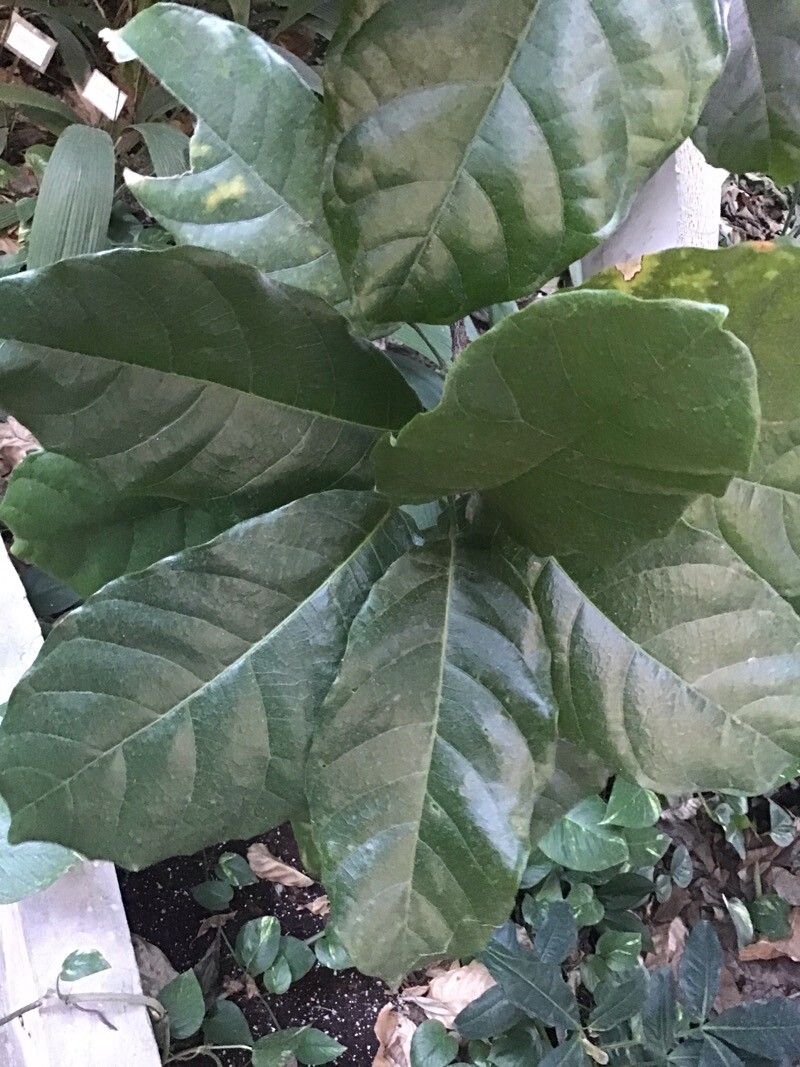
The Sterculia balanghas, also known as the “Bulu” or “Bastard Cedar,” boasts striking foliage and unique, vibrant orange flowers. This tropical beauty can be a real showstopper in your garden, but how do you get your hands on one? While you might find mature trees at nurseries, propagation is within reach for gardeners of all levels, allowing you to grow this captivating tree from the comfort of your own home.
The Power of Seeds:
One of the most rewarding ways to cultivate a new Sterculia balanghas is through seed germination. The fruits of the tree contain numerous seeds, each with the potential to sprout into a new plant.
- Gathering Your Seeds: The first step is finding ripe fruit. This can involve visiting a botanical garden, arboretum, or even a friend with a mature tree. Once you have the fruit, gently extract the seeds, taking care to remove any remaining pulp.
- Preparing for Planting: Sow seeds in moist, well-draining potting mix. A good option is a combination of peat moss, vermiculite, and perlite.
- Optimal Conditions: Sterculia balanghas seeds thrive in warm temperatures ranging from 70-80°F. Place your pots in a sunny location and maintain consistent moisture.
- Patience is Key: Germination can take anywhere from a few weeks to a couple of months. Keep your soil consistently moist and don’t lose hope!
Beyond Seeds: The Art of Air Layering:
If you’re eager to get started faster, or lack access to mature fruits, air layering presents a viable alternative. This technique involves encouraging a branch to root while still attached to the parent plant.
- Selecting a Branch: Choose a healthy, mature branch at least a year old. The ideal spot is just below a node (where leaves grow).
- Creating a Wound: Carefully scrape a thin layer of bark, about two inches in length, from the chosen branch.
- Wrapping for Success: Moisten sphagnum moss and wrap it firmly around the wounded area, securing it with plastic wrap.
- Patience in Action: Air layering takes time, often requiring several months for sufficient root development. Keep the moss moist and monitor closely.
- Separating the Layer: Once roots have formed, cut the branch below the air layer and pot it up in a well-drained soil mix.
Care for Your New Sapling:
Whether grown from seed or air layering, your young Sterculia balanghas needs consistent care to flourish.
- Sunshine and Water: Provide a sunny location with ample sunlight and water regularly, especially during the first year of growth. Allow the soil to dry slightly between waterings.
- Fertilizer: Regular fertilization with a balanced liquid fertilizer during the growing season will encourage healthy growth.
- Repotting: As your tree grows, you may need to repot it into a larger container with fresh soil.
In Conclusion:
Growing your own Sterculia balanghas is a rewarding experience. With a little patience and the right approach, you can enjoy the beauty and unique character of this tropical treasure in your garden. Remember, success comes from understanding the plant’s needs and providing the right conditions for its growth. So, gather your seeds, prepare your pots, and watch as your very own Sterculia balanghas thrives under your expert care!