Unveiling the Secrets of Storthocalyx Pancheri Propagation: A Guide to Growing this Rare Beauty
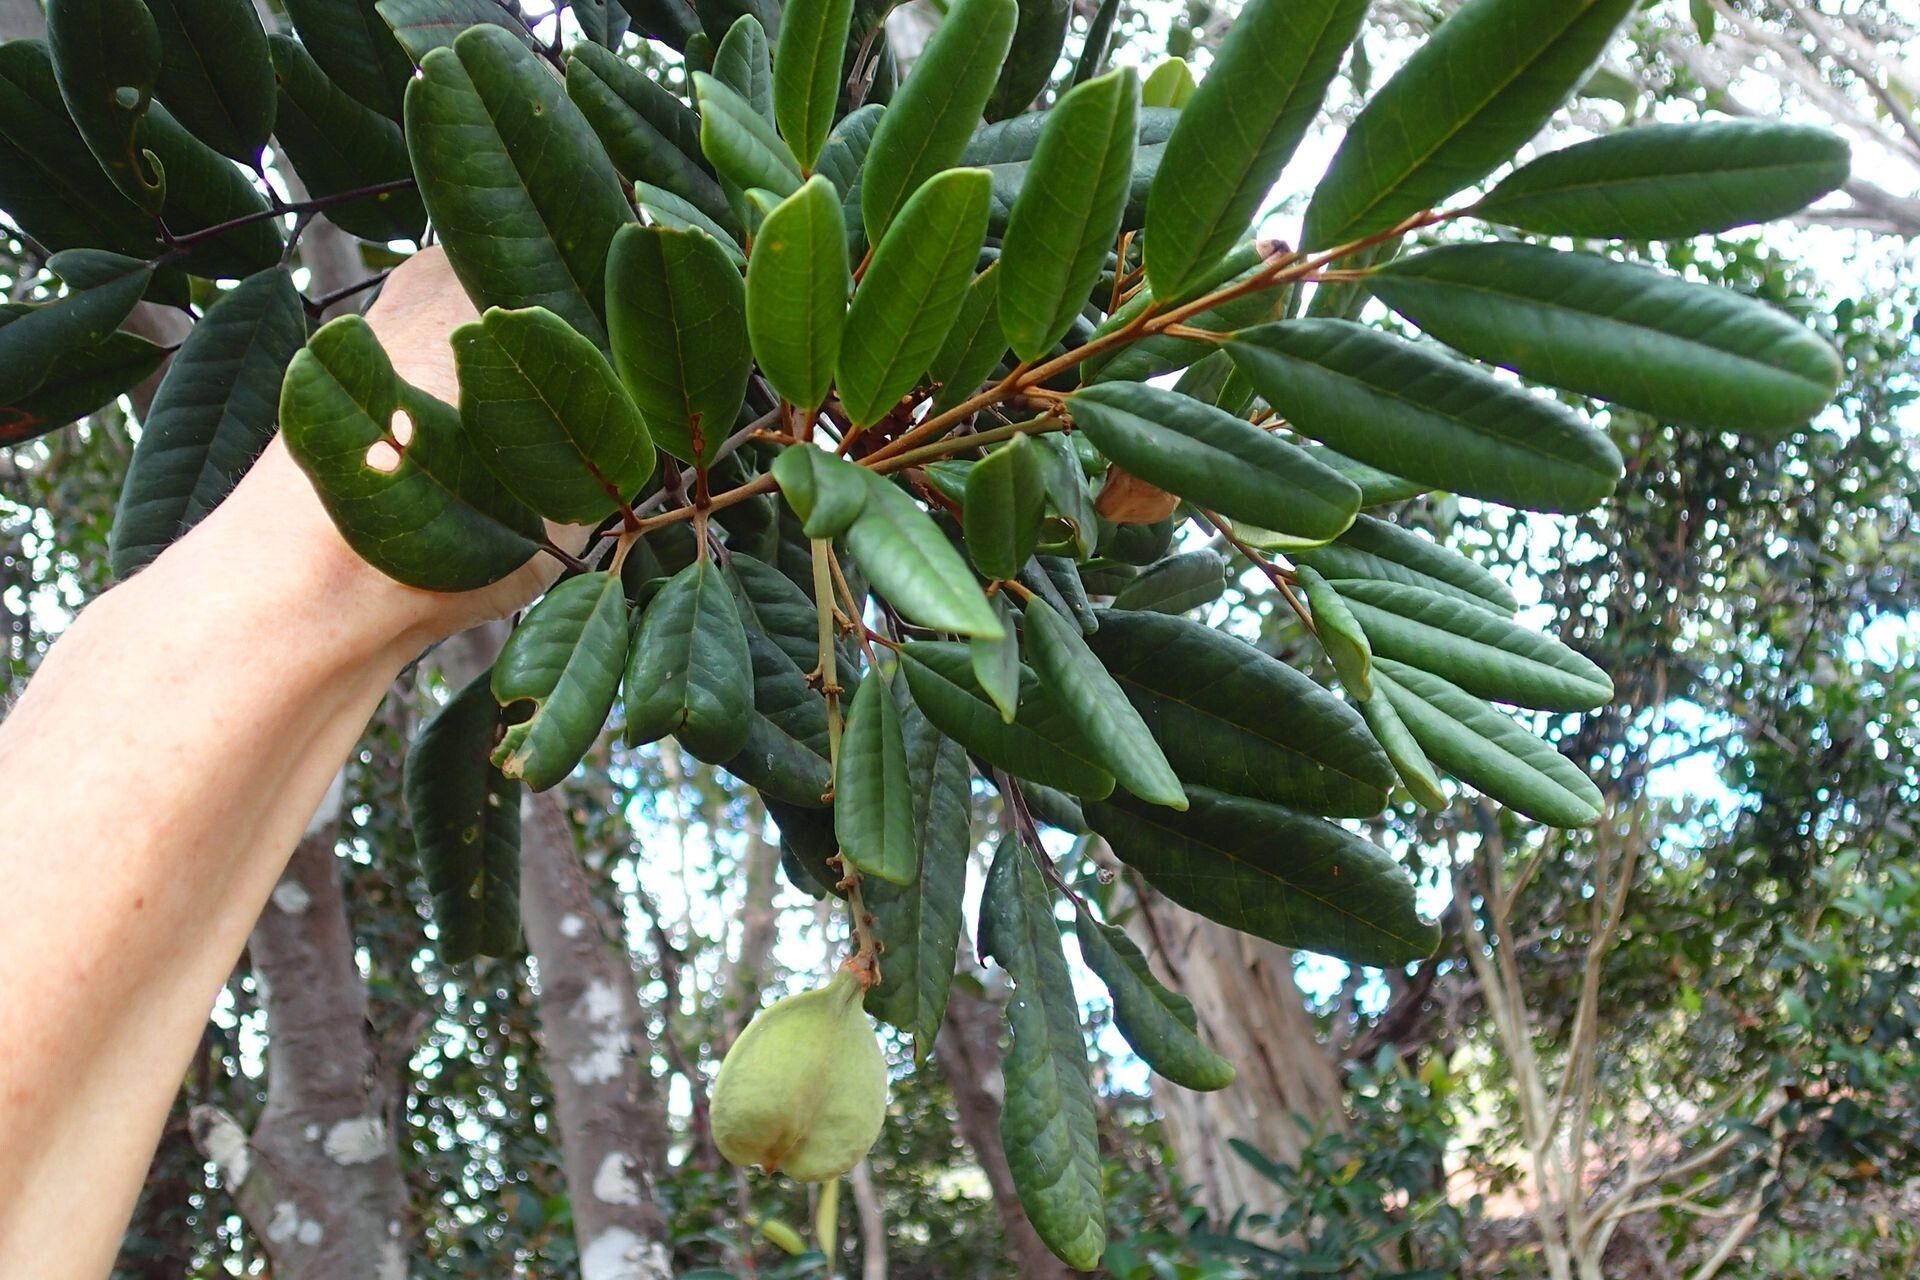
Storthocalyx pancheri, a name that might sound like a mouthful, hides behind it a fascinating plant with an equally intriguing propagation process. Native to the humid, tropical forests of New Caledonia, this evergreen shrub is a botanical treasure coveted for its glossy, green foliage and intricate, white flowers.
While not commonly found outside its native habitat, increasing interest in this rare beauty raises a common question: how can one successfully propagate Storthocalyx pancheri?
This article delves into the various methods, challenges, and tips for successfully growing Storthocalyx pancheri from scratch.
The Propagation Puzzle: Understanding the Options
Propagating Storthocalyx pancheri can feel like solving a puzzle, mainly due to the limited readily-available information. However, two main methods stand out:
Seed Propagation: The most natural method, but also the most challenging. Storthocalyx pancheri seeds are not readily available commercially and require specific conditions to germinate. Factors like fresh seed, well-draining soil, consistent warmth, and humidity are crucial for success. Germination can be slow, often taking several weeks or even months.
- Cutting Propagation: This method involves taking stem cuttings from a healthy, mature plant. It offers a higher success rate and faster results compared to seeds. However, it requires a suitable mother plant and careful technique.
Mastering the Art of Cutting Propagation
If you’re lucky enough to have access to a mature Storthocalyx pancheri, propagation through cuttings is the preferred method. Here’s how to increase your chances of success:
Timing is Key: The best time for taking cuttings is during the plant’s active growing season, ideally in spring or early summer.
Selecting the Right Cuttings: Choose healthy, non-flowering stems. Cuttings should be around 4-6 inches long, ideally with at least two sets of leaves.
Preparing the Cuttings: Remove the lower leaves, leaving only two or three at the top. Dip the cut end in rooting hormone (optional but recommended) to stimulate root development.
Planting the Cuttings: Use a well-draining potting mix, preferably one that retains moisture but doesn’t get soggy. Make a small hole in the mix and gently insert the cutting, ensuring the bottom node is buried.
Creating a Humid Environment: Cover the pot with a clear plastic bag or place it in a propagator to create a humid environment. This helps prevent the cutting from drying out.
- Patience is a Virtue: Place the pot in a warm, bright location, out of direct sunlight. Keep the soil consistently moist but not waterlogged. Rooting can take several weeks, so be patient and avoid disturbing the cutting.
Caring for Your New Storthocalyx Pancheri
Once your cuttings show signs of new growth, usually after 4-6 weeks, you can gradually acclimate them to normal humidity levels by removing the plastic cover for increasing periods each day.
Repot the rooted cuttings into individual pots using a well-draining potting mix when they’re large enough to handle. Storthocalyx pancheri prefers bright, indirect light and consistent moisture. Regular fertilization during the growing season will encourage healthy growth.
A Journey of Patience and Perseverance
Propagating Storthocalyx pancheri is a rewarding experience for plant enthusiasts seeking a unique challenge. While it may require patience and careful attention, the joy of successfully growing this botanical rarity from seed or cutting is an accomplishment to be cherished. With the right knowledge and approach, you can too unravel the secrets of Storthocalyx pancheri propagation and enjoy the beauty of this captivating plant in your own home.