Taming the Tamarisk: A Guide to Propagating Tamarix canariensis
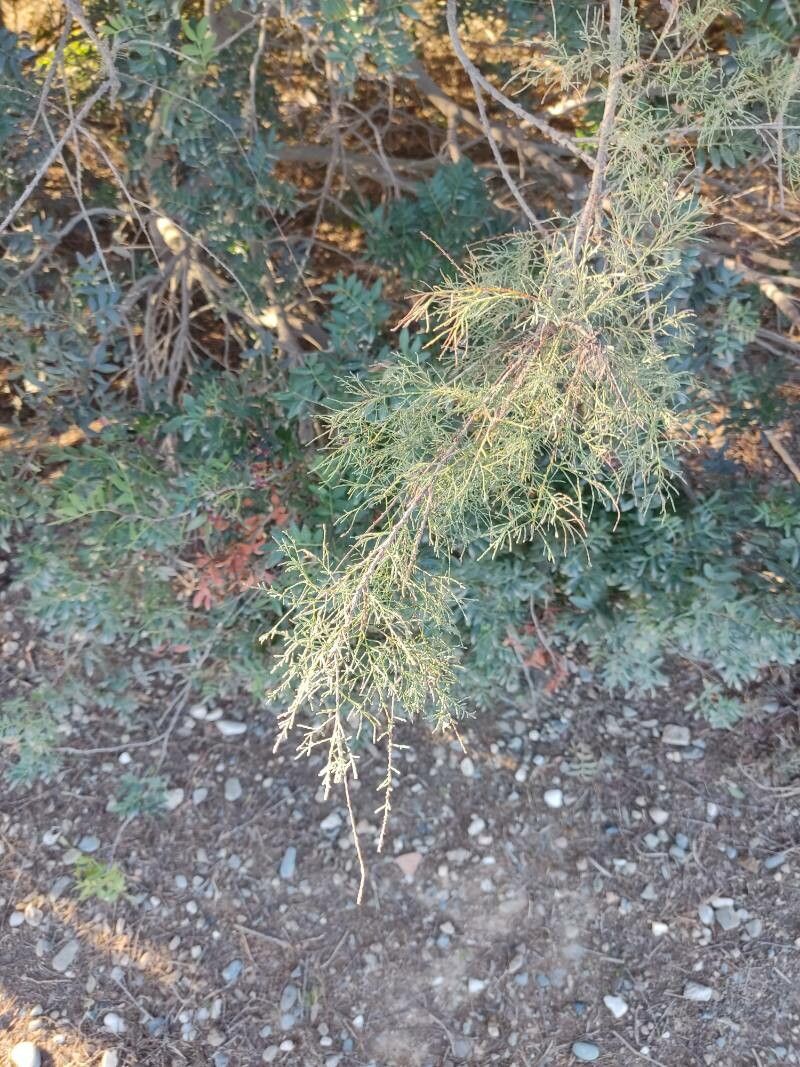
The Tamarix canariensis, also known as the Canary Island tamarisk, is a captivating shrub celebrated for its feathery foliage, ethereal blooms, and remarkable resilience. This hardy species, native to the Canary Islands (as the name suggests!), thrives in challenging conditions, tolerating salt spray, drought, and poor soils. If you’re looking to add a touch of effortless beauty and tenacity to your garden, propagating your own Tamarix canariensis might be just the ticket!
Why Propagate?
Sure, you can purchase a Tamarix canariensis from a nursery, but propagating your own provides a sense of accomplishment and connection with the plant. Plus, it’s a budget-friendly way to multiply your collection, allowing you to share this unique plant with friends and family.
Two Paths to Propagation
Tamarix canariensis offers two primary methods of propagation:
1. Seed Propagation:
- Timing: Spring is the ideal time to sow your tamarisk seeds.
- Method: Lightly press seeds into a well-draining seed starting mix, keeping them moist but not soggy.
- Light and warmth: Place the seed tray in a bright location, out of direct sunlight. A little warmth (around 70°F) can speed up germination.
- Patience is key: Germination can be slow and sporadic, so don’t be discouraged if it takes a few weeks (or even months!).
- Transplanting: Once the seedlings are a few inches tall and have a robust root system, transplant them to individual pots or directly into your garden.
2. Cutting Propagation:
- Timing: Late summer or early fall, after flowering, is the best time to take cuttings.
- Choosing the Cuttings: Select healthy, non-flowering stems that are about 6-8 inches long and relatively new growth.
- Preparing the Cuttings: Remove the leaves from the bottom third of the stem. Consider dipping the cut end in rooting hormone to encourage faster root development.
- Planting the Cuttings: Insert the cuttings into a well-draining potting mix, burying at least a third of the stem.
- Creating Humidity: Cover the cuttings loosely with a plastic bag or humidity dome to retain moisture.
- Location and Care: Place the cuttings in a bright location, out of direct sunlight. Keep the soil consistently moist but avoid overwatering.
- Rooting Time: Cuttings typically take several weeks to develop roots. Gently tug on the stem – resistance indicates roots are forming.
- Transplanting: Once rooted, transplant the cuttings to larger pots or into the garden.
Tips for Success:
- Well-Draining Soil is Crucial: Tamarix canariensis detests “wet feet,” so ensure excellent drainage in pots and garden beds.
- Sun Lovers: These plants adore sunshine! Select a location that receives at least 6 hours of direct sunlight daily for optimal growth and blooming.
- Pruning Makes Perfect: Regular pruning helps maintain a desirable shape and encourages bushier growth. Prune after flowering has finished.
Adding a Touch of the Canary Islands to Your Landscape:
Whether you choose to start your Tamarix canariensis from seed or cuttings, the reward of witnessing this graceful plant thrive in your own garden is truly special. With a bit of patience and care, you’ll soon be enjoying the airy beauty and remarkable resilience of this desert-dwelling wonder.