Unveiling the Secrets of Tapeinosperma Propagation: Grow Your Own Polynesian Jewels
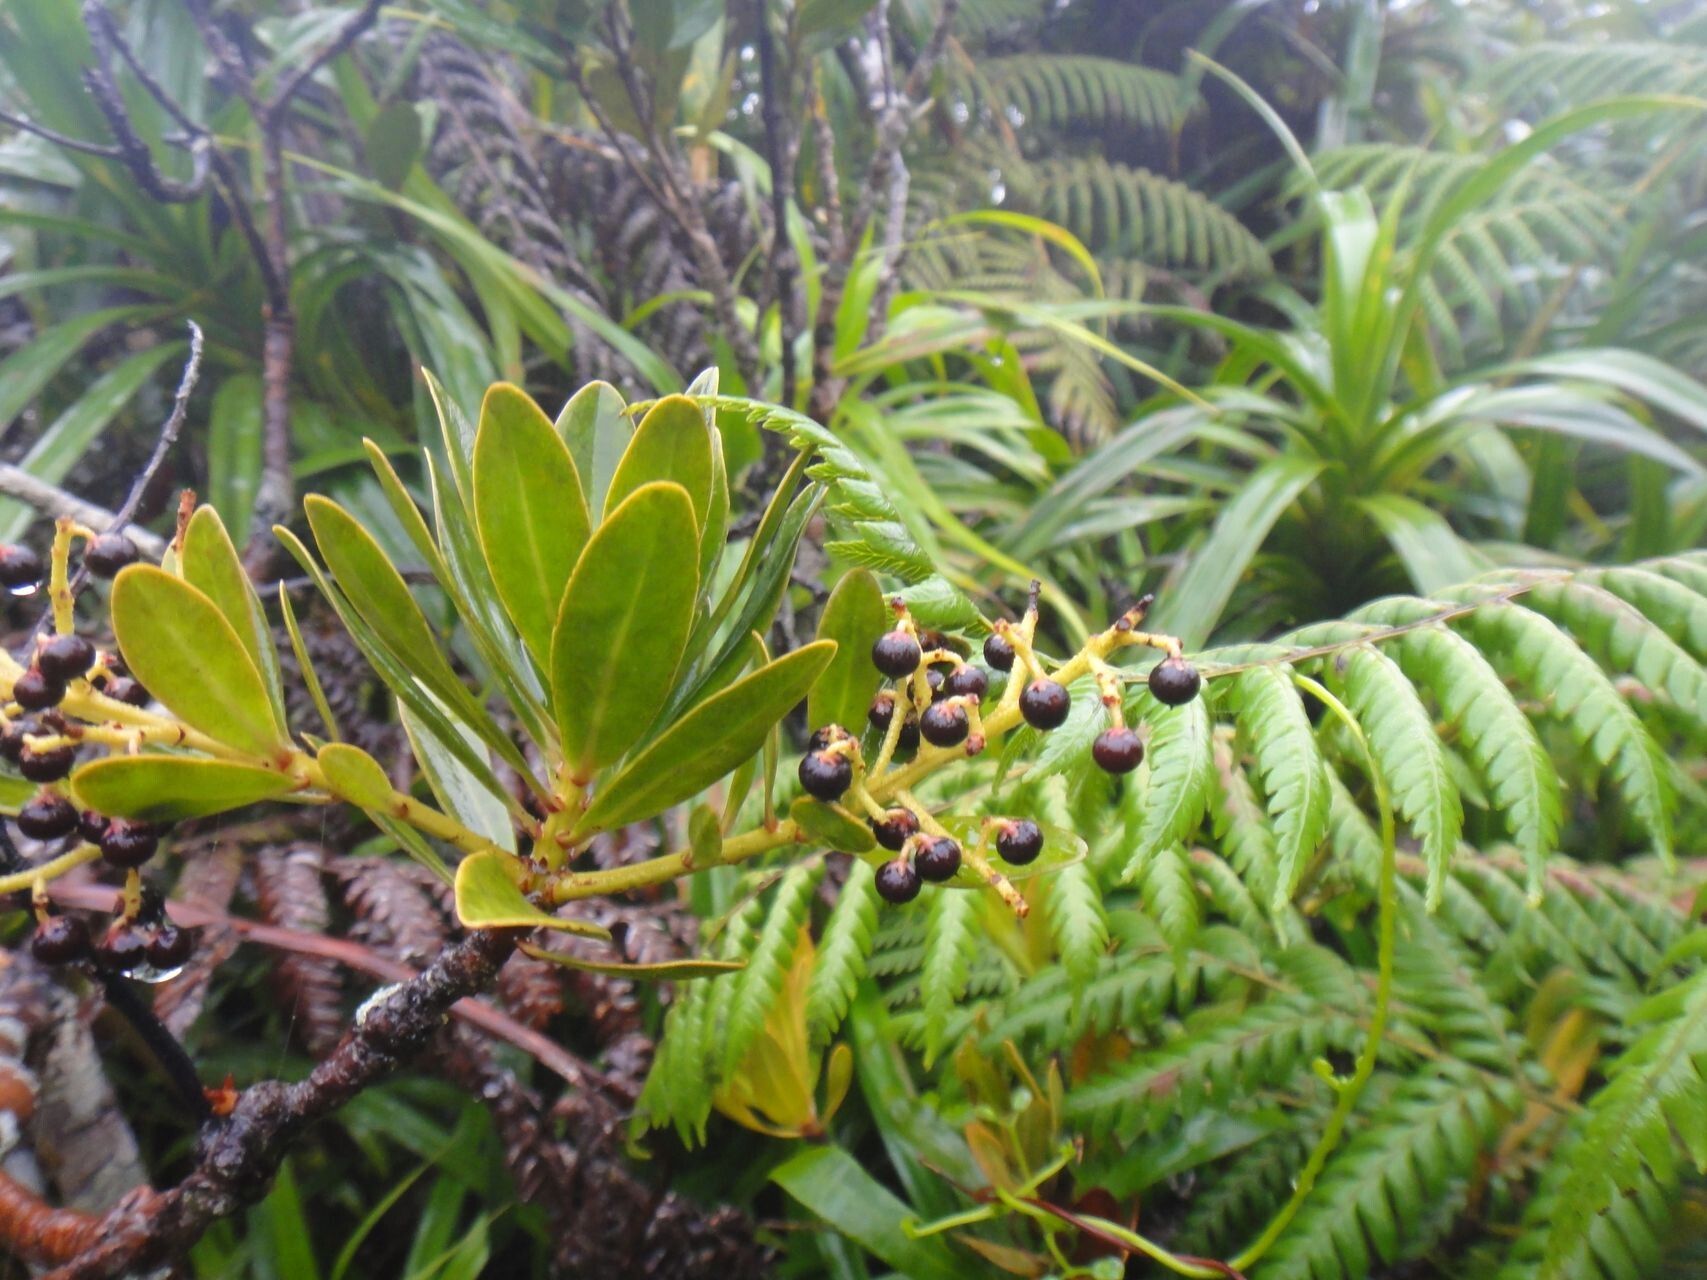
Tapeinosperma paniense, the stunning evergreen shrub known for its vibrant foliage and elegant demeanor, is a true Polynesian jewel. Native to the South Pacific, this tropical beauty can bring a touch of exotic allure to your home or garden. While acquiring a mature Tapeinosperma paniense is always an option, propagating your own plant offers a rewarding and economical way to expand your plant family.
This guide delves into the secrets of Tapeinosperma paniense propagation, equipping you with the knowledge to nurture these botanical treasures from mere cuttings into thriving plants.
Understanding the Art of Propagation
Propagation, in simple terms, refers to the process of creating new plants from an existing one. For Tapeinosperma paniense, we’ll focus on two primary methods: stem cuttings and air layering. Both techniques utilize the plant’s natural ability to regenerate, allowing you to generate new life from stems or branches.
Method 1: Stem Cuttings – The Gateway to Propagation
Stem cuttings are the most common and beginner-friendly method for propagating Tapeinosperma paniense. Here’s how it’s done:
1. Timing is Key: The ideal time for taking cuttings is during the plant’s active growing season, typically spring or early summer. This is when the plant has maximum energy for new growth.
2. Selecting the Perfect Cuttings: Look for healthy, non-flowering stems that are approximately 4-6 inches long. Using clean, sharp pruning shears, make a cut just below a leaf node (the point where a leaf attaches to the stem).
3. Preparing the Cuttings:
- Remove the lower leaves from the cutting, leaving 2-3 leaves at the top.
- If the remaining leaves are large, cut them in half horizontally to reduce moisture loss.
- Optionally, dip the cut end in rooting hormone powder to stimulate root development.
4. Potting Your Cuttings:
- Fill small pots with a well-draining potting mix specifically formulated for cuttings.
- Create a hole in the center and gently insert the cutting, ensuring the bottom node is buried.
- Lightly water the mix, ensuring it’s moist but not waterlogged.
5. Creating a Humid Environment:
- Cover the pots with clear plastic bags or a propagation dome to create a humid environment, essential for root development.
- Place the pots in a warm, bright location, but away from direct sunlight.
6. Patience is a Virtue:
- Keep the soil consistently moist and monitor the cuttings for root development, which typically takes 4-6 weeks.
- Once the roots establish, you can gradually acclimate the cuttings to normal humidity by removing the covering for increasingly longer periods.
7. Potting Up:
- Once the cuttings show signs of new growth, it’s time to transplant them into individual pots filled with regular potting mix.
Method 2: Air Layering – For the More Adventurous Gardener
Air layering, though slightly more advanced, offers an alternative approach to propagating your Tapeinosperma paniense. This technique encourages root development on a stem while it is still attached to the mother plant.
1. Selecting the Branch: Choose a healthy, mature stem that’s about the thickness of a pencil.
2. Creating the Wound:
- Carefully make a 1-inch upward slanting cut about 6-8 inches below the tip of the chosen stem.
- Insert a toothpick into the cut to prevent it from closing.
3. Applying Rooting Hormone (Optional): Dust the wounded area with rooting hormone to promote quicker root development.
4. The Sphagnum Moss Wrap:
- Soak sphagnum moss in water and squeeze out any excess.
- Encase the wounded area with a generous layer of damp sphagnum moss, forming a ball around the cut.
- Wrap the moss ball tightly with plastic wrap, securing both ends with tape or string to create a sealed environment.
5. Monitoring and Patience: It might take several weeks or even months for roots to develop. Ensure the moss remains moist throughout the process.
6. Separation and Potting:
- Once you see a healthy mass of roots through the plastic, it’s time to separate the new plant.
- Using a clean, sharp knife, cut the stem below the root ball.
- Remove the plastic wrap and plant the rooted section in a well-draining potting mix.
Enjoy Your Propagated Beauties
No matter which method you choose, propagating Tapeinosperma paniense is a rewarding experience. With patience and care, you can create an abundance of these stunning plants and share the joy of their tropical elegance with fellow plant lovers.