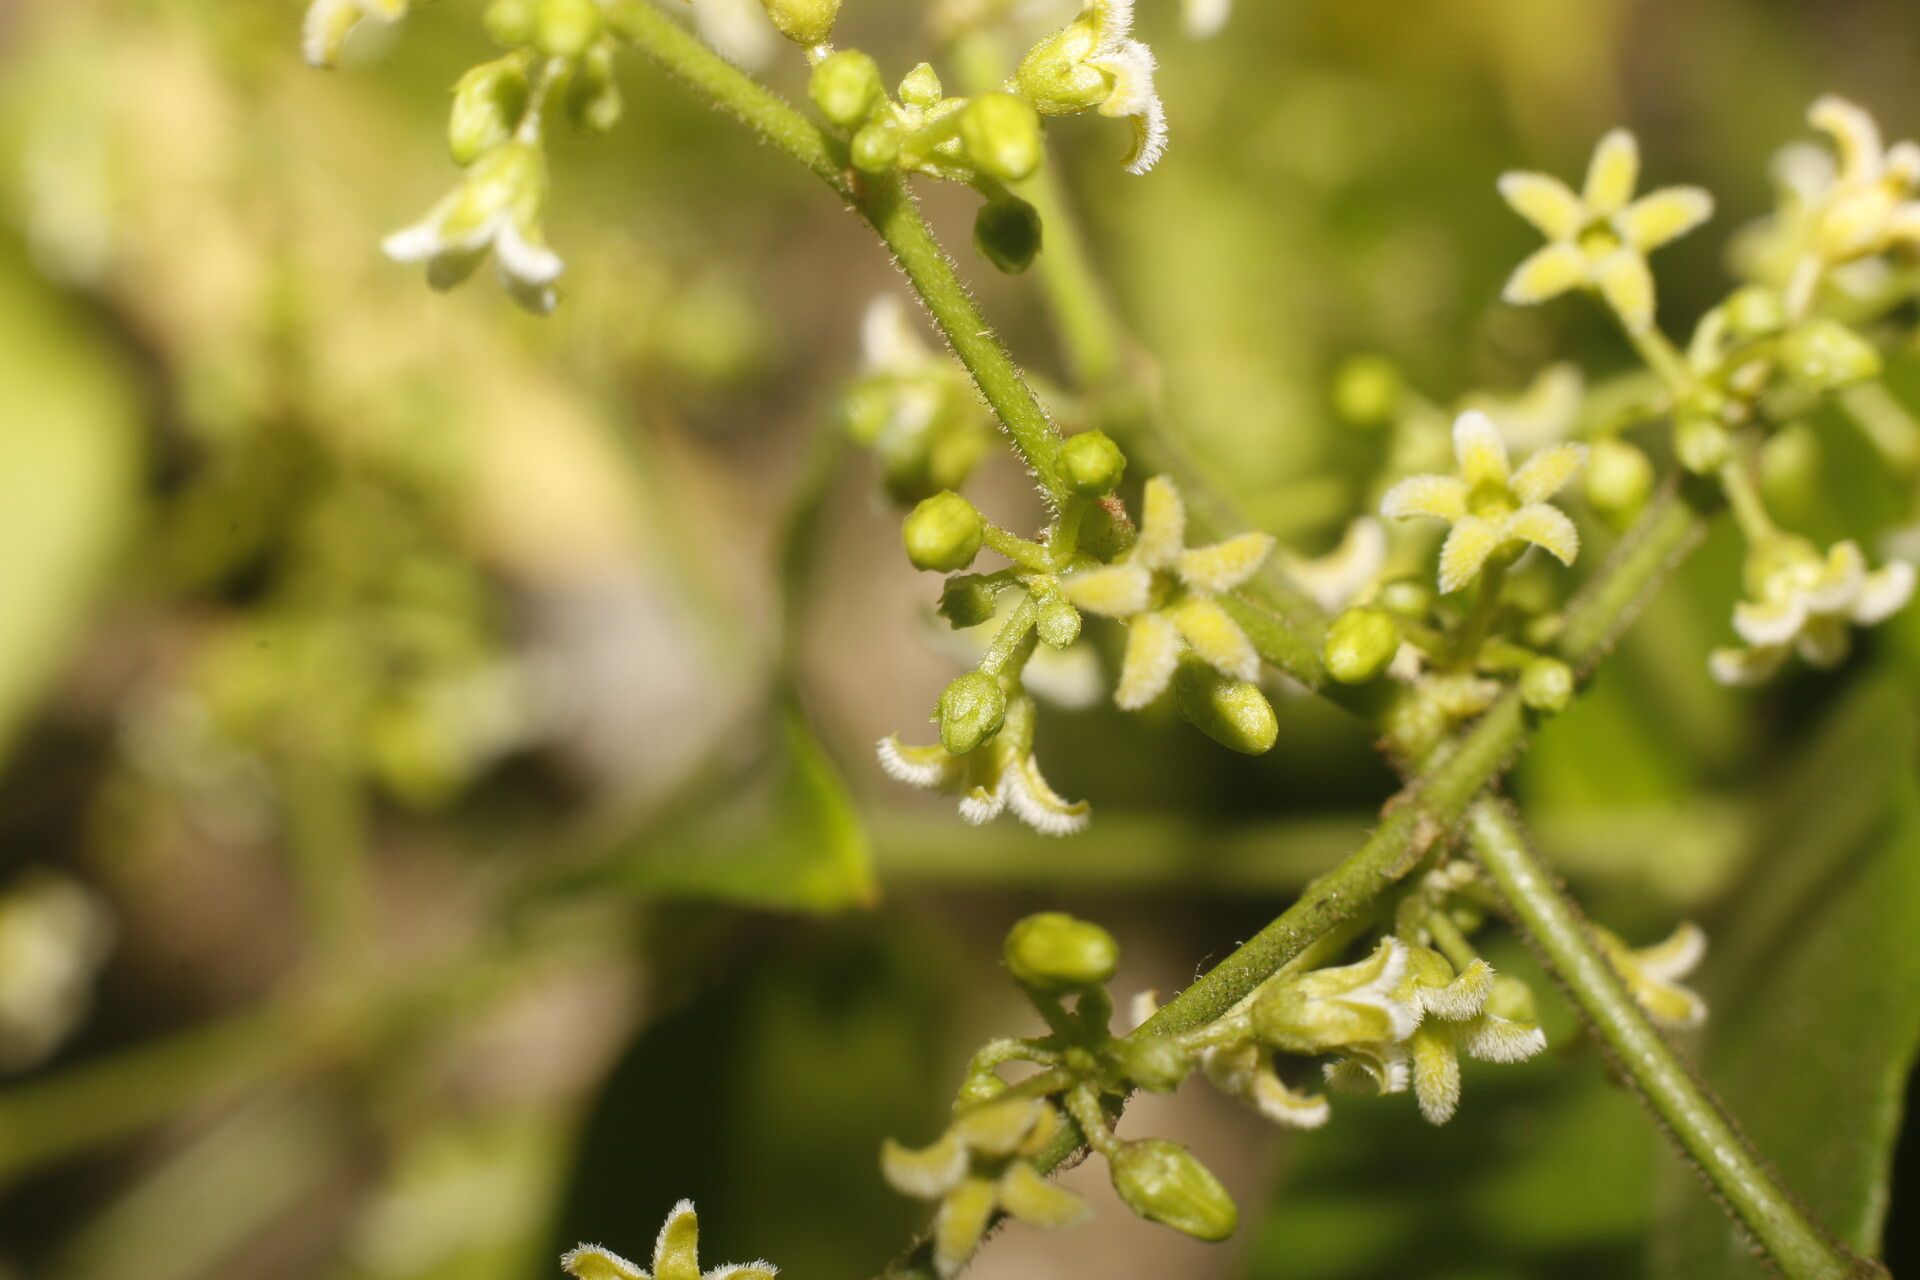
Tassadia obovata: Bringing Life to Your Garden with Simple Propagation Methods
The Tassadia obovata, with its captivating white blossoms and lush green foliage, is a popular choice for adding a touch of elegance to gardens and homes. But did you know that you can easily create more of these stunning plants yourself? Propagation is a fascinating process that allows you to share the beauty of your favorite plants with others or simply expand your own collection.
Getting Started with Propagation: A Step-by-Step Guide
Tassadia obovata can be successfully propagated using two primary methods:
1. Stem Cuttings:
- Choose the Right Material: Select healthy, non-flowering stems from your Tassadia obovata. Aim for stems that are about 4-6 inches long and have a few nodes (the points where leaves grow).
- Prepare the Cuttings: Use a sharp knife or pruning shears to make a clean cut just below a node. Remove the leaves from the bottom inch or two of the stem to create a bare area for rooting.
- Dip in Rooting Hormone: This step is optional but highly recommended. Apply a rooting hormone powder or gel to the cut end of the stem, which encourages faster and more successful root development.
- Planting the Cuttings: Fill a small pot with a well-draining potting mix. Make a hole in the potting mix deep enough to accommodate the cutting’s bare area. Place the cutting in the hole and gently tamp the soil around the base.
- Provide Ideal Conditions: Keep the potting mix consistently moist but not soggy. Cover the pot with a clear plastic bag or dome to create a mini-greenhouse environment that promotes humidity. Place the pot in a bright, indirect light location, and avoid prolonged exposure to direct sunlight, which can scorch the cuttings.
- Patience is Key: It typically takes 4-6 weeks for stem cuttings of Tassadia obovata to develop roots. Keep a close eye on the cuttings and monitor them closely. Once the cuttings start to grow new leaves, you can remove the plastic cover and gradually acclimate them to normal conditions.
2. Air Layering:
- Select a Healthy Branch: Choose a mature, non-flowering branch that’s about ¼ to ½ inch in diameter.
- Wound the Branch: Make a circular cut around the branch, about 1 inch long. You can use a sharp knife or pruning shears.
- Apply Rooting Hormone: Cover the cut area with rooting hormone powder or paste.
- Wrap in Sphagnum Moss: Wet the moss and wrap it around the wound area, ensuring it’s completely covered.
- Secure the Moss: Use plastic wrap or aluminum foil to keep the moss moist and secure.
- Wait for Roots: Air layering typically takes 6-8 weeks for Tassadia obovata. You’ll know the process is successful when new roots emerge.
- Separate the Branch: Once roots are established, cut the branch below the air layer and plant it in a pot with well-draining soil.
Enjoy the Rewards of Propagation
Propagation allows you to appreciate the beauty of your Tassadia obovata in new ways. Using these techniques, you can easily multiply your plants, share them with friends and family, or experiment with creating new plant arrangements. The process is not only rewarding but also surprisingly simple, offering even novice gardeners a chance to experience the joy of plant propagation. Remember, with a little patience and care, you can bring the vibrant life of Tassadia obovata to your home and garden for years to come.