Unlocking the Secrets of Telosma Pallida Propagation: Grow Your Own Fragrant Star
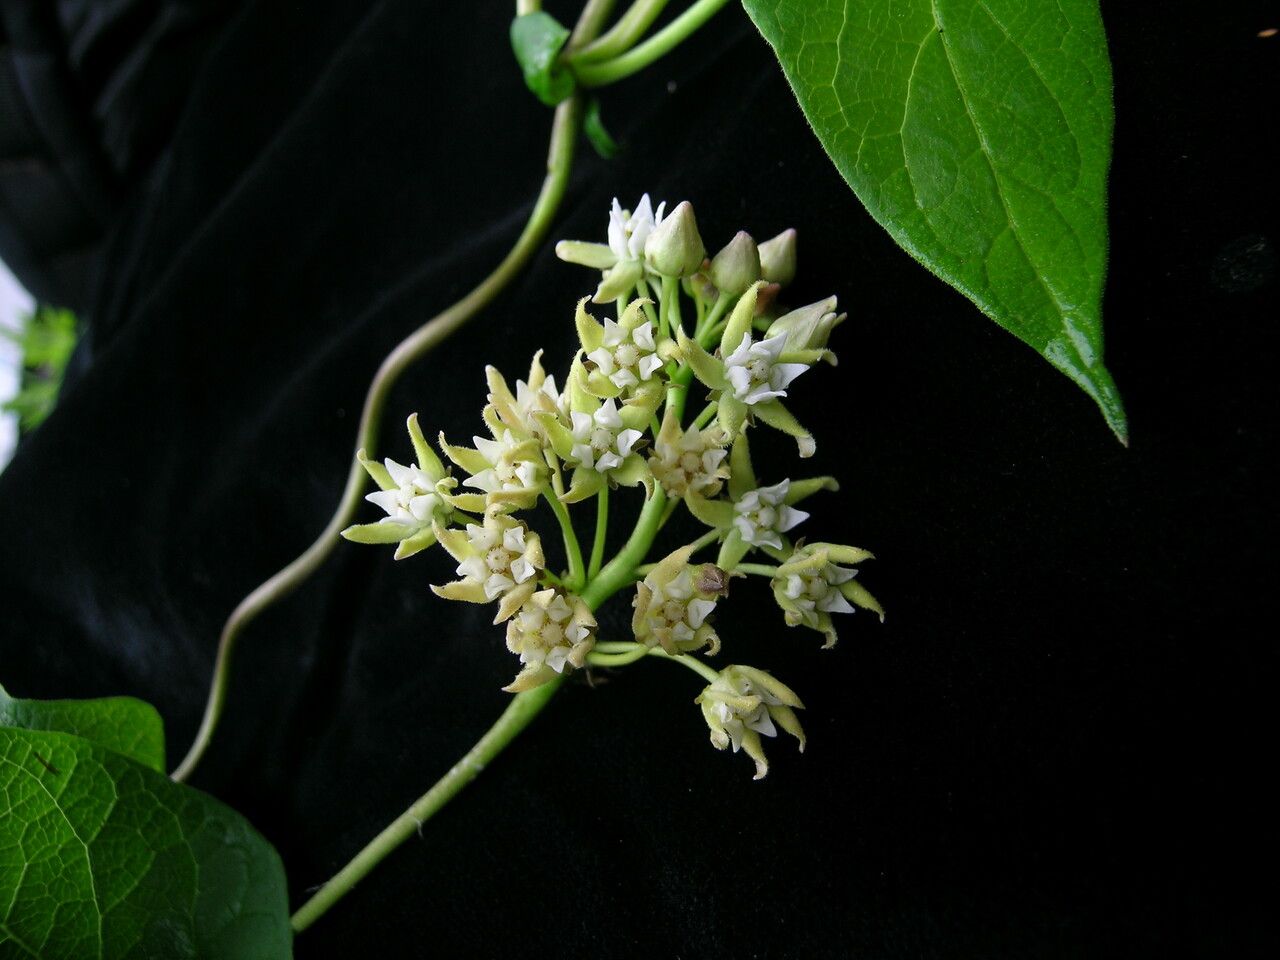
Telosma pallida, also known as the Pale Cowslip Creeper, is a stunning climber treasured for its exquisite fragrance and delicate, star-shaped blooms. While not as widely known as other fragrant climbers, its beauty and intoxicating perfume make it a worthwhile addition to any garden that enjoys warm temperatures.
Maybe you’ve encountered this beauty and are eager to welcome it into your own garden. The good news is that propagating Telosma pallida, while requiring a little patience, is achievable for even beginner gardeners. Let’s delve into the different methods you can use:
1. Propagation from Seed:
- Seed Collection: Telosma pallida produces fascinating seed pods that resemble horns. Allow these pods to dry fully on the vine before collecting the seeds.
- Seed Preparation: The seeds are encased in a fluffy, silk-like material. Carefully remove this to reveal the dark, flat seeds beneath.
- Sowing: Plant the seeds about ½ inch deep in a well-draining seed starting mix. Maintain consistent moisture and warmth (around 75°F). Germination can take anywhere from 3 weeks to a couple of months.
2. Propagation from Cuttings:
This method tends to be quicker and more reliable than growing from seed.
- Timing is Key: The best time to take cuttings is during the active growing season, ideally in spring or early summer.
- Selecting Cuttings: Choose healthy, semi-ripe stems that are about 4-6 inches long. These stems should be firm, not overly soft.
- Preparing the Cuttings: Remove the leaves from the bottom inch or two of the stem. You can dip the cut end in rooting hormone to encourage faster rooting, although it’s not strictly necessary.
- Planting: Plant the cutting in a pot filled with a well-draining potting mix, burying the node (where you removed the leaves) just below the surface.
- Creating a Humid Environment: Cover the pot with a clear plastic bag or use a humidity dome to maintain moisture around the cutting. This helps to prevent it from drying out before it develops roots.
- Patience is Key: It may take several weeks for the cutting to root. Once new growth appears, you’ll know your propagation has been successful!
Tips for Success:
- Well-draining Soil: Telosma pallida prefers a well-draining soil mix. Heavy, waterlogged soil can lead to root rot.
- Plenty of Light: While they can tolerate partial shade, Telosma pallida plants flower best in a location that receives at least 6 hours of sunlight per day.
- Warmth is Essential: This plant thrives in warm temperatures. If you live in a cooler climate, consider growing your Telosma pallida in a container that you can bring indoors during the colder months.
Propagating your own Telosma pallida is a rewarding experience. Not only will you be able to expand your collection of this fragrant beauty, but you’ll also gain a deeper appreciation for the plant’s life cycle. So go ahead, get your hands dirty, and enjoy the sweet reward of blossoming Telosma pallida in your own garden!