Unlocking the Secrets of the Coral Bush: A Guide to Propagating Templetonia Retusa
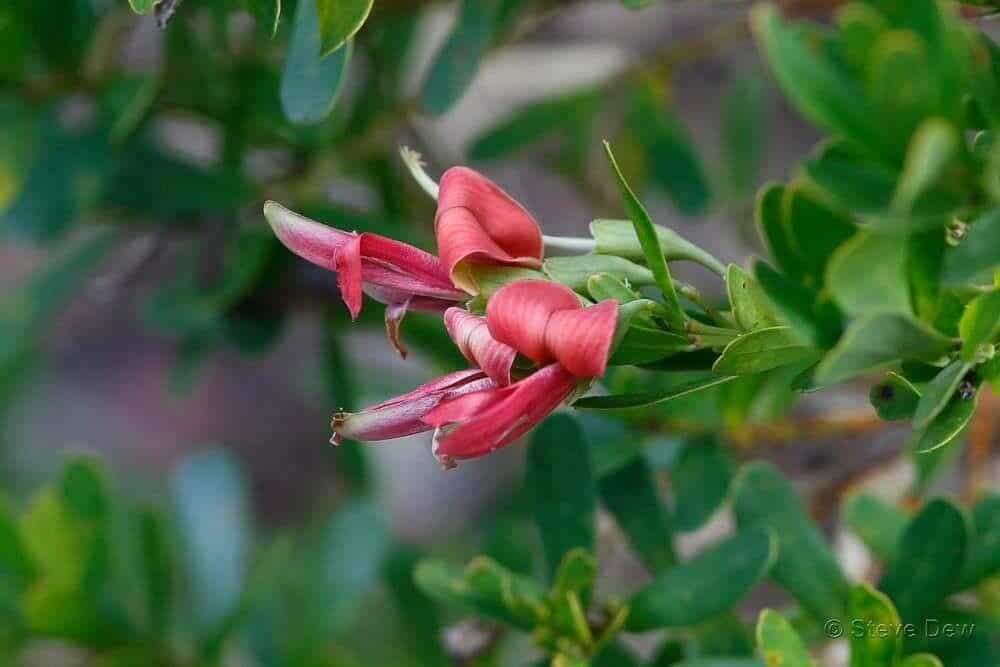
The Coral Bush, or Templetonia retusa, is a showstopper with its fiery red (and sometimes yellow!) pea-like flowers that erupt in a spectacular display, often resembling a coral reef set against the lush green foliage. Native to Western Australia, this evergreen shrub can bring a touch of Aussie flair to any garden. If you’re smitten by its charm and want to expand your collection or share the joy, propagation is the way to go!
While growing Templetonia retusa from seed might seem tempting, it can be a bit tricky due to their hard seed coat and unpredictable germination rates. Luckily, there’s a more reliable method: propagation from cuttings! Follow our step-by-step guide, and you’ll be well on your way to growing new Coral Bush beauties:
Step 1: Timing is Key
The ideal time to take cuttings is during the active growing season, typically in spring or early summer. This is when the plant’s energy is high, increasing the chances of successful rooting.
Step 2: Gather Your Tools
You’ll need:
- Sharp, sterilized pruning shears or scissors: Cleanliness is crucial to prevent infections in your cuttings.
- Rooting hormone (optional but recommended): This gives your cuttings a helpful boost to develop roots faster.
- Seedling potting mix or a well-draining propagation mix: Choose a light and airy mix that retains moisture but doesn’t get soggy.
- Small pots or seed trays: Make sure these have drainage holes to prevent waterlogging.
Step 3: Taking the Cuttings
- Select healthy, non-flowering stems from the current year’s growth. They should be around 4-6 inches long.
- Make a clean cut just below a leaf node (where the leaf joins the stem) at a 45-degree angle.
- Remove the leaves from the bottom inch or two of the cutting, as these will be buried in the soil.
Step 4: Preparing the Cuttings
- Dip the cut end of each cutting in the rooting hormone, ensuring the bottom inch is coated. This helps stimulate root development.
- Make a small hole in your chosen potting mix with a pencil or your finger.
- Gently insert the cutting into the hole, ensuring the bottom leaves are above the soil line.
- Lightly firm the soil around the cutting to secure it in place.
Step 5: Creating a Humid Environment
- Water the cuttings thoroughly, ensuring the entire potting mix is moist but not waterlogged.
- To create a humid environment, cover the pot or tray with a clear plastic bag or a propagator lid. This helps retain moisture and encourages faster rooting.
Step 6: Patience is a Virtue
Place your cuttings in a bright, warm spot, but out of direct sunlight. Direct sunlight can scorch the delicate new growth.
Step 7: Transplanting to Larger Pots
After about 6-8 weeks, your cuttings should have developed a healthy root system. Gently tug on them; if you feel resistance, it’s a good sign they’re ready to be potted up!
- Choose pots slightly larger than the current ones and fill them with a well-draining potting mix.
- Carefully remove the cuttings from their original containers, disturbing the roots as little as possible.
- Plant them in the larger pots at the same depth they were previously growing.
- Water them well and place them back in a bright, indirect light location.
Step 8: Enjoy Your New Coral Bush Beauties!
With proper care and attention, your propagated Templetonia retusa will thrive and reward you with a dazzling display of coral-like blooms for years to come.
Propagating Templetonia retusa might seem daunting at first, but with a little patience and the right knowledge, you can easily multiply your collection and share the joy of this captivating Australian native with fellow plant enthusiasts!