Taming the Tumbleweed: Propagating the Intriguing Tetradymia Canescens
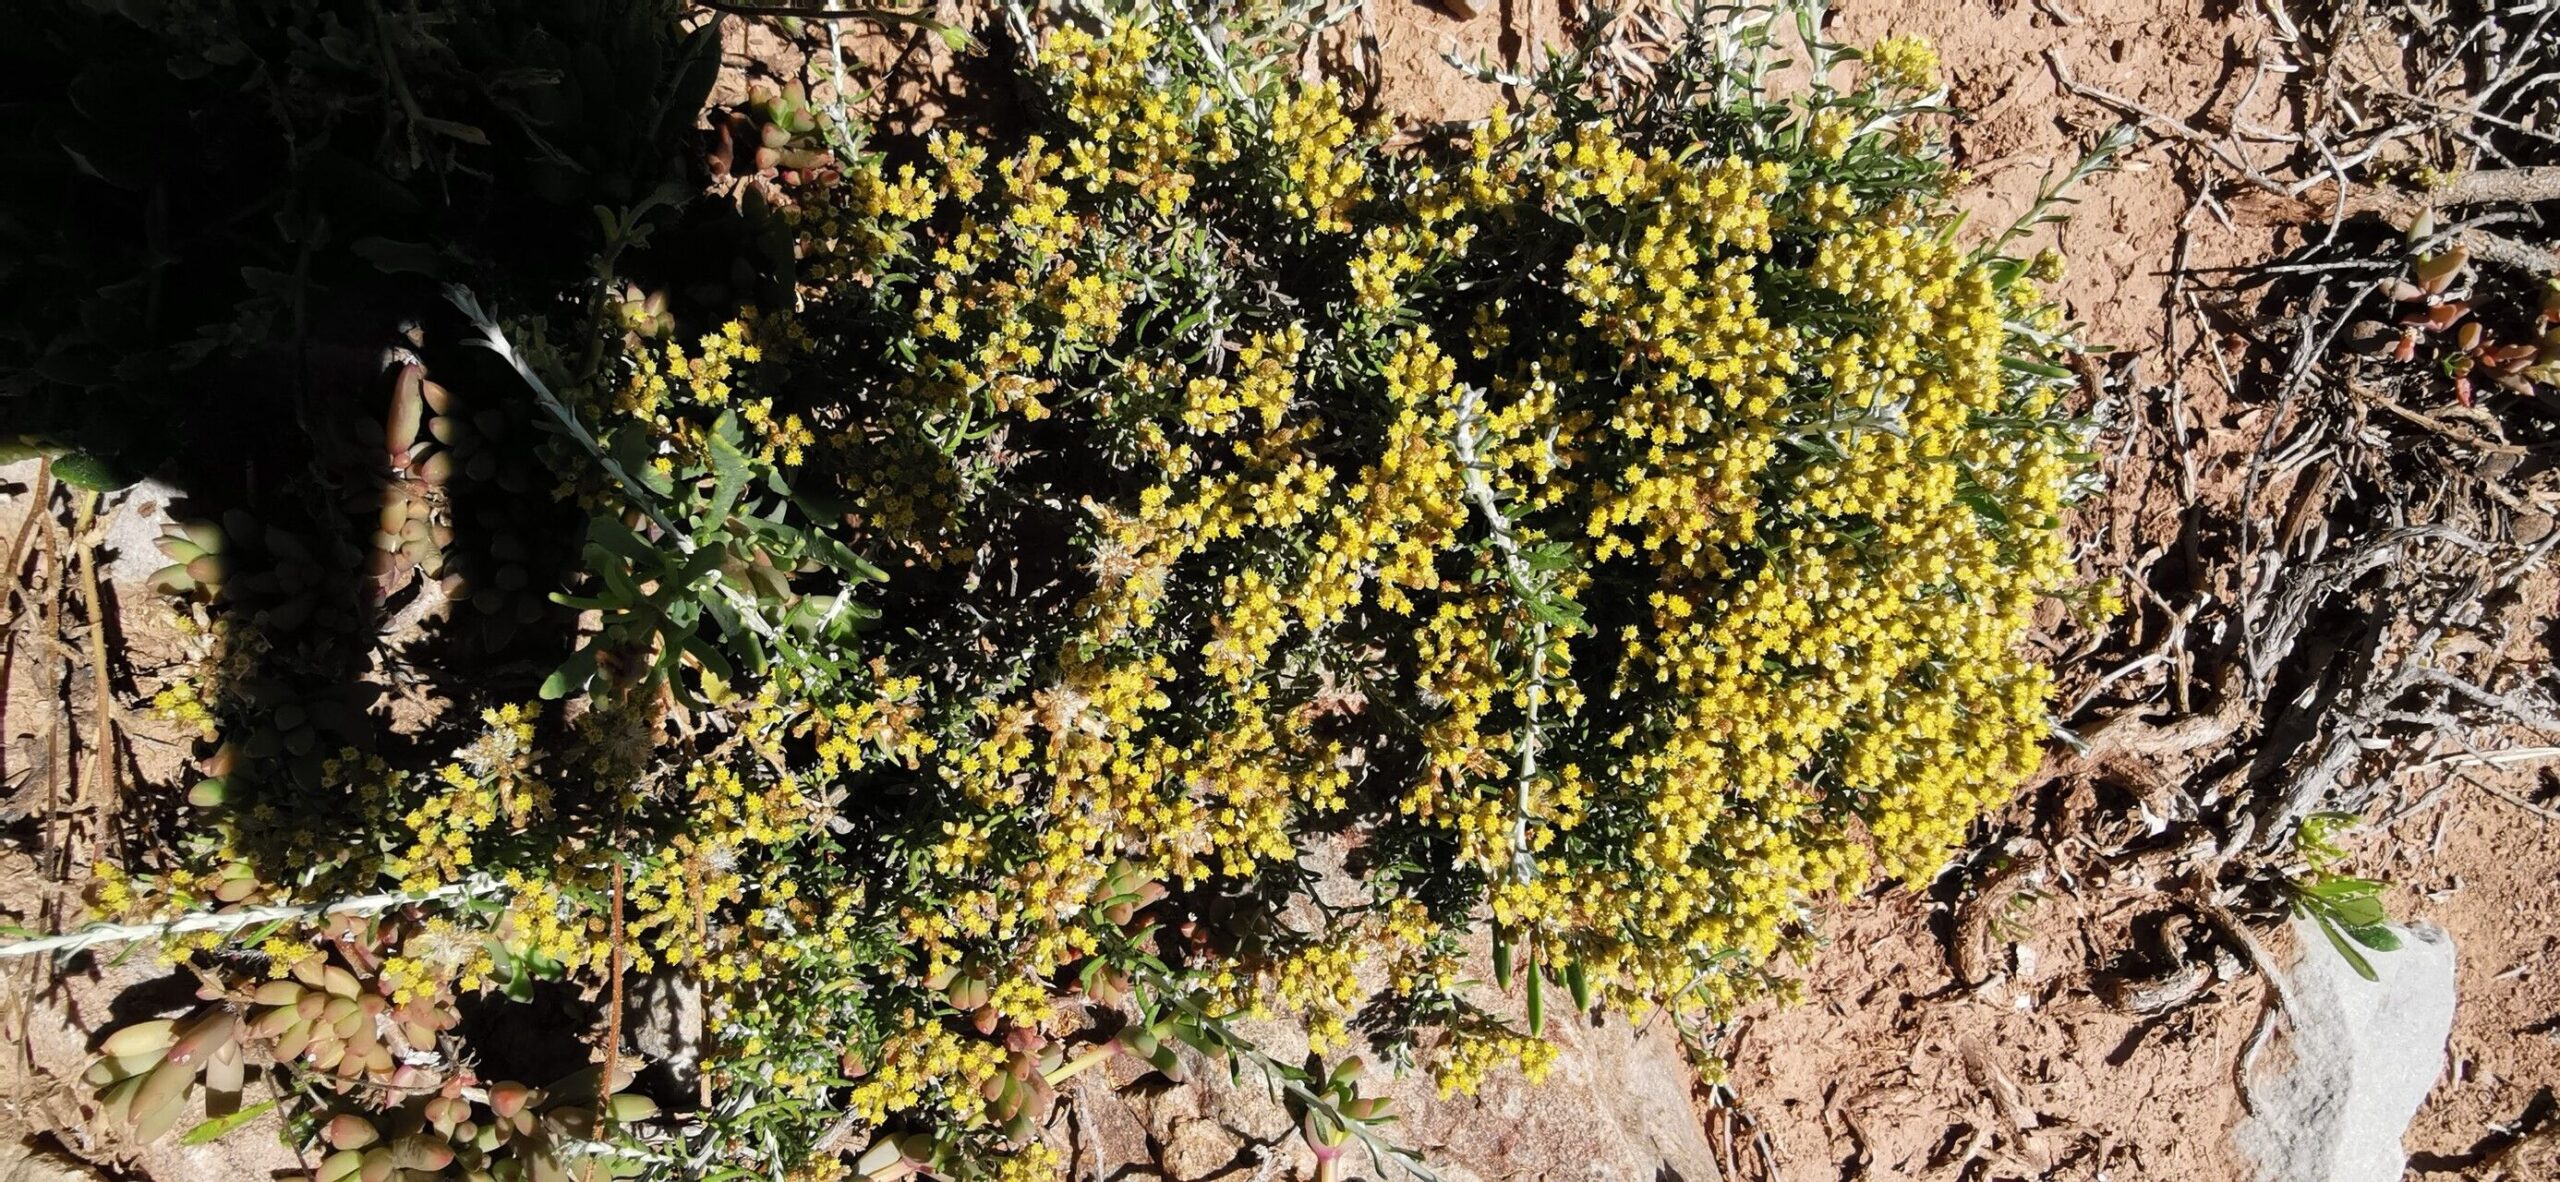
Tetradymia canescens, known by the more familiar names of horsebrush or spineless horsebrush, is a fascinating plant with a unique life cycle. While most envision tumbleweeds bouncing across deserted landscapes, this North American native offers more than just a fleeting moment of visual interest. Its silvery foliage, bright yellow flowers, and crucial role in supporting local ecosystems make it a compelling choice for gardeners and nature enthusiasts alike. And while it might seem intimidating to cultivate something that seemingly thrives on wind-driven journeys, propagating Tetradymia canescens can be a rewarding experience.
This guide will walk you through the two most common propagation methods, empowering you to successfully introduce this captivating plant to your own outdoor space.
Method 1: Seed Propagation
- Collection and Preparation: The key to successful seed propagation lies in starting with viable seeds. Look for mature seed heads on the plant, typically developing in late summer or early fall. The heads will be fluffy and often detach easily from the plant. Extract the seeds, removing any debris or chaff.
- Sowing: Tetradymia canescens seeds benefit from a period of cold stratification to overcome dormancy. You can sow directly into the ground in the fall, allowing the natural winter chill to do the work, or mimic these conditions by storing the seeds in a moist paper towel inside your refrigerator for 6-8 weeks before spring planting.
- Planting Time: For direct sowing, aim for late fall. For seeds stratified indoors, sow in seed trays or pots filled with well-draining potting mix in early spring.
- Care: Keep the soil consistently moist but not waterlogged. Seedlings should emerge within a few weeks. Once they have a few sets of true leaves, you can gradually acclimate them to outdoor conditions before transplanting.
Method 2: Cuttings
- Timing: Taking cuttings in the spring from new growth yields the best results. Look for healthy, non-flowering stems.
- Preparation: Using clean, sharp pruning shears, take cuttings about 4-6 inches long. Remove the leaves from the lower half of the cutting.
- Rooting Hormone (Optional): While not strictly necessary, dipping the cut end of the stem in rooting hormone can encourage faster and more successful root development.
- Planting: Insert the cuttings into a well-draining potting mix, burying the bottom node (where the leaves were removed).
- Environment: Create a humid environment to support rooting. You can achieve this by placing a plastic bag or humidity dome over the pot. Keep the soil consistently moist and place the cutting in a location with bright, indirect light.
- Transplanting: After about 4-6 weeks, gently tug on the cutting to check for resistance. Resistance indicates successful rooting. Once the cutting shows significant new growth, you can gradually acclimate it to outdoor conditions before transplanting.
Tips for Success
- Soil: Tetradymia canescens thrives in well-draining soil that mimics its natural arid habitat.
- Sunlight: Choose a location that receives at least 6 hours of direct sunlight per day.
- Watering: Once established, Tetradymia canescens is incredibly drought-tolerant. Water deeply but infrequently to encourage deep root growth and avoid overwatering.
- Pests and Diseases: This plant is generally resistant to pests and diseases.
Tetradymia canescens is a low-maintenance plant that offers unique beauty and ecological value. By understanding its propagation needs, you can enjoy the satisfaction of growing this captivating plant and contribute to the biodiversity of your local environment. So, embrace the challenge, nurture the seeds or cuttings, and soon you’ll have a thriving testament to your gardening prowess!