Golden Germination: Unlocking the Secrets to Propagating Teucrium Flavum
Teucrium flavum, with its vibrant yellow blooms and aromatic foliage, is a delightful addition to any sunny garden. Also known as Yellow Germander, this semi-evergreen shrub brings a touch of Mediterranean charm wherever it grows. But what if you want more of this sunny beauty gracing your borders? Fear not, fellow garden enthusiast! Propagating Teucrium flavum is remarkably achievable, whether you choose the path of cuttings or brave the (slightly) trickier route of seeds.
Cuttings: The Tried and True
For those seeking a straightforward and relatively quick method, propagating Teucrium flavum from cuttings reigns supreme. Here’s how to do it:
1. Timing is Key: The ideal time to take cuttings is in late spring or early summer, when the plant is actively growing.
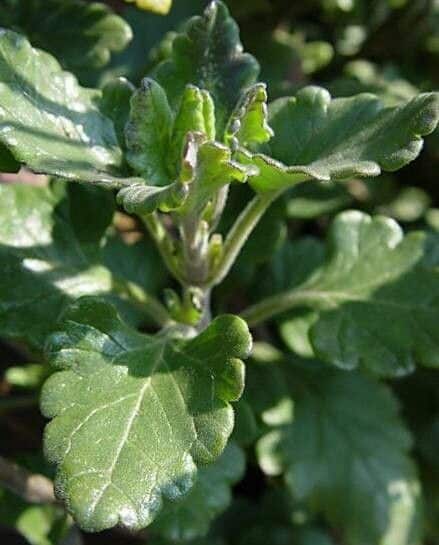
2. Choose Wisely: Look for healthy, non-flowering stems that are around 4-6 inches long.
3. Make the Cut: Using a sharp, sterilized knife or pruning shears, make a clean cut just below a leaf node (the point where the leaf attaches to the stem).
4. Prep the Cutting: Remove the lower leaves from the cutting, leaving only a few at the top. If desired, dip the cut end in rooting hormone powder to encourage faster root development.
5. Plant and Protect: Plant the cuttings in a pot filled with a well-draining potting mix, ensuring the leaf nodes are buried. Water gently and cover the pot with a plastic bag or propagate in a propagator to create a humid environment.
6. Patience is a Virtue: Place the pot in a warm, bright location out of direct sunlight. It may take several weeks for roots to form. Check the cuttings regularly for signs of new growth or resistance when gently tugged.
Seed Starting: A More Adventurous Route
Propagating Teucrium flavum from seeds is considered slightly more challenging, but don’t let that deter the adventurous gardener! Follow these steps for a chance at witnessing the magic of germination:
1. Seed Collection: Collect seeds from dried flower heads in late summer or early fall.
2. Cold Stratification (Optional): While not strictly necessary, cold stratification can help improve germination rates. Place the seeds in a damp paper towel, seal them in a plastic bag, and store them in the refrigerator for 4-6 weeks.
3. Sowing the Seeds: In spring, sow the seeds in a seed tray filled with a seed-starting mix, lightly pressing them into the surface.
4. Light and Warmth: Place the seed tray in a warm, bright location out of direct sunlight. Keep the soil consistently moist but not waterlogged.
5. Transplantion Time: Once the seedlings have developed a few sets of true leaves and are large enough to handle, carefully transplant them into individual pots filled with a well-draining potting mix.
Caring for Your New Propagations
Whether you chose cuttings or seeds, the care for your newly propagated Teucrium flavum remains the same. Provide them with ample sunlight, well-draining soil, and moderate watering. Once established, these resilient plants are relatively low-maintenance and will reward you with their sunny disposition year after year.
So, are you ready to embark on your Teucrium flavum propagation journey? With a dash of patience and a sprinkle of green-thumb magic, you’ll soon have a flourishing colony of these golden beauties gracing your garden!