Unlocking the Secrets of Thelypteris balbisii: A Guide to Propagation
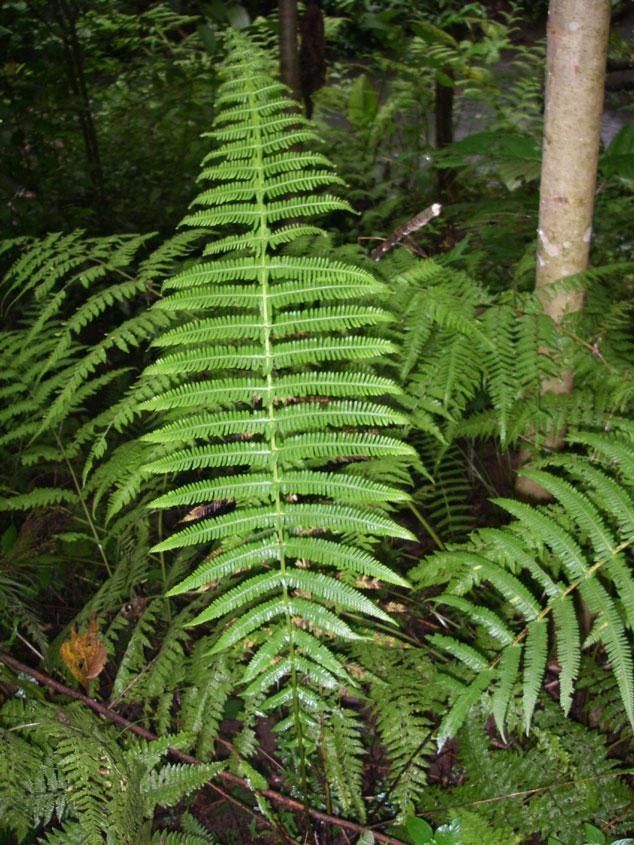
Thelypteris balbisii, more commonly known as the Southern wood fern, is a graceful and vigorous fern, prized for its lush, delicate foliage. Native to warmer regions worldwide, this fern can thrive in a variety of environments, adding a touch of woodland charm to gardens and indoor spaces alike. If you’re looking to expand your fern family, understanding how to propagate Thelypteris balbisii is key. Let’s delve into the methods that will make multiplying your ferns a breeze.
Method 1: Division
Division is the most common and straightforward method for propagating Thelypteris balbisii. Here’s how to do it:
- Timing is Key: The best time for division is during the early spring, just as new growth begins to emerge. This ensures the divided sections have ample time to establish themselves.
- Prepare your tools: You’ll need a sharp, clean knife or pair of gardening shears, and pots filled with a well-draining potting mix suitable for ferns.
- Carefully lift the fern: Gently remove the fern from its pot or the ground, ensuring minimal damage to the roots.
- Divide the rhizome: Using your clean tool, carefully divide the fern’s rhizome (the horizontal underground stem) into sections. Each section should have a healthy amount of roots and at least 2-3 fronds.
- Repot the divisions: Plant each divided section into its own pot, ensuring the rhizome is level with the soil surface. Water thoroughly after planting.
Method 2: Spores
For the more adventurous gardener, propagating Thelypteris balbisii from spores offers a rewarding challenge. While this method requires more patience, it can be a fascinating way to observe the fern’s life cycle from the beginning.
- Spore collection: On the underside of mature fronds, you’ll find small, brown structures called sori. When these mature, they release spores. Carefully collect the spores by scraping them onto a piece of white paper.
- Preparing the Spore Tray: Fill a seed tray or shallow pot with a sterile seed starting mix or a peat-based mix suitable for ferns. Mist the surface with water.
- Sowing the Spores: Lightly scatter the spores over the moistened surface of the mix. Avoid burying the spores, as they need light to germinate.
- Creating a Humid Environment: Cover the tray with a clear plastic wrap or a humidity dome to maintain a consistently moist environment. Place the tray in a well-lit area, but out of direct sunlight.
- Patience is Key: Spore germination can take anywhere from a few weeks to a few months. Once the spores germinate and small plantlets emerge, gradually acclimate them to ambient humidity by removing the cover for increasingly longer periods.
- Transplanting: When the fernlets are large enough to handle, carefully transplant them into individual pots.
Caring for Your Newly Propagated Ferns
Whether you choose division or spore propagation, providing the right care for your new ferns is vital for their success.
- Bright, indirect light: Like most ferns, Thelypteris balbisii prefers bright, indirect light. Avoid direct sunlight, which can scorch their delicate fronds.
- Consistent moisture: Keep the soil consistently moist, but not waterlogged. Watering from the bottom by placing the pot in a tray of water can help prevent overwatering.
- Humidity: Ferns thrive in humid environments. Misting your ferns regularly or placing a humidifier nearby can help increase humidity levels.
Propagating Thelypteris balbisii can be a fun and rewarding experience. Whether you’re a seasoned gardener or just starting out, these techniques will equip you to successfully multiply your ferns and create a lush, green oasis. So, roll up your sleeves, choose your propagation method, and get ready to enjoy the beauty of these captivating ferns for years to come.