Unveiling the Secrets of the Thomasia Petalocalyx: Easy Propagation for a Stunning Native
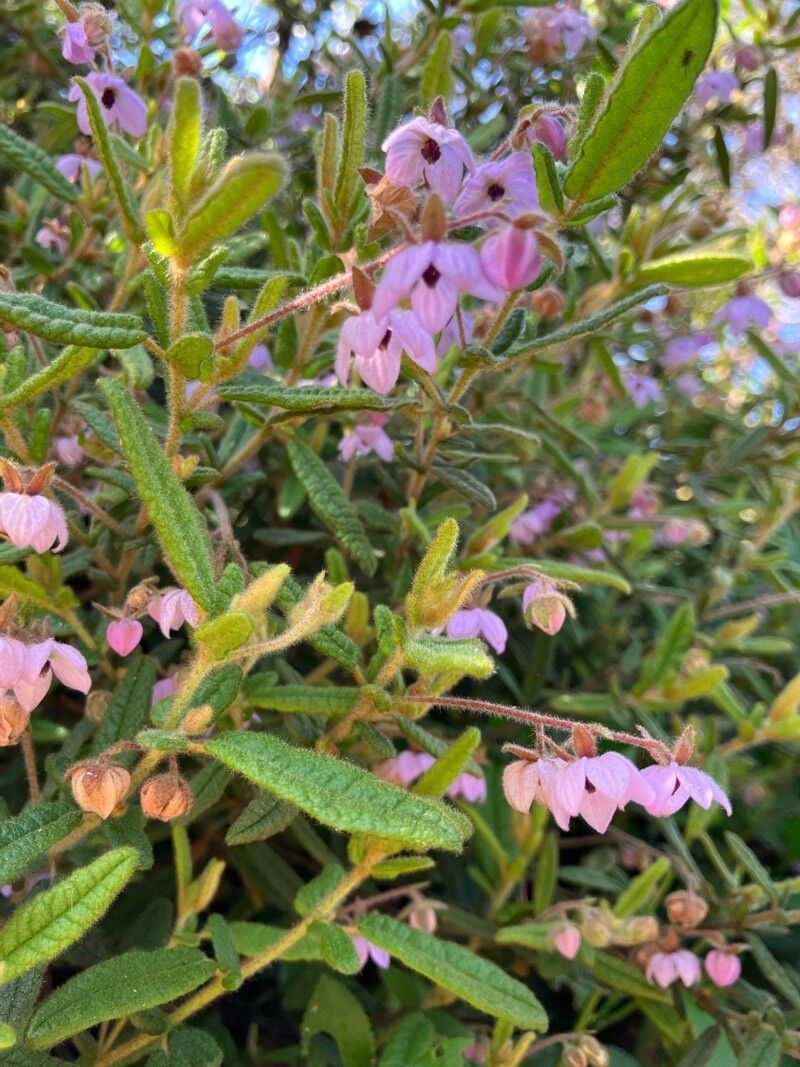
The Thomasia petalocalyx, also lovingly known as the “pink or red flowering thomasia,” is a captivating Australian native shrub that boasts vibrant, cascading blooms and a delightful, low-maintenance nature. But what if you could multiply the beauty of this plant and share it with friends, family, or even just add a splash of color to your own garden? The good news is, propagating the Thomasia petalocalyx is incredibly rewarding and surprisingly easy!
From Seed to Success:
While you can certainly start from seed, this method requires patience as it can be a bit slower. However, the satisfaction of nurturing a plant from its initial stages is unparalleled. To germinate Thomasia petalocalyx seeds, follow these steps:
- Prepare the Seed Bed: In a seed tray filled with a quality seed-raising mix, create shallow furrows about 5mm deep.
- Sowing the Seeds: Scatter the seeds evenly in the furrows, spacing them a few centimeters apart.
- Cover & Water: Lightly cover the seeds with the mix and gently water.
- Warmth & Light: Place the tray in a warm, sunny spot and maintain a consistently moist environment.
- Thinning: Once the seedlings emerge (usually within a few weeks), thin them out, leaving the healthiest and strongest plants to thrive.
The Power of Cuttings:
For those seeking a quicker route to a blooming Thomasia petalocalyx, propagating with cuttings is the way to go. This method is highly successful and can be done throughout the year. Here’s a detailed guide:
- Choose the Right Cuttings: Take semi-hardwood cuttings, preferably from healthy, non-flowering stems. Ensure the cutting is approximately 10-15 cm long with at least 3-4 nodes (the points where leaves emerge).
- Prepare the Cuttings: Make a clean cut just below a node with a sharp knife or secateurs. Remove any leaves below the soil line.
- Root Hormone (Optional): Dip the cut end of the cutting into a rooting hormone powder or solution to encourage faster root growth.
- Planting: Plant the cuttings in a suitable potting mix, ensuring at least two nodes are buried below the soil surface.
- Water & Protect: Water generously and place the cuttings in a bright location, sheltered from harsh sunlight.
- Patience & Maintenance: Maintain moisture and protect the cuttings from wind and cold. Roots should develop within a few weeks; however, keep them in their pots for a few months before transplanting.
Tips for Success:
- Choose Healthy Material: Always select cuttings from vigorous, disease-free plants.
- Light & Drainage: Ensure the propagation tray or pots have adequate drainage and receive plenty of bright, indirect light.
- Misting: Regularly mist the cuttings to maintain humidity and prevent them from drying out.
- Patience is Key: Propagation takes time, so be patient and observant. Check the cuttings regularly for signs of root development and growth.
Sharing the Beauty:
Once your Thomasia petalocalyx cuttings have developed strong roots and are ready for transplanting, you can easily share them with friends, plant them elsewhere in your garden, or even create a beautiful new display.
By following these simple steps, you can effectively propagate the stunning Thomasia petalocalyx, ensuring a vibrant and rewarding addition to your garden for years to come. So, grab some cuttings, get your hands dirty, and watch as the beauty of this Australian native thrives!