Winter Thyme: A Beginner’s Guide to Propagating Thymus hyemalis
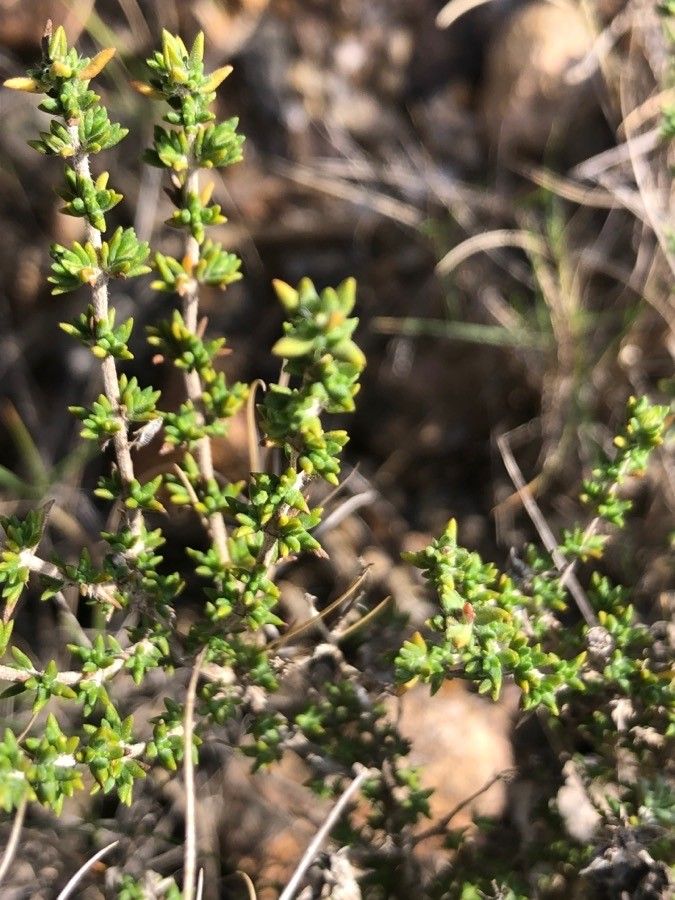
The delicate fragrance of thyme evokes images of sunny meadows and quaint herb gardens, but did you know there’s a species that thrives in the cold embrace of winter? Thymus hyemalis, or Winter Thyme, is a hardy, low-growing groundcover with vibrant green foliage and fragrant, tiny pink flowers. This resilient plant is a wonderful addition to any garden, and the best part? It’s remarkably easy to propagate!
Taking Cuttings – The Simplest Method:
- Timing is Key: The best time to take cuttings is in late spring or early summer when the plant is actively growing.
- Choose Your Cutting: Select healthy, non-flowering stems about 4-6 inches long.
- Remove Lower Leaves: Take a sharp knife or scissors and snip off the lower leaves from the stem to create a bare section about 2 inches long. This area will be submerged in soil for root development.
- Prepare the Potting Mix: Fill a small pot or tray with a well-draining potting mix. You can also use a mixture of equal parts peat moss, perlite, and vermiculite.
- Planting the Cuttings: Gently insert the bare section of the cutting into the potting mix, making sure to keep the leaves above the soil line.
- Care for the Cuttings: Place the pot in a bright but indirect location and keep the soil moist (not soggy). You’ll likely see roots forming within a few weeks. Once established, you can transplant your new thyme into a sunny location.
Layering – A Hands-Off Approach:
- Select a Stem: Choose a healthy stem that’s close to the ground.
- Prepare the Stem: Remove the leaves from a 6-inch section in the middle of the chosen stem. You can also lightly scrape the bark on this section to encourage root development.
- Pin the Stem: Gently bend the stem and pin it down to the ground with a wire or rock, ensuring the section with no leaves is in contact with the soil.
- Keep it Moist: Keep the soil consistently moist and by the following spring, your layered stem should have developed roots.
- Severing Connection: Once the new plant is established, carefully cut it from the parent plant to ensure a successful independent growth.
Growing From Seed:
- Time for Planting: Sow seeds indoors in late winter or early spring, or directly outdoors after the last frost.
- Soil and Depth: Use a seed starting mix and plant the seeds about 1/4 inch deep in the soil.
- Ideal Conditions: Keep the soil consistently moist and maintain temperatures around 70-75°F.
- Germination: Keep the seeds in a sunny location and expect germination to occur within 2-4 weeks.
- Thinning Process: Once seedlings have developed a few sets of true leaves, carefully thin them out to promote sturdy growth.
Propagation Tips and Tricks:
- Hormones for a Boost: While not strictly necessary, using a rooting hormone powder or liquid can help encourage root development.
- Humidity for Success: Cover the pot with a plastic dome or plastic wrap to create a humid environment, which is ideal for root development.
- Protect from Pests: Regularly check your cuttings for any signs of pests like aphids or spider mites.
Enjoying Winter Thyme:
Winter Thyme is a beautiful and versatile addition to any garden. Its low-growing nature makes it ideal for rock gardens, edging, and container plantings. Plus, its distinctive fragrance is a delight to the senses, making it perfect for culinary use.
Propagating Winter Thyme is a rewarding experience, and you can enjoy the beautiful fragrance and hardy nature of this plant for years to come. So grab your gardening gloves, gather some cuttings, and get started! You’ll be amazed at how easily you can create a thriving patch of Winter Thyme in your own backyard.