Cloning Your Culinary Cure-All: Propagating Thymus piperella
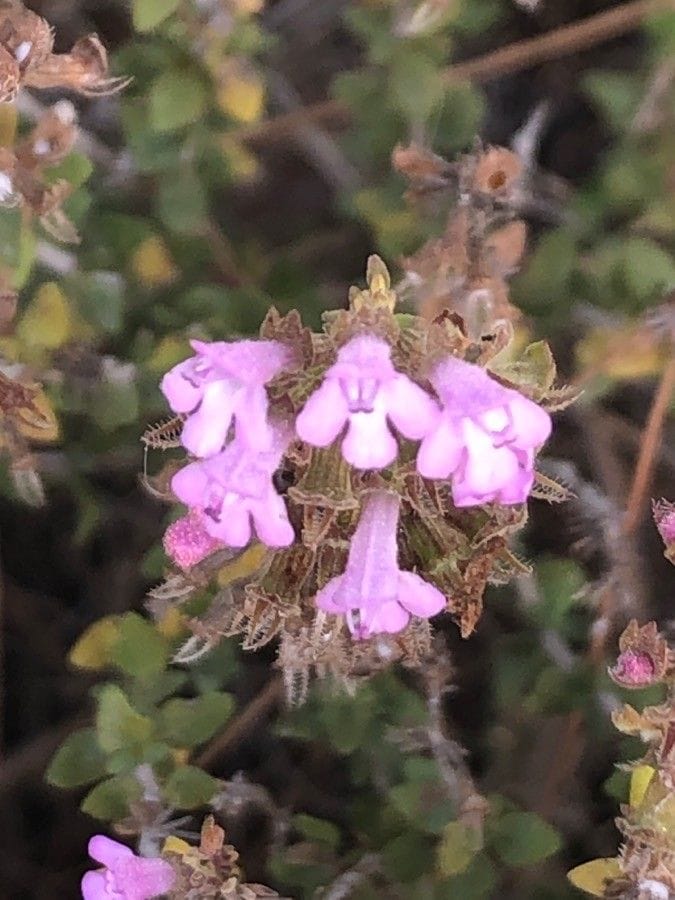
"Thymus piperella"… Maybe not a name that rolls off the tongue easily, but trust us, this herb is a rockstar in the garden and kitchen! With a flavor punch packing more punch than common thyme, Thymus piperella (sometimes called "Pepper Thyme") brings a unique peppery kick to your culinary creations.
Thinking of adding this powerhouse plant to your herb collection? You’re in luck! Thymus piperella is surprisingly simple to propagate, meaning you can multiply your supply without breaking the bank (or spending hours on complicated techniques). Let’s explore the two most popular DIY propagation methods:
1. Stem Cuttings: A Recipe for Rooting Success
Taking stem cuttings is like taking a mini-me snip from your parent plant and encouraging it to grow roots. Here’s the step-by-step:
- Timing is Everything: The ideal time for taking cuttings is in late spring or early summer when the plant is actively growing.
- Tools of the Trade: You’ll need a sharp, clean knife or pair of pruning shears, a small pot or seed tray, and a well-draining potting mix specifically formulated for starting seeds or cuttings.
- Cut to the Chase: Choose healthy stems that are about 3-4 inches long and haven’t flowered yet. Make a clean cut just below a leaf node (the point where the leaf joins the stem).
- Leaf it Out: Remove the leaves from the bottom inch or two of the stem. This area will form the roots.
- Hormone Help (Optional): While not strictly necessary, dipping the cut end in rooting hormone powder can encourage faster and more successful rooting.
- Planting Time: Create a small hole in your potting mix and gently insert the cutting. Lightly firm the soil around the base.
- Humidity is Key: Cover the pot or tray with a clear plastic bag or humidity dome to trap moisture and create a mini greenhouse.
- Location, Location, Location: Place the cuttings in a bright location, but out of direct sunlight.
- Patience Young Padawan: Keep the soil consistently moist but not waterlogged. Rooting can take anywhere from a few weeks to a couple of months.
- Transplant Time: Once you see new growth, your cuttings have rooted! Carefully transplant them to individual pots or your garden.
2. Layering: Letting Nature Do the Work
Layering is a more hands-off propagation method that encourages the plant to root while still attached to the parent.
- Choose a Branch: Select a healthy, flexible stem close to the ground.
- Wound and Bury: Lightly wound the underside of the stem using your clean knife or by making a small cut. Bury this wounded section a couple of inches deep in the soil, using a rock or landscape pin to hold it in place.
- Patience is a Virtue: Layering can take a few months. Keep the soil moist and check for root development by gently tugging on the layered stem. Once it resists pulling, the layering has successfully rooted!
- Separation Anxiety (Don’t Worry!): Carefully separate the rooted layer from the parent plant using a clean cut and transplant it to its final home in a pot or your garden.
Propagating your Thymus piperella is a rewarding experience that doesn’t require a green thumb! With a bit of know-how, you’ll have a thriving supply of this flavorful herb to elevate your cooking and impress your dinner guests. So, grab your gardening gloves and get ready to multiply your culinary herb collection!