Unlocking the Secrets: Propagating the Majestic Toona Ciliata
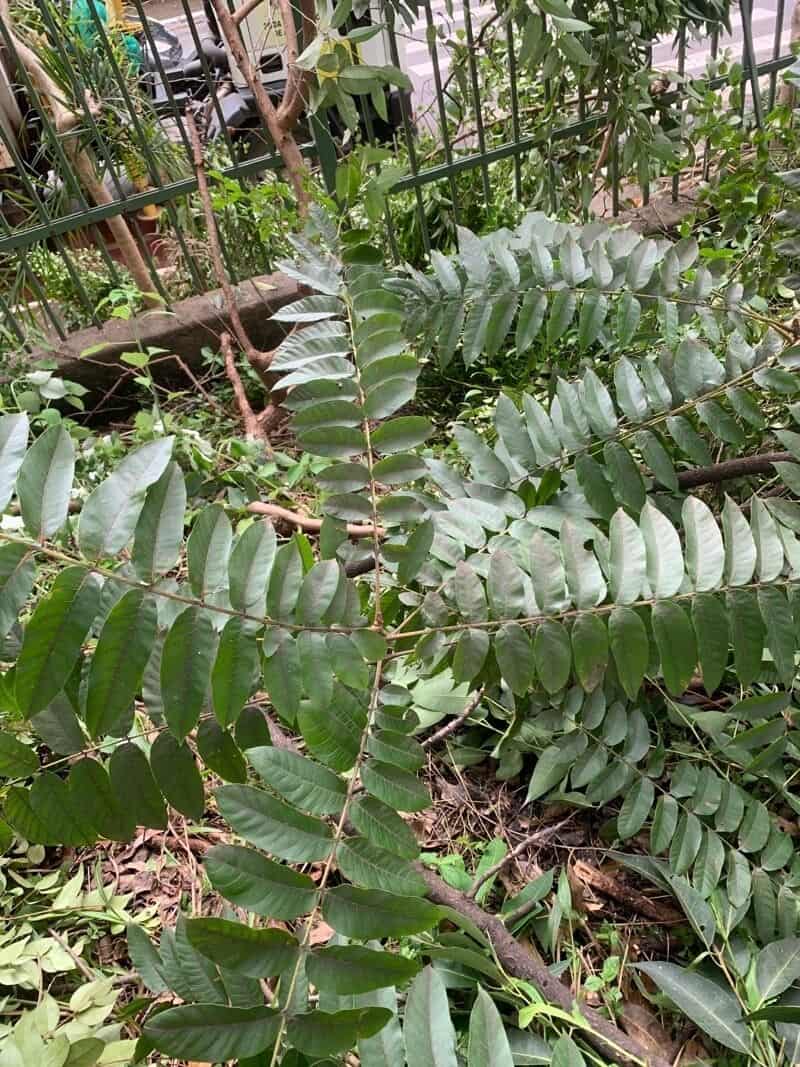
The Toona ciliata, also known as the red cedar or Australian red cedar, is a majestic tree prized for its beautiful reddish wood and fast growth. Whether you’re a seasoned gardener or a budding enthusiast, learning to propagate this stunning tree can be an incredibly rewarding experience.
While Toona ciliata can be grown from seed, it often proves to be a bit tricky for beginners. That’s why we’re going to dive deep into the world of propagation by cuttings – a method that offers greater success rates and faster results.
Gearing Up for Success: What You’ll Need
Before we delve into the step-by-step guide, let’s gather our tools and materials:
- Sharp Pruning Shears or a Knife: Opt for a tool that ensures a clean cut, minimizing damage to the parent plant and promoting healthy root development in the cutting.
- Rooting Hormone (Optional but Recommended): Rooting hormone contains auxins that stimulate root formation and increase the chances of successful propagation.
- Seedling Pots or Trays: Choose containers with drainage holes to prevent waterlogging.
- Well-Draining Potting Mix: A light and airy mix will provide adequate moisture retention while preventing root rot.
- Water: Opt for rainwater or distilled water as tap water can contain chemicals that might hinder root development.
- A Misting Bottle: This helps maintain humidity around the cuttings.
- Plastic Wrap or a Propagator (Optional): Create a humid environment to encourage faster rooting.
Step-by-Step Guide to Propagating Toona Ciliata Cuttings:
Timing is Key: The best time to take cuttings is during the early morning hours in late spring or early summer when the plant is actively growing.
Selecting the Perfect Cutting: Look for healthy, vigorous new growth on the Toona ciliata. Ideally, the cutting should be about 4-6 inches (10-15 cm) long and have at least 2-3 leaf nodes (bumps where leaves emerge).
Making the Cut: Using your sterilized pruning shears, make a clean cut just below a leaf node at a 45-degree angle. Remove any leaves from the bottom third of the cutting to prevent rot.
Hormone Boost (Optional): Dip the cut end of the cutting into a rooting hormone powder or gel, following the manufacturer’s instructions. This will encourage faster and more robust root development.
Potting Your Cuttings: Fill your seedling pots or trays with the well-draining potting mix. Create a small hole in the center of each pot with your finger or a pencil and gently insert the cutting, ensuring that at least one leaf node is buried in the soil.
Moisture is Key: Water your cuttings thoroughly, ensuring the potting mix is moist but not waterlogged.
Creating a Greenhouse Effect: Place the pots in a warm, bright location, but avoid direct sunlight which can scorch the delicate cuttings. To enhance humidity, you can cover the pots with a clear plastic bag or use a propagator.
Patience is a Virtue: Maintain consistent moisture levels and ensure proper ventilation around the cuttings. Within 4-6 weeks, you should start noticing new growth, indicating successful root development.
- Transplantation Time: Once your cuttings have developed a strong root system and show signs of healthy new growth, you can carefully transplant them into larger pots or directly into your garden.
Nurturing Your New Toona Ciliata Trees:
- Sunlight: Choose a location that receives full sun to partial shade.
- Watering: Water regularly, especially during dry periods, to ensure the soil remains consistently moist but not waterlogged.
- Fertilizing: Feed your growing trees with a balanced fertilizer every 4-6 weeks during the growing season (spring and summer) to promote healthy growth.
Propagating your own Toona ciliata is a rewarding journey that connects you with the magic of plant life. With the right knowledge and a little TLC, you can cultivate a grove of these majestic trees, adding beauty and shade to your surroundings for years to come.