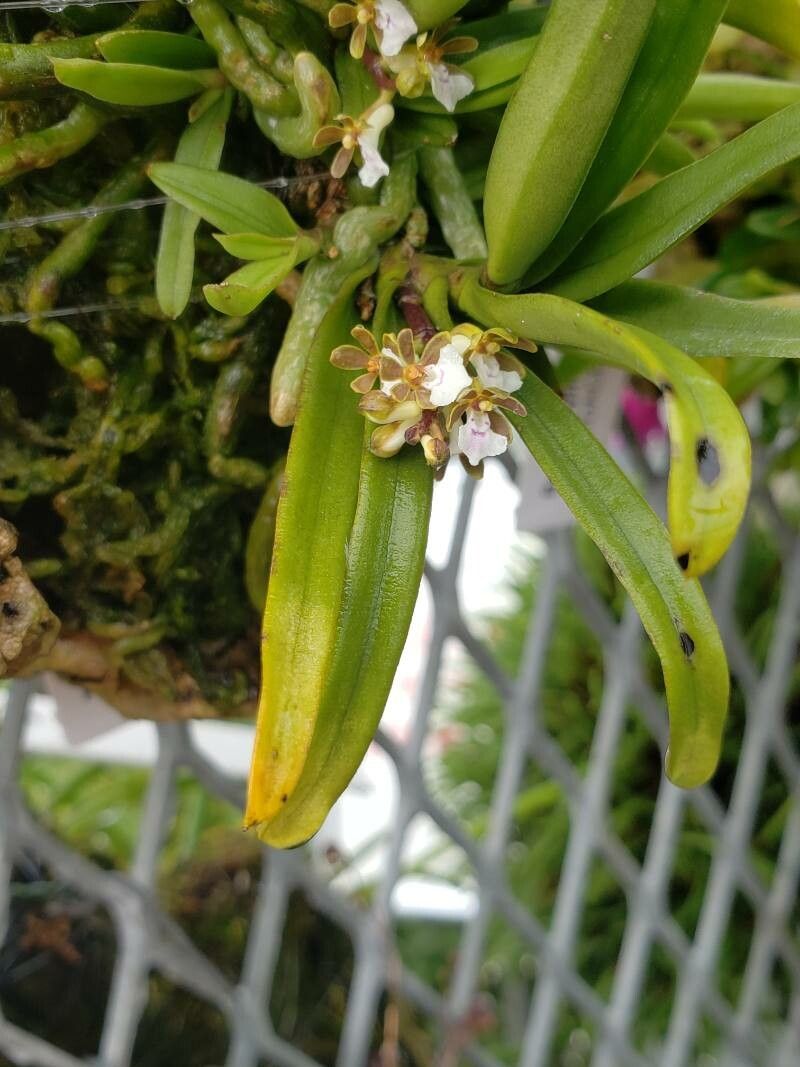
Bringing New Life: Propagating Your Trichoglottis triflora Orchid
The Trichoglottis triflora, with its stunning, fragrant blooms and vibrant foliage, is a true gem among orchids. But what if you could share this beauty with others, or simply expand your own collection? The answer lies in propagation, a process that allows you to create new plants from existing ones.
While orchids may seem delicate, propagating your Trichoglottis triflora isn’t as complicated as it might appear. There are a few tried-and-true methods that can be successful with a little patience and understanding.
1. The Power of Division
For mature, established plants, division is a relatively straightforward method. This involves carefully separating the plant into multiple sections, each with its own healthy root system and growth points.
Here’s how to do it:
- Preparation: Choose a healthy, well-established plant that has grown considerably. Prepare a sterile cutting tool and a well-draining potting mix made for orchids.
- Division: Gently remove the Trichoglottis triflora from its pot and carefully examine the root system. Look for natural divisions where the plant has naturally separated.
- Repotting: Separate the sections with a clean, sharp knife or pruning shears, ensuring each section has healthy roots and at least one growth point. Repot each section in its own pot with fresh orchid potting mix, ensuring the roots are spread out comfortably.
- Aftercare: Water your newly divided plants thoroughly and place them in a bright, humid location with indirect sunlight. Keep the potting mix slightly moist but not waterlogged.
2. The Art of Keiki Propagation
Keikis, or baby plants, often grow on the stems or inflorescences of mature orchids. These keikis develop their own roots and can be carefully removed and grown into independent plants.
Here’s how to propagate your Trichoglottis triflora using keikis:
- Observation: Keep an eye on your orchid for the emergence of keikis, which usually appear as small offshoots with their own developing roots.
- Separation: Once the keikis have developed a few roots (at least 2-3 inches long), prepare a sterile cutting tool. Gently separate the keiki from the parent plant, ensuring you don’t damage the developing roots.
- Repotting: Pot the separated keiki in a small pot filled with orchid potting mix, making sure the roots are properly spread out.
- Aftercare: Water the keiki generously and place it in a warm, humid location with indirect light. Keep the potting mix moist but not soggy.
3. The Challenge of Seed Propagation
This method is far more complex and requires advanced horticultural skills. Trichoglottis triflora seeds are dust-like and need a specific sterile environment to germinate. This method is usually reserved for professional orchid breeders due to its intricate process.
Patience is Key
Remember that propagating Trichoglottis triflora takes time and patience. Don’t be discouraged if you don’t see immediate results. With proper care and a little luck, you’ll soon be enjoying the beauty of your newly propagated orchids.
Tips for Success:
- Sterilization: Sterilization is crucial to prevent fungal infections and diseases. Sterilize your tools and potting mix before use.
- Humidity: Orchids thrive in high humidity. Consider using a humidifier or placing your plants near a water source.
- Good Ventilation: Adequate air circulation is vital to prevent stagnant air and fungal growth.
- Indirect Light: Ensure your propagated Trichoglottis triflora receives bright, indirect light, avoiding direct sunlight that can scorch the leaves.
Whether you choose division or keikis, propagation allows you to expand your orchid collection and share the joy of these exquisite plants. With a little patience and dedication, you’ll be rewarded with vibrant new blooms and the satisfaction of propagating your own Trichoglottis triflora orchids.