Unlocking the Secrets of Tridactyle brevicalcarata Propagation: A Guide for Beginner and Experienced Growers Alike
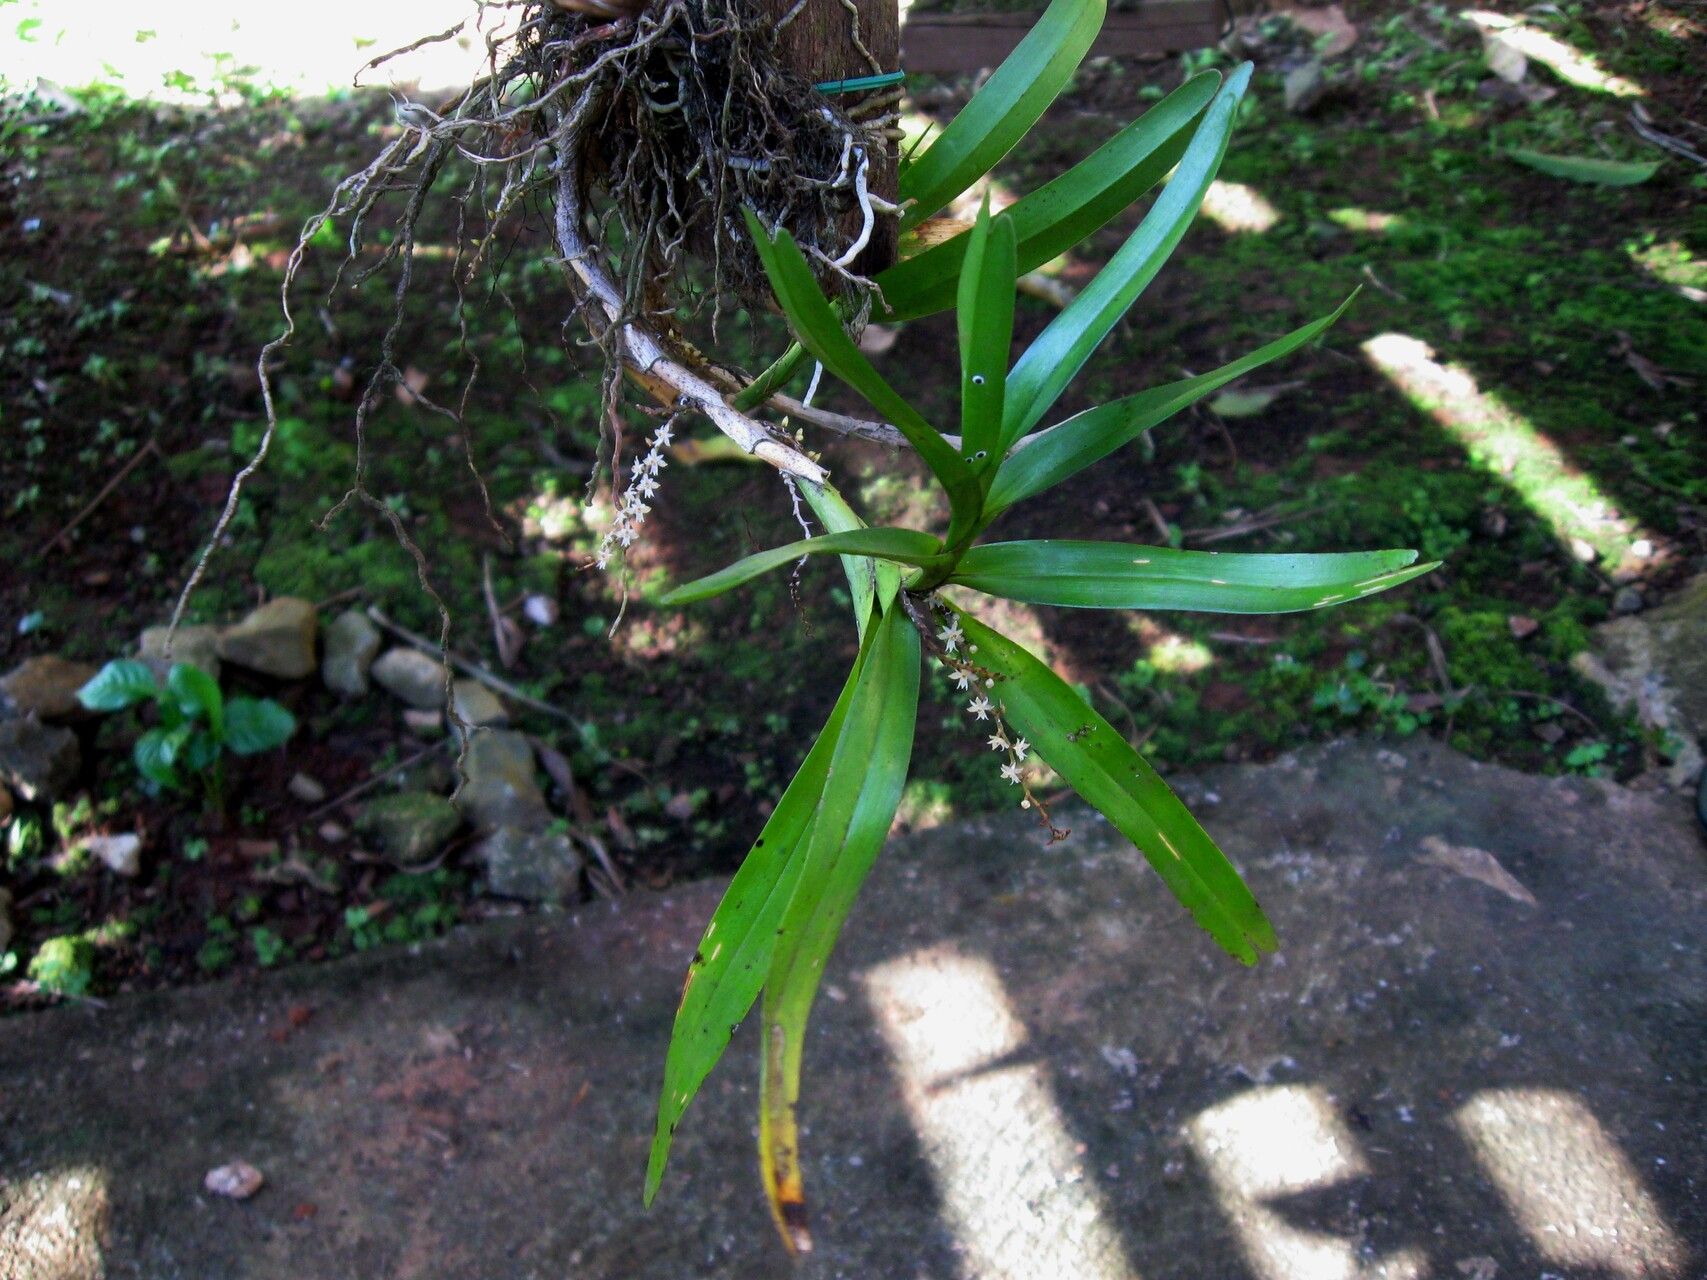
Tridactyle brevicalcarata, with its intricate blooms and captivating fragrance, is a sought-after orchid for any collection. But acquiring this beauty can be a challenge, as it’s often found only in specialist nurseries or through passionate collectors. That’s where propagation comes in – a fantastic way to expand your orchid collection and share this fascinating plant with others.
Understanding the Basics of Propagation
Propagation is the process of creating new plants from existing ones, essentially making copies. For orchids, there are three main methods:
- Seed Propagation: This is the most complex method and requires specialized laboratory conditions to germinate tiny orchid seeds. It’s rarely used by home hobbyists.
- Division: This method involves separating a mature, multi-bulbed orchid into individual plants, each containing roots and a growth point. This is a simple and efficient method, but it can be stressful to the plant and might not always be successful with all orchid types.
- Keiki Propagation: Keiki, meaning “baby” in Hawaiian, are miniature versions of the parent plant that grow directly on the stem or flower stalk. This is the most popular method for Tridactyle brevicalcarata propagation, as it offers the best chance of success and minimal stress for the parent plant.
The Keiki Approach: Empowering Your Tridactyle brevicalcarata
For Tridactyle brevicalcarata, keiki propagation is the preferred method. Here’s how to encourage and successfully propagate your orchid:
- Identify a Suitable Keiki: Look for a keiki that has at least a few leaves and a set of healthy roots. Keiki usually appear at the base of the plant or on the flower spike, often near a node.
- Preparation is Key: Once you have a promising keiki, sterilize a sharp, clean knife or a pair of scissors. This will help prevent infection and promote proper healing.
- Time to Separate: Gently detach the keiki from the parent plant. Cut just below the roots, ensuring you remove a good portion of the keiki’s roots. It’s crucial not to damage the parent plant’s roots during this process.
- Potting for Success: Prepare a small pot with a well-draining orchid mix, like bark chips, sphagnum moss, or a combination of both. Place the keiki, with its roots facing downwards, in the pot.
- The Right Environment: Maintain high humidity and consistent warmth (around 75-85°F) for your new plantlet. You can create a mini-greenhouse with a plastic bag or use a propagator.
- Nurture and Monitor: Water consistently, keeping the substrate evenly moist but not soggy. Ensure good air circulation around the keiki to prevent fungal growth. Monitor for signs of new growth, which indicates the plant is successfully rooted.
- Patience is Virtue: Keiki propagation can take several months, sometimes even a year, for the plant to establish itself properly. During this period, be patient and provide consistent care for your new little orchid.
Beyond Propagation: Caring for your Tridactyle brevicalcarata
Once your keiki is established, you can gradually introduce it to your regular orchid care routine. Provide bright, indirect light, well-ventilated conditions, and regular watering with a fertilizer designed for orchids. Remember, each orchid species has its own unique preferences, so research the specific needs of Tridactyle brevicalcarata to ensure its thriving.
Propagating Your Tridactyle brevicalcarata is not just a way to expand your collection; it’s a rewarding process that strengthens your connection with this fascinating species. With patience, care, and a little knowledge, anyone can create a thriving new orchid from a simple keiki, enjoying its captivating blooms and intoxicating fragrance for years to come.