Sharing the Love: How to Propagate Charming Chilean Clover (Trifolium amabile)
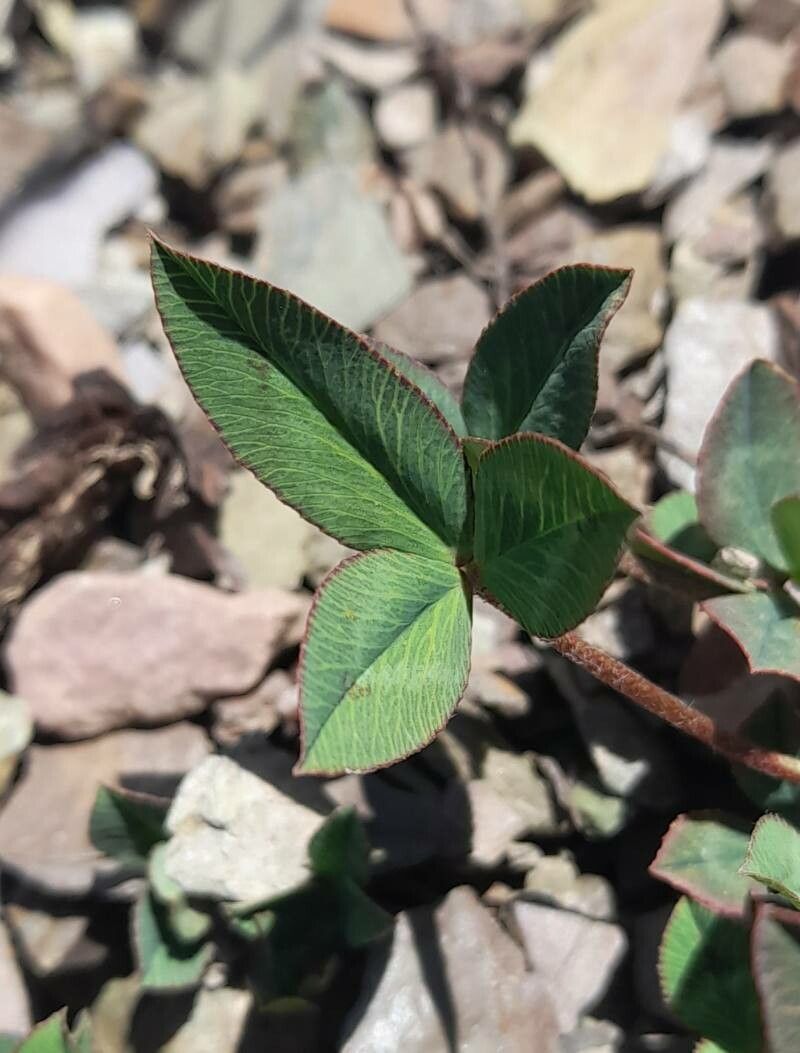
Chilean clover (Trifolium amabile) might not be a household name, but this charming little legume deserves a spot in more gardens. With its delicate, shamrock-like foliage and cheerful yellow blooms that transition to a rich mahogany, it offers a unique textural element and long-lasting color to borders, rock gardens, and even hanging baskets. Plus, it attracts beneficial pollinators! Intrigued? Here’s how to propagate Chilean clover and share its charm:
Two Roads to Success: Seed vs. Division
Chilean clover offers two reliable propagation methods: seeds and division.
Seeds Offer a Fresh Start: Growing from seed is incredibly rewarding and allows you to start with a large number of plants. Plus, Chilean clover seeds have a naturally high germination rate, making them perfect for beginner propagators.
- Division Provides Instant Gratification: For a quicker method and established plants, division is the way to go. This technique involves separating portions of a mature plant to create new ones.
Starting from Seed: Sowing the Seeds of Success
Timing is Key: The ideal time to sow Chilean clover seeds is in the spring after the last frost has passed or in the fall before the first frost in milder climates.
Prepare Your Potting Mix: Opt for a well-draining seed starting mix or create your own by combining equal parts peat moss, perlite, and vermiculite.
Sowing the Seeds: Sprinkle the seeds on the surface of the moistened potting mix and lightly press them in. Chilean clover seeds need light to germinate, so avoid burying them deeply.
Water Gently and Provide Warmth: Mist the soil surface with a spray bottle to avoid dislodging the seeds. Place the pot in a warm, bright location, but out of direct sunlight.
Patience is a Virtue: Germination takes approximately 1-2 weeks. Keep the soil consistently moist but not waterlogged.
- Transplant to Larger Pots or Outdoors: Once the seedlings develop a few sets of true leaves, they are ready to be transplanted. Harden them off gradually by introducing them to outdoor conditions for increasingly longer periods each day before planting them in their final location.
Dividing for Abundance: Splitting Your Clover Patch
Best Time for Division: Divide established Chilean clover plants in the spring or fall when the weather is cool and moist.
Digging Up the Plant: Carefully lift the entire plant from the ground using a garden fork, ensuring you get as much of the root system as possible.
Divide the Plant: Gently separate the plant into smaller sections, making sure each section has a healthy amount of roots and shoots attached.
Replanting: Replant the divided sections at the same depth they were growing previously. Space them about 12 inches apart to allow for growth.
- Water Deeply and Mulch: Water the newly planted divisions thoroughly and apply a layer of mulch around the base to help retain moisture and suppress weeds.
Caring for Your New Clover Companions
Chilean clover is relatively low maintenance. Provide it with well-drained soil, regular watering (especially during dry periods), and a sunny or partially shaded location, and it will thrive.
Propagating Chilean clover is a simple and rewarding experience. By following these tips, you can easily expand your garden with this charming and versatile plant.