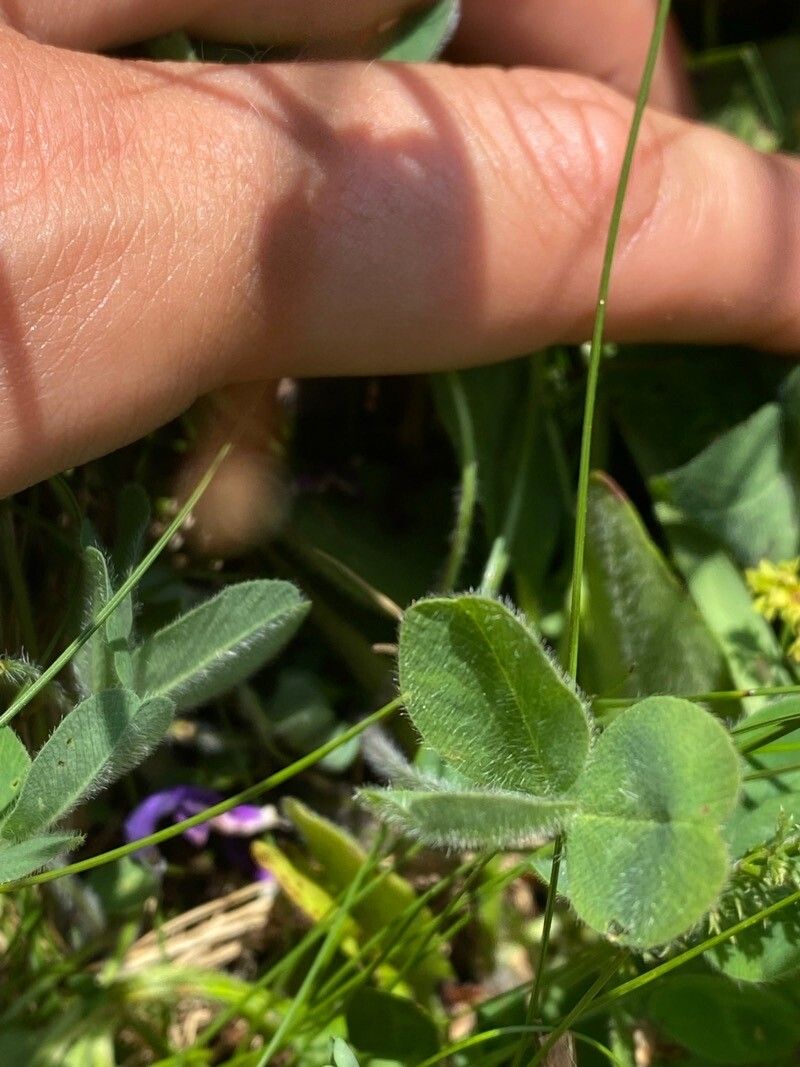
Tiny Heads, Big Dreams: Propagating Microclover (Trifolium microcephalum)
You’ve likely seen it: a sea of green carpeting the ground, dotted with tiny white flowers. Microclover (Trifolium microcephalum) is a charming little plant with a big personality. Not only is it visually appealing, but it’s also a natural wonder in the world of soil health. But what if you want to share these benefits with your own garden? The good news is, propagating microclover is a pretty straightforward process!
The Power of Seeds:
Microclover, like its larger kin, the traditional clover, reproduces primarily through seeds. This method is simple and highly effective, allowing even novice gardeners to enjoy the benefits of this hardy plant. Here’s how to get started:
- Harvest the Seeds: After the little white flowers fade, they’ll give way to brown seed pods. Let these mature fully, then carefully harvest them by hand. You can also collect seeds from commercial sources.
- Prepare the Soil: Microclover thrives in a well-drained soil, but it’s not picky. Prepare your chosen area by tilling it lightly and removing any weeds.
- Sowing Time: Spring and early fall are ideal times to sow microclover seeds. Scatter the seeds directly onto the prepared soil, making sure they have good contact with the ground.
- Watering and Patience: After sowing, lightly water the soil. Microclover seeds need a consistent moisture level to germinate. You’ll see new seedlings emerging within a couple of weeks. Be patient!
Beyond the Seeds:
While seed propagation is the most common method, microclover can also be propagated using divisions. This technique involves carefully separating established clumps of microclover and planting them individually in new locations.
- Choose the Right Time: Spring or fall are the best times for dividing microclover, as the plant isn’t actively growing.
- Divide and Conquer: Using a sharp knife or spade, carefully divide the clump into smaller sections, making sure each division has healthy roots.
- Replant the Divisions: Prepare a new location by amending the soil with compost. Plant the divisions about 6 inches apart, ensuring the roots are covered with soil.
- Water and Care: Water the divisions generously and provide consistent moisture. They should soon establish themselves in their new home.
Choosing the Right Method:
The best propagation method ultimately depends on your situation. Seed propagation is ideal for large areas and is generally less time-consuming. Division is perfect for small areas and can help you create a denser, more established microclover patch.
Beyond Propagation: The Benefits of Microclover
Whether you’re starting from seeds or divisions, propagating microclover is a rewarding experience. This little plant is a true champion of soil health, offering several benefits:
- Nitrogen Fixation: Microclover enriches the soil by converting atmospheric nitrogen into a form plants can readily use, reducing the need for synthetic fertilizers.
- Soil Erosion Control: Its dense root system helps prevent soil erosion, especially on slopes or fragile areas.
- Weed Suppression: Microclover acts as a natural weed suppressant, hindering the growth of unwanted plants.
- Attracts Beneficial Insects: This lovely plant is a haven for pollinators, promoting a thriving ecosystem in your garden.
Microclover: A Tiny Plant with Endless Benefits
Microclover may be small, but it has a big impact on our gardens and the environment. Whether you are a seasoned gardener or a newbie, propagating microclover is an easy and rewarding journey. Get your hands dirty, and witness the magic of this tiny plant as it transforms your garden into a beautiful and healthy haven.