From Seed to Sea: Propagating Tripolium pannonicum (Sea Aster) for Your Garden
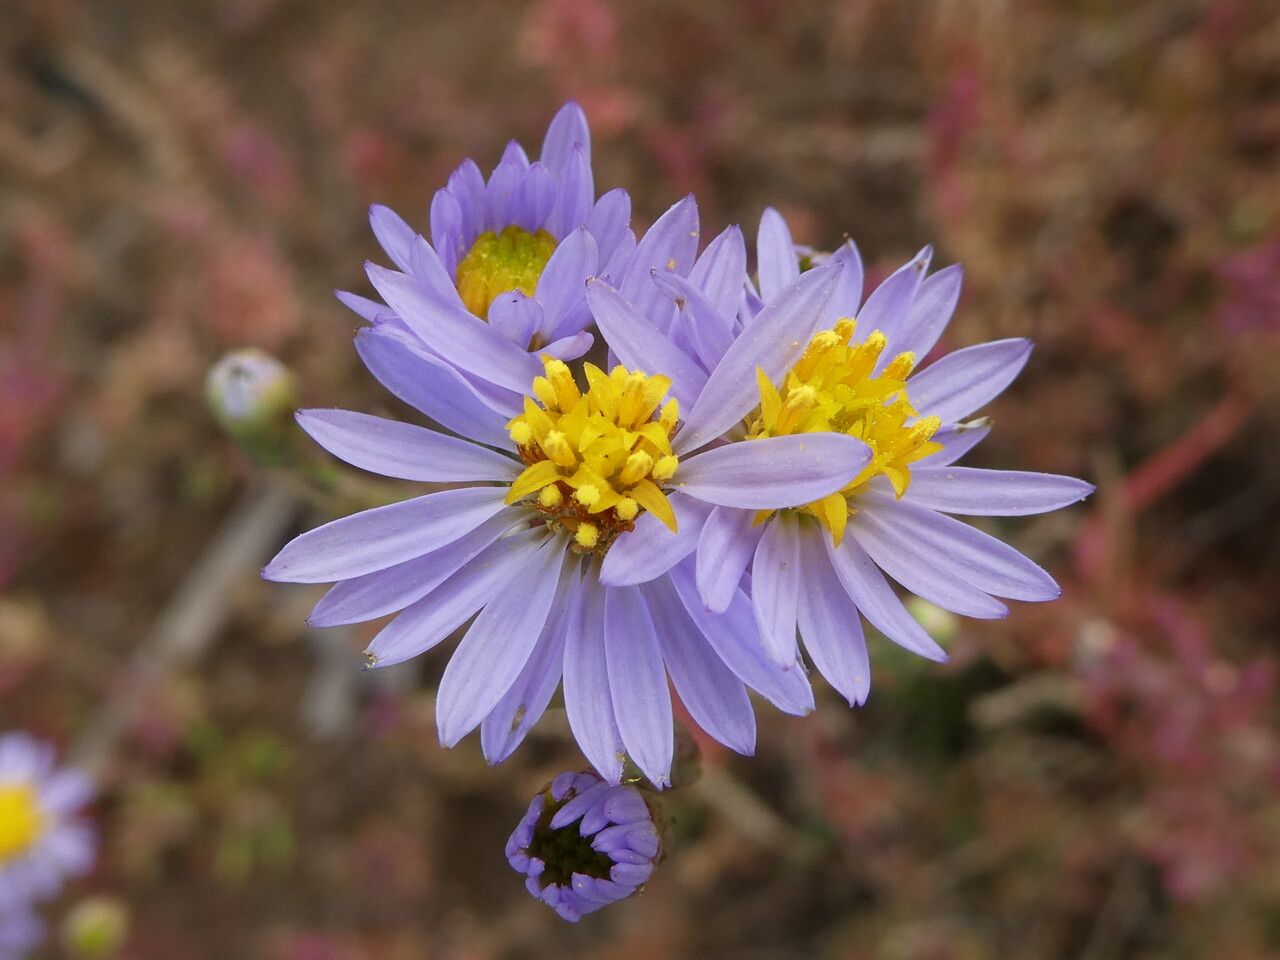
The Tripolium pannonicum, commonly known as Sea Aster, is a stunning coastal plant that brings vibrant, daisy-like blooms to the garden. This salt-tolerant beauty thrives in sandy, well-drained soil and offers a unique, seaside charm. And the best part? It’s surprisingly easy to propagate!
Whether you’re looking to expand your existing Sea Aster collection or start a new patch from scratch, there are several methods you can utilize to bring this lovely plant to life. Let’s dive into the world of Sea Aster propagation:
1. Seed Propagation: A Journey from Tiny Seeds to Blooms
For those who enjoy a bit of horticultural patience, seed propagation is a rewarding method. Here’s how to get started:
- Timing is Key: Sow your seeds in the late winter or early spring for the best results.
- Prepare a Seedbed: Choose a well-drained, sandy seed tray or pot filled with a seed-starting mix.
- Sow the Seeds: Scatter seeds thinly across the surface, barely covering them with a thin layer of soil.
- Provide Moisture and Light: Keep the seedbed consistently moist but not soggy. Place it in a bright location, but avoid direct sunlight.
- Thinning is Essential: Once seedlings emerge, thin them out to give each plant adequate space to grow.
2. Division: A Faster Path to New Plants
Dividing established Sea Aster plants is a quick and efficient way to generate new specimens. Here’s how to do it:
- Timing is Everything: Divide your Sea Aster plant in the spring or early fall, when the plant is actively growing.
- Prepare the Plant: Carefully dig up the plant and gently loosen the roots.
- Divide the Roots: With a sharp knife or gardening shears, carefully divide the root ball into sections, ensuring each section has at least one healthy growth point.
- Replant the Divisions: Plant the divided sections in slightly larger pots or in a prepared garden bed with well-drained soil. Water thoroughly and provide shade for a few days while the plant re-establishes itself.
3. Cuttings: A Quick and Hassle-Free Approach
Taking cuttings from your Sea Aster plant is another effective way to propagate new plants. Here’s how:
- Choose the Cuts: Select healthy, non-flowering stems that are about 4-6 inches long.
- Prepare the Cuttings: Make a clean, diagonal cut just below a leaf node, removing the leaves from the lower half of the stem.
- Encourage Root Growth: Dip the cut end in rooting hormone powder to stimulate root development.
- Pot the Cuttings: Plant the cuttings in a potting mix specifically designed for rooting, keeping the soil moist and avoiding full sun.
- Patience is Key: It typically takes a few weeks for cuttings to develop roots, but keep the soil consistently moist and watch for new growth.
Tips for Success:
- Provide Adequate Light: Regardless of your chosen propagation method, Sea Aster thrives in bright light conditions.
- Maintain Healthy Soil: Good drainage is crucial. Utilize a well-drained sandy potting mix or amend your garden soil with compost or sand for optimal results.
- Water Consistently: Keep the soil consistently moist, especially during the initial rooting phase.
- Observe and Adjust: As your plants grow, monitor their progress and make adjustments like repotting or fertilizing as needed.
Propagating your Tripolium pannonicum is not just a way to expand your garden; it’s a rewarding journey that connects you to the beauty and resilience of this seaside plant. So why not give it a try? You might just find yourself inspired by this simple, yet effective, way to bring more beauty to your garden.