Unlocking the Secrets of Tristaniopsis reticulata: A Guide to Propagation
The Tristaniopsis reticulata, with its stunning foliage and alluring aroma, is a popular choice for gardeners seeking a touch of exotic beauty. But did you know that this captivating plant can be easily propagated, allowing you to expand your garden or share its beauty with friends?
This guide will walk you through the secrets of propagation, enabling you to cultivate new Tristaniopsis reticulata plants from cuttings, seeds, or even layering.
1. Propagation through Cuttings:
The most popular and efficient method for propagating Tristaniopsis reticulata is through cuttings. This technique requires a sharp knife or pruning shears to collect cuttings from healthy, mature stems. Look for stems that are non-flowering and at least 6-8 inches long.
Here’s a step-by-step guide:
- Prepare the cuttings: Trim the lower leaves from the cutting, leaving a few at the top for photosynthesis. Dip the cut end in rooting hormone powder (optional).
- Plant the cuttings: Prepare a pot with a well-draining potting mix and insert the cuttings around 2-3 inches deep. Maintain a moist but not soggy environment.
- Provide optimal conditions: Place the pot in a bright, indirect light location. Maintain a temperature around 70-75 degrees Fahrenheit.
- Patience is key: Allow the cuttings to root for 6-8 weeks. During this time, regularly check the moisture levels and ensure the potting mix remains slightly moist.
- Transplanting: Once the new growth emerges from the cuttings, you know they have successfully rooted. Carefully transplant them into individual pots or your chosen garden location.
2. Propagation through Seeds:
While less common, Tristaniopsis reticulata can also be propagated through seeds. However, this method can be more time-consuming and requires patience.
Here’s how to do it:
- Collect seeds: Gather ripe seed pods from the parent plant once they turn brown and dry. Extract the seeds and allow them to dry.
- Sowing the seeds: Sow the seeds in a seed tray or pot filled with well-draining potting mix. Keep the soil moist but not waterlogged.
- Germination: Place the tray in a warm location (65-70 degrees Fahrenheit) and provide indirect light. Germination can take several weeks.
- Transplanting: Once seedlings are a few inches tall, carefully transplant them into individual pots or your chosen garden location.
3. Air Layering:
For a more specialized technique, you can propagate Tristaniopsis reticulata through air layering. This method involves rooting a stem while it is still attached to the parent plant.
Here’s a simple guide:
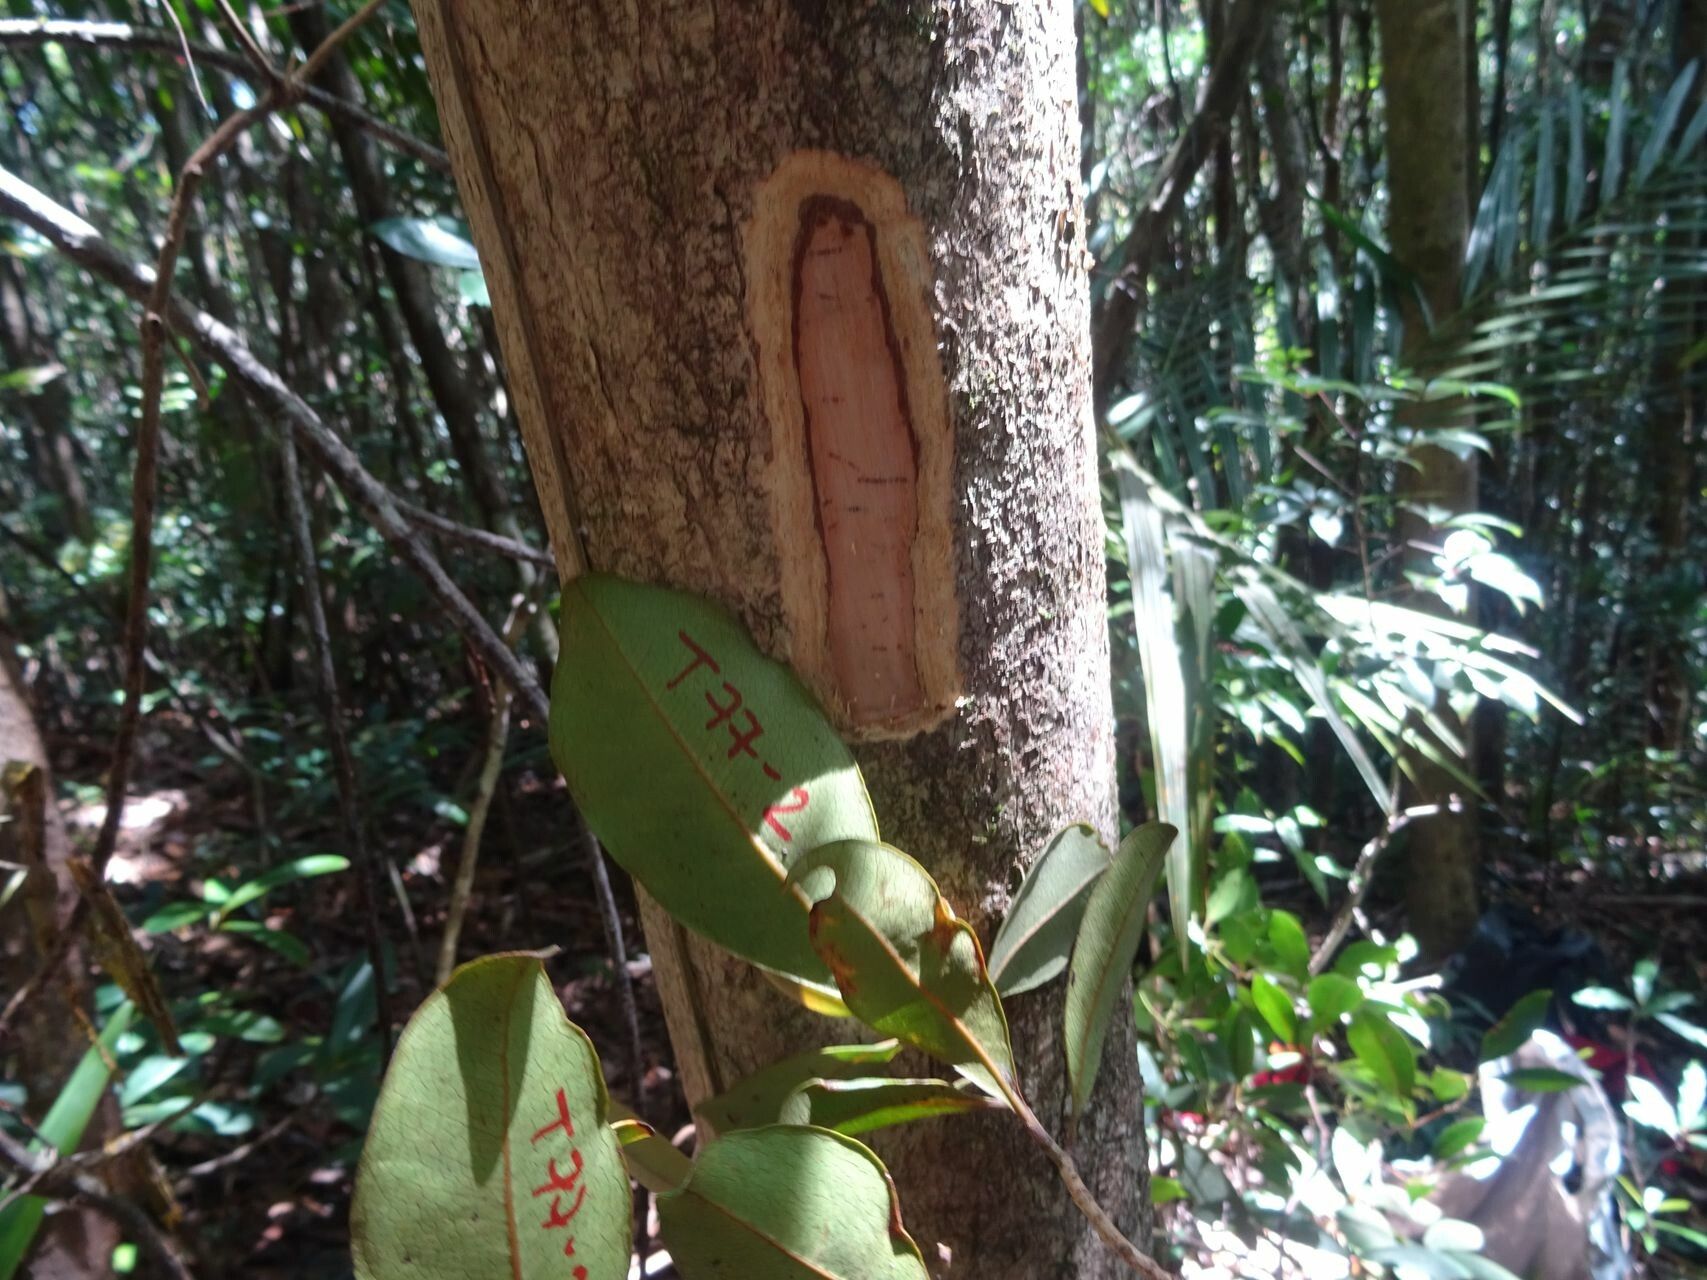
- Select a suitable stem: Choose a healthy stem on the parent plant and make a shallow cut around the stem.
- Apply rooting hormone (optional): Apply rooting hormone powder to the cut area.
- Wrap with sphagnum moss: Wrap the cut area with moist sphagnum moss and secure it with plastic wrap.
- Maintain moisture: Regularly dampen the moss to maintain its moisture.
- Root development: As new roots emerge, slowly remove the plastic wrap and allow the roots to grow.
- Cut and plant: Once the roots have developed, carefully cut the new plant off the parent plant and plant it in a suitable location.
Conclusion:
Propagation offers a rewarding and affordable way to expand your garden with Tristaniopsis reticulata. Whether you choose cuttings, seeds, or air layering, these methods are fairly straightforward and can lead to thriving new specimens.
Embrace the joy of propagation and immerse yourself in the beauty of Tristaniopsis reticulata, sharing its captivating charm with others and creating a verdant haven in your own garden.