Multiplying Your Floral Jewels: Propagating Tulipa Julia
The “Tulipa julia”, with its fiery orange-red blooms and delicate star-shaped centers, is a jewel in any garden. But unlike jewelry, these gems can readily multiply, bringing years of fiery beauty to your outdoor space. Intrigued? Let’s delve into the art of propagating “Tulipa julia” and discover how you can expand your floral treasure trove.
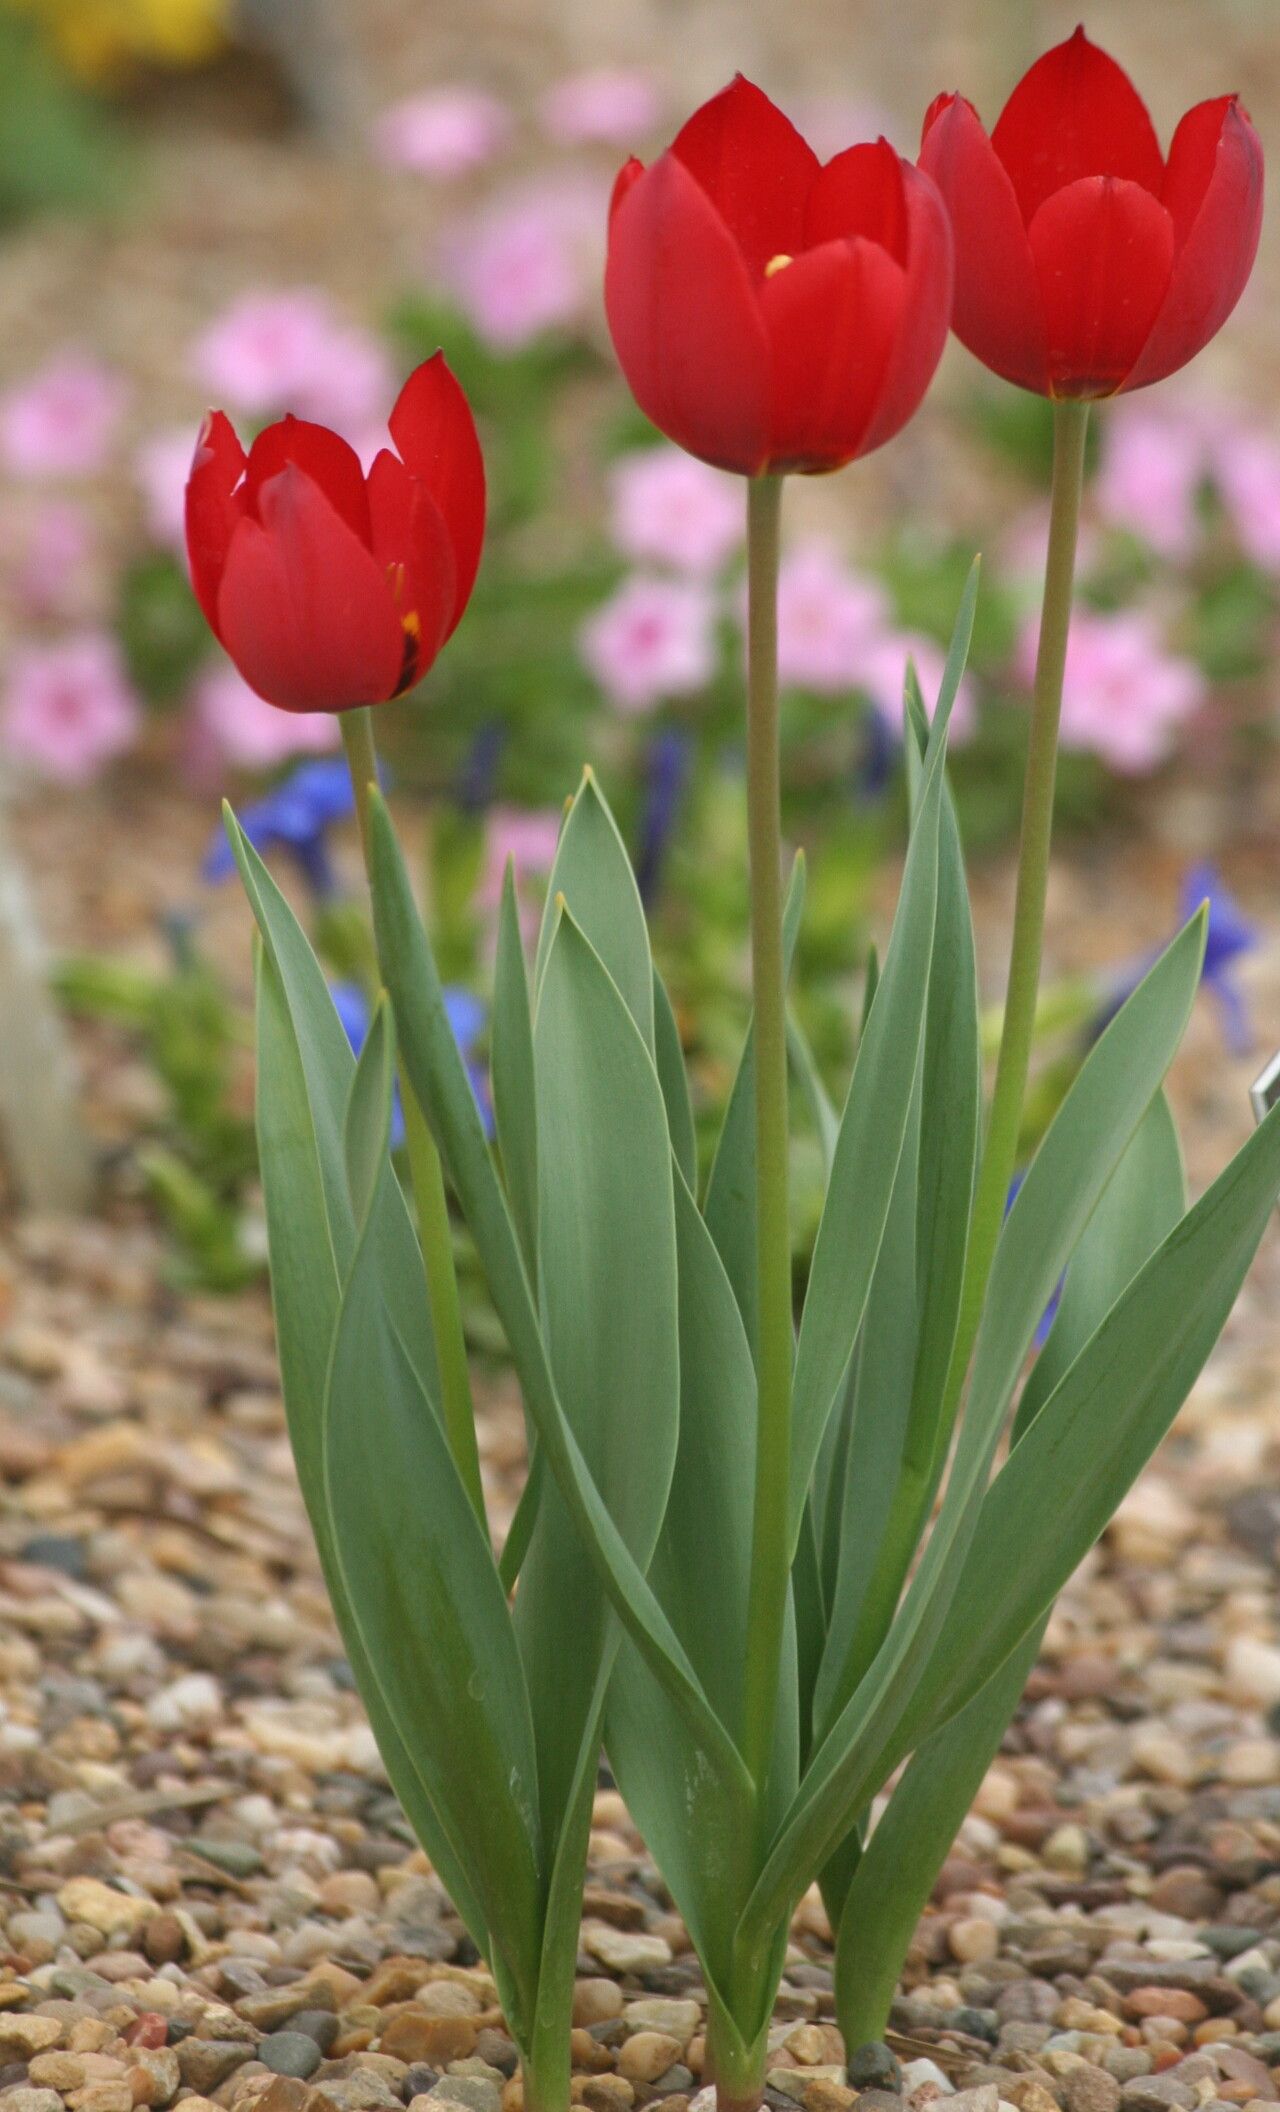
Method 1: Digging for Treasure – Propagating from Offsets
After a few years of gracing your garden, “Tulipa julia” bulbs will naturally produce smaller “offsets” or baby bulbs. These little wonders are your ticket to more tulips! Here’s how to harness their potential:
- Timing is Key: Wait until the foliage of your “Tulipa julia” has died back naturally, usually around late spring or early summer. This signals that the bulbs are dormant and ready for division.
- Gentle Excavation: Carefully dig around the mother bulb, ensuring you don’t damage any roots. Gently lift the entire clump from the ground.
- Separation Anxiety (for the bulbs!): Remove the offsets from the mother bulb. Don’t worry; a gentle twist or a clean cut with a sharp knife will do the trick. Choose offsets that are firm and at least an inch in diameter for best results.
- Rehoming Your Treasures: Replant the offsets immediately in well-drained soil, burying them about 6 inches deep and spacing them about 4-6 inches apart. Water well and patiently await their fiery debut next spring!
Method 2: A Seed’s Promise: Propagating from Seed ( for the Patient Gardener)
While propagating “Tulipa julia” from seed is possible, it’s a long game. Seed-grown tulips can take 5-7 years to flower, but the journey is an adventure in itself!
- Harvesting the Jewels: Allow the seedpods of your “Tulipa julia” to dry completely on the plant. This may take several weeks. Once dry, collect the pods and extract the seeds.
- Winter’s Chill: Mimic nature’s cycle by storing the seeds in a cool, dry place for at least 12 weeks. This “stratification” period helps break their dormancy.
- Spring Awakening: Sow the seeds in a well-drained seed starting mix, covering them lightly with soil. Water gently and keep the soil consistently moist but not waterlogged.
- Patience is a Virtue: Be patient! It will take some time for your seedlings to emerge and even longer for them to reach flowering size. But the reward of seeing your very own seed-grown “Tulipa julia” bloom will be worth the wait.
Tips for Success:
- Well-Drained Soil is Key: “Tulipa julia” bulbs are susceptible to rot in poorly drained soil. Amend heavy clay soil with compost or sand to improve drainage.
- Sunlight is Your Ally: Plant your “Tulipa julia” in a location that receives at least six hours of direct sunlight each day.
- Defense Against Pests: Protect your precious bulbs from rodents by planting them in wire baskets or using repellents.
Propagating your own “Tulipa julia” is a rewarding experience that allows you to expand your garden’s fiery beauty while deepening your connection to the natural world. So go forth, unleash your inner gardener, and let your “Tulipa julia” collection flourish for years to come!