Blooming Beauties: The Easy Guide to Propagating Turnera Orientalis
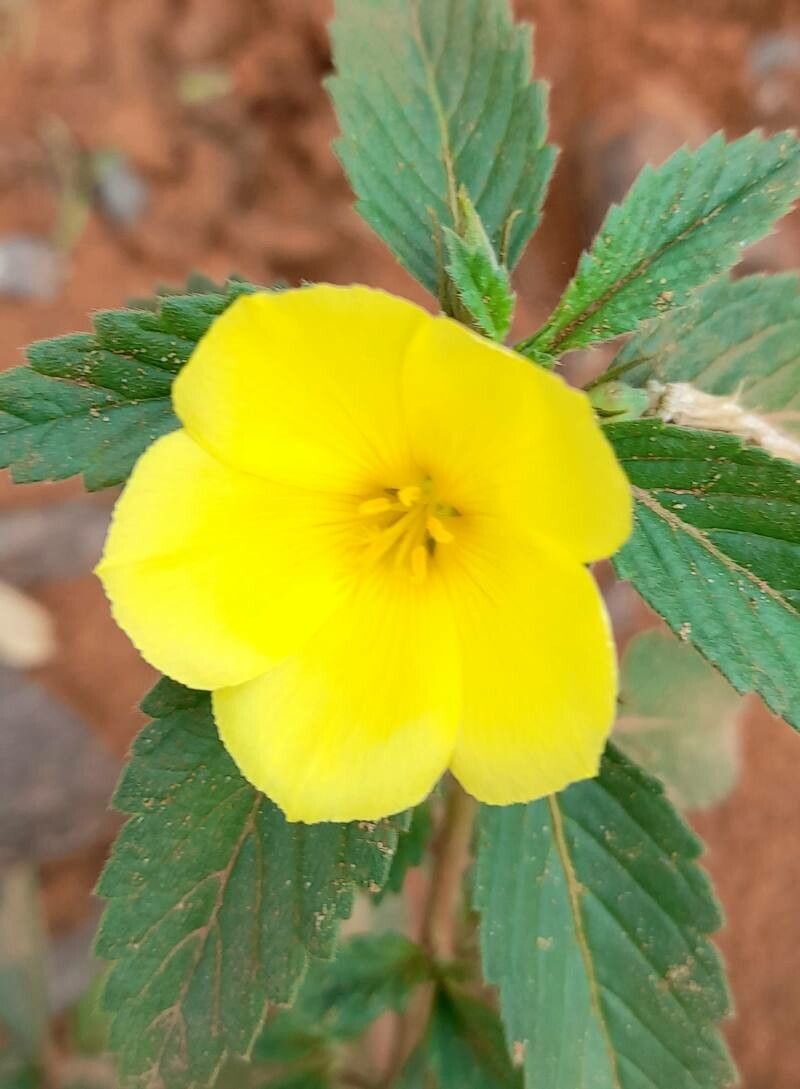
The Turnera orientalis, also known as the Yellow Alder flower, is a sight to behold. This charming shrub, native to Australia, boasts vibrant yellow blooms that cheerfully greet the morning sun. But did you know that multiplying this beauty in your garden is surprisingly simple? Let’s delve into the world of Turnera orientalis propagation, exploring the two most effective methods:
1. Seed Propagation: A Dance with Patience
For those who find joy in nurturing life from its very beginning, seed propagation is a rewarding journey. While it requires a touch more patience, the process is surprisingly straightforward:
- Timing is Key: Sow your Turnera orientalis seeds in late winter or early spring, providing them with ample time to establish themselves before the summer heat arrives.
- Creating the Perfect Nursery: Use a well-draining seed-starting mix and moisten it evenly. Sprinkle the seeds on the surface, pressing them gently but not burying them.
- Warmth is Welcome: These sun-loving plants enjoy warmth for germination. Place the seed tray in a warm location, around 70-75°F (21-24°C). Consider using a heat mat for consistent temperatures.
- Light and Moisture are Essential: Ensure the seed tray receives bright, indirect light. Keep the soil consistently moist but not waterlogged.
- Patience is Rewarded: Germination can take anywhere from a few weeks to a couple of months. Once the seedlings have developed a few sets of true leaves, they can be carefully transplanted into individual pots.
2. Cuttings: A Faster Route to Floral Abundance
For those eager to see a quicker bloom of yellow in their gardens, taking cuttings offers a faster propagation method:
- Selecting the Prime Candidate: In the spring, choose healthy, non-flowering stems from your Turnera orientalis. Ideally, the cutting should be about 4-6 inches long.
- Preparing the Cutting: Remove the lower leaves from the stem, leaving 2-3 leaves at the top. Dip the cut end into rooting hormone (optional but recommended) to encourage faster root development.
- Creating the Ideal Environment: Plant the cutting in a pot filled with a well-draining, moist potting mix. Make sure the bottom nodes, where the leaves were removed, are buried in the soil.
- Humidity is Key: Cover the pot with a clear plastic bag or use a propagation dome to create a humid environment that facilitates rooting.
- Patience, Once More: Place the pot in a warm location with bright, indirect light. It generally takes 4-6 weeks for the cuttings to develop roots.
Nurturing Your New Turnera Orientalis Plants
Whether you’ve chosen the path of seed or cutting, once your new plants are established, remember to:
- Provide Ample Sunlight: Turnera orientalis thrive in full sun to partial shade.
- Well-Drained Soil is Essential: Ensure the soil allows water to drain freely to prevent root rot.
- Water Deeply but Infrequently: Allow the soil to dry out slightly between waterings.
- Fertilize Regularly: During the growing season (spring and summer), feed your plants with a balanced fertilizer to encourage healthy growth and abundant blooms.
By following these simple steps, you can easily multiply your Turnera orientalis plants and transform your garden into a vibrant haven of cheerful yellow blossoms. Remember, patience and care are your greatest allies in this rewarding endeavor. Happy propagating!