Beyond the Berries: Unlocking the Secrets to Propagating Chilean Guava (Ugni molinae)
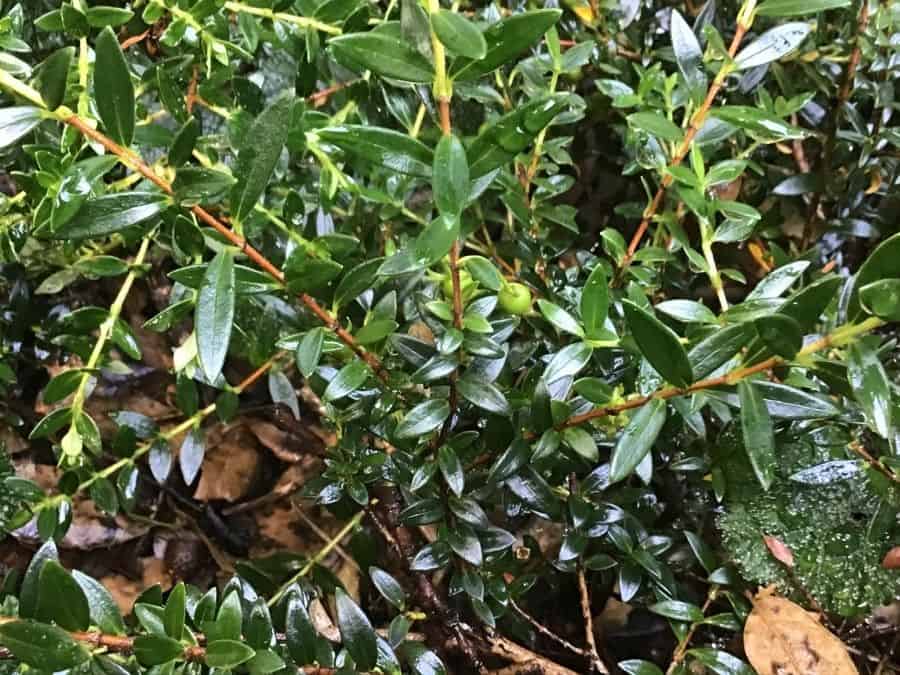
The Chilean Guava, also known as Ugni molinae or Myrtus ugni, is gaining popularity for its delicious, strawberry-esque berries and attractive evergreen foliage. But did you know that propagating this South American gem is an adventure in itself? While you can purchase these plants at some nurseries, successfully growing them from seed or cutting can be a rewarding experience for any plant enthusiast. Let’s dive into the secrets of propagating this unique fruit-bearing beauty.
Method 1: Sowing the Seeds of Success
While it might seem like the most straightforward route, germinating Ugni molinae seeds requires patience and a touch of finesse:
- Harvesting the Treasure: The best seeds come from ripe, healthy berries. Gently crush the fruit and extract the tiny, brown seeds hidden within.
- Breaking Dormancy’s Spell: Chilean Guava seeds have a period of dormancy that needs to be broken for successful germination. One method is cold stratification: place the seeds in a moist paper towel, seal them in a plastic bag, and refrigerate for 4-6 weeks.
- Sowing the Tiny Titans: Sow the seeds in a well-draining seed starting mix, barely covering them with soil. Keep the soil consistently moist but not waterlogged.
- Embracing Patience: Germination can take anywhere from a few weeks to a couple of months. Don’t lose hope! Providing warmth and humidity through a propagator or humidity dome can speed up the process.
Method 2: Cutting to the Chase with Propagation
If you’re looking for quicker results and a genetic clone of your favorite plant, propagating Ugni molinae from cuttings is the way to go:
- Timing is Key: The optimal time for taking cuttings is late spring or early summer, when the plant is actively growing.
- Selecting Prime Candidates: Choose healthy, non-flowering shoots about 4-6 inches long. Make a clean cut just below a leaf node.
- Preparing the Cuttings: Remove the lower leaves, leaving 2-3 leaves at the top. Dip the cut end in rooting hormone (optional but recommended).
- Creating a Cozy Home: Plant the cuttings in a well-draining rooting mix. Maintain humidity by covering the pot with a plastic bag or using a humidity dome.
- Rooting Revelation: In about 4-6 weeks, gently tug on the cuttings to check for resistance. Rooted cuttings will resist being pulled up.
Transplanting and Beyond:
Once your seedlings or cuttings have developed a strong root system and several sets of leaves, they are ready to be transplanted into larger pots or even out into the garden. Ugni molinae thrives in well-drained soil with slight acidity and partial shade to full sun. Remember to protect young plants from frost and provide consistent moisture.
Propagating your own Chilean Guava is a rewarding journey that allows you to nurture this remarkable plant from its earliest stages. With patience and a bit of green-thumb magic, you’ll soon be enjoying the sweet rewards of your own homegrown berries. So, are you ready to embark on this delicious adventure?