Conquering the Gorse: A Beginner’s Guide to Propagating Ulex minor
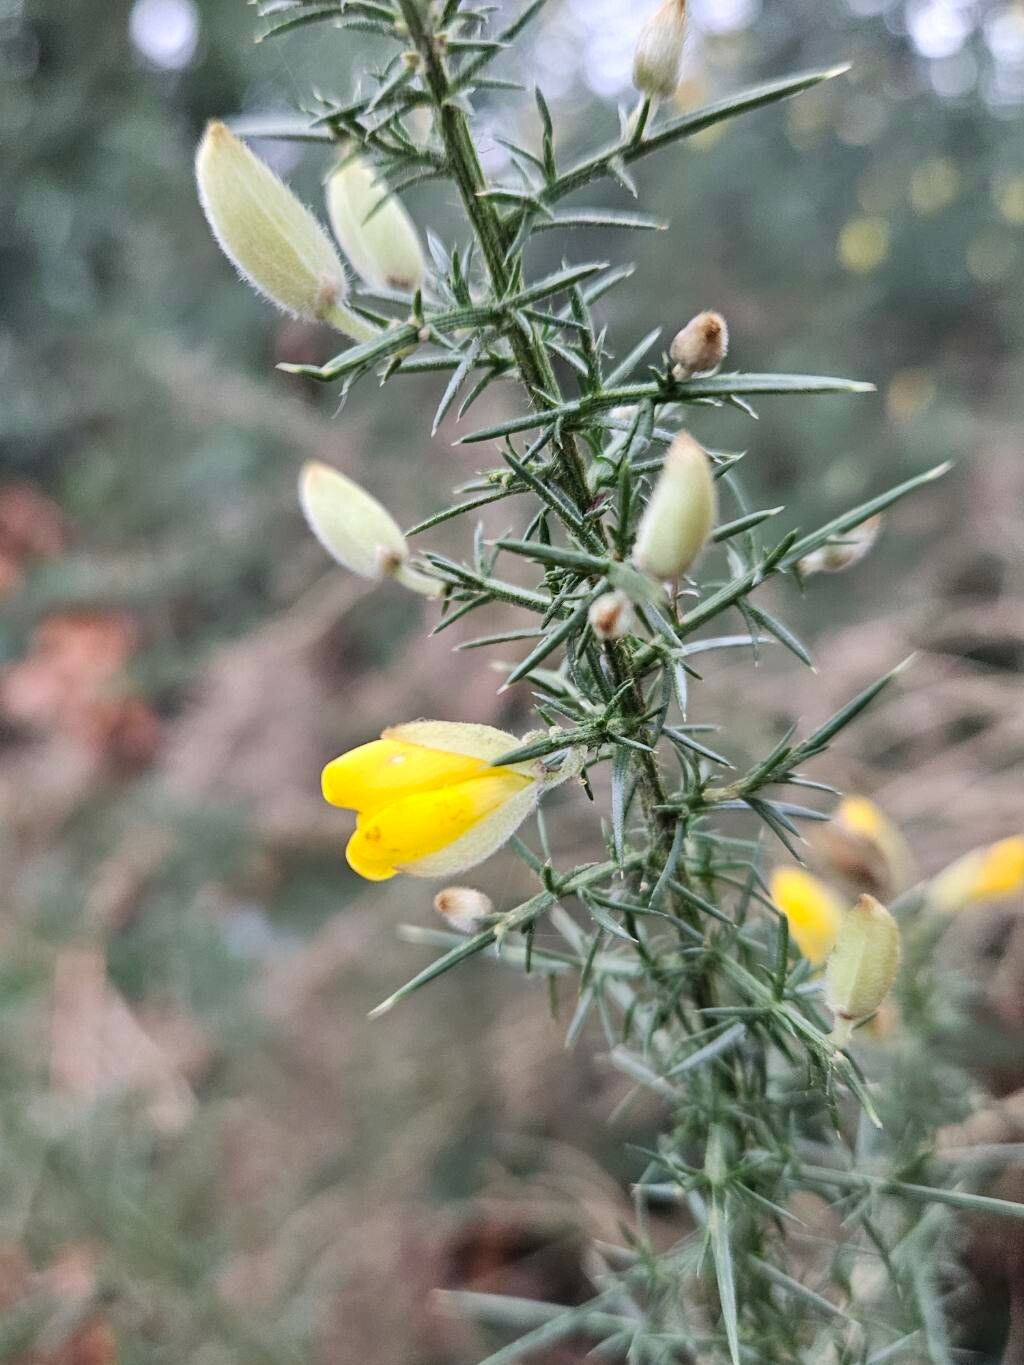
The sight of bright yellow blossoms peeking out from a thicket of prickly green foliage is a sure sign of Ulex minor, commonly known as Gorse. This hardy, drought-tolerant shrub adds a splash of color and texture to gardens, attracting pollinators and providing shelter for wildlife. But cultivating this fascinating plant comes with a twist: Gorse can be a bit of a handful, and propagation demands a bit of patience and knowledge.
Don’t let its prickly exterior deter you! In this guide, we’ll break down the essential steps for successfully propagating Ulex minor, from sowing seeds to nurturing cuttings, giving you the tools to build your very own Gorse haven.
From Seed to Shrub:
Sowing seeds is a simple yet effective way to start your Gorse adventure. Here’s how:
- Timing is Key: The best time to sow Gorse seeds is in late autumn, as the cool weather conditions mimic their natural habitat.
- Choose Your Soil: Gorse prefers a well-drained, sandy soil. Prepare a seed tray with a good seed-starting mix.
- Sowing the Seeds: Gorse seeds possess a tough outer coat that requires a process called scarification to break dormancy. This can be achieved by rubbing the seeds with sandpaper or soaking them in hot water (180°F) for 30 minutes. Scatter the seeds thinly on the soil surface and cover them lightly with vermiculite.
- Germination Paradise: Keep the seed tray moist and in a location with good ventilation. Germination can take weeks, even months, so be patient! Young seedlings are delicate and prefer indirect light.
- Transplanting Time: Once your seedlings have developed a few sets of true leaves, it’s time to transplant them outdoors. Choose a sunny spot with well-drained soil and give them enough space to grow.
Branching Out with Cuttings:
For quicker results, propagation through cuttings is another option. Here’s how to do it:
- Cuttings from the Tip: Take 4-6 inch cuttings from the tips of healthy, non-flowering branches in late summer or early autumn.
- Prepare for Success: Remove the leaves from the bottom inch of each cutting.
- Rooted in Success: Dip the base of each cutting in a rooting hormone powder to encourage root development.
- The Perfect Setup: Plant the cuttings in a mixture of peat moss and perlite, keeping them moist and in a shaded area.
- Patience is a Virtue: It may take several weeks or even months for the cuttings to root. Keep the soil moist and watch for signs of new growth.
Gorse Care Considerations:
Once your Gorse plants are established, they’ll require minimal care. However, it’s important to keep these tips in mind:
- The Sun’s Kiss: Gorse thrives in full sun. Make sure they receive at least 6 hours of direct sunlight daily.
- Water Wisely: Gorse is drought-tolerant, but regular watering during the establishment phase will help it flourish.
- Pruning for Growth: Pruning is essential for maintaining the shape and size of your Gorse plant. Prune after flowering, as this encourages new growth and keeps the plant healthy.
Beyond the Garden:
Gorse plays a vital role in coastal ecosystems, providing shelter and food for numerous wildlife species. However, it’s important to be aware of its tendency to spread aggressively. Regular maintenance and careful consideration for its potential for invasive growth are essential when cultivating Gorse in gardens.
Embark on Your Gorse Journey:
With a bit of patience and these simple steps, you can successfully propagate Ulex minor and add a touch of wild beauty to your garden. Whether you choose to sow seeds or nurture cuttings, the journey of cultivating this fascinating plant is sure to be both rewarding and educational.